So many flavor variations, toppings and mix-ins, and I also share my special way of making creamy ice cream without an ice cream machine.
Why this recipe works
I love chocolate (just check out my archive of chocolate recipes!), but I find store-bought chocolate ice cream to always be lacking in something. Lacking in substance, lacking that rich, deep chocolate flavor, lacking that creamy, fudgy texture. But this ice cream fixes all of that! This homemade chocolate ice cream fixes all of that. This recipe is designed for chocolate lovers! This homemade ice cream has,
A rich, deep chocolate flavor. Just the perfect amount of sweetness. A super creamy texture, with a little fudginess.
That’s no surprise because this chocolate ice cream is,
Made with egg yolks, so the base of this ice cream is a French vanilla ice cream, which adds to the creaminess! It’s not sickly sweet, because the rich chocolate flavor is especially pronounced due to the use of cocoa powder AND melted chocolate. The addition of both types of chocolate intensifies the chocolate flavor, but also makes it thick and fudgy. Unlike supermarket chocolate ice cream that tastes too whipped and light, this ice cream has an incredible mouthfeel with a melt in your mouth texture and body, so it doesn’t disappear in your mouth like store-bought ice cream. Plus, if you don’t have an ice cream maker, don’t worry! I show you how to make this recipe without an ice cream machine too. It’s so easy to make! You don’t have to worry about tempering eggs or scalding the milk either.
Recipe highlight – Why this chocolate ice cream is so fudgy
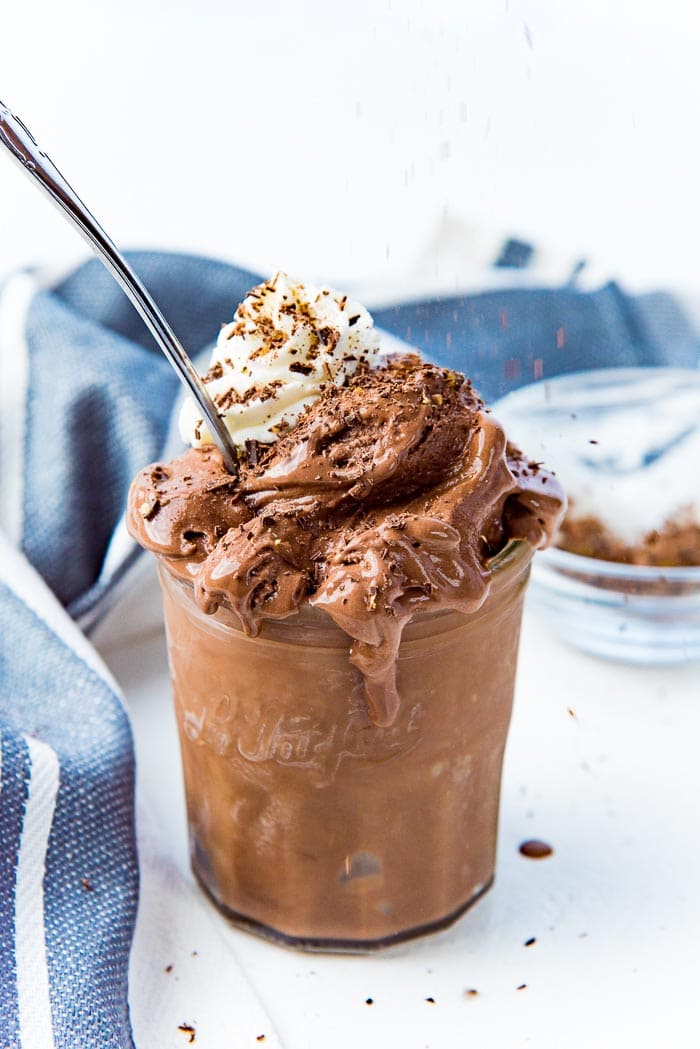
You’ll find that most chocolate ice cream recipes are made with just cocoa powder and sweetened with sugar. The end result is an ice cream that tastes like sweetened chocolate whipped cream that’s frozen – more like soft-serve. Don’t get me wrong, I do LOVE a good soft-serve chocolate ice cream, but I also want my chocolate ice cream to have more character and substance. So this homemade chocolate ice cream recipe has cocoa powder, but it also has real chocolate! That real chocolate (which makes this a dark chocolate ice cream as well), along with the egg yolks make for a richer, thicker custard. And that in turn, results in a richer, fudgier, and altogether more delicious chocolate ice cream! It’s the richest chocolate ice cream I make. It’s PERFECT on its own, but you’ll find that this chocolate ice cream also makes the best chocolate shakes. 🙂
Ingredients for chocolate ice cream
Milk – Ideally, whole milk / full fat milk. You can also use 2% milk. Heavy cream – Cream with 35% fat content at a minimum. This heavy whipping cream adds richness and creaminess to the ice cream. Sugar – I use white sugar, but you can use brown sugar for chocolate ice cream too. Cocoa powder – Dutch processed cocoa powder is my preferred choice (because of the taste), but you can use natural cocoa powder as well. Semisweet chocolate – A good balance of chocolate flavor and sweetness. However, for a darker, slightly bitter chocolate flavor, you can use bittersweet chocolate instead. Egg yolks – Add richness and flavor to the custard base. Vanilla – Optional flavoring. You can also use coffee extract instead. Salt – Essential to the recipe! The salt will balance the flavors in this ice cream, and bring out the chocolate flavors and mellow out the bitterness. It also helps to make the chocolate ice cream taste more well rounded (and not bland).
How to make chocolate ice cream (step by step instructions)
Making the chocolate ice cream base
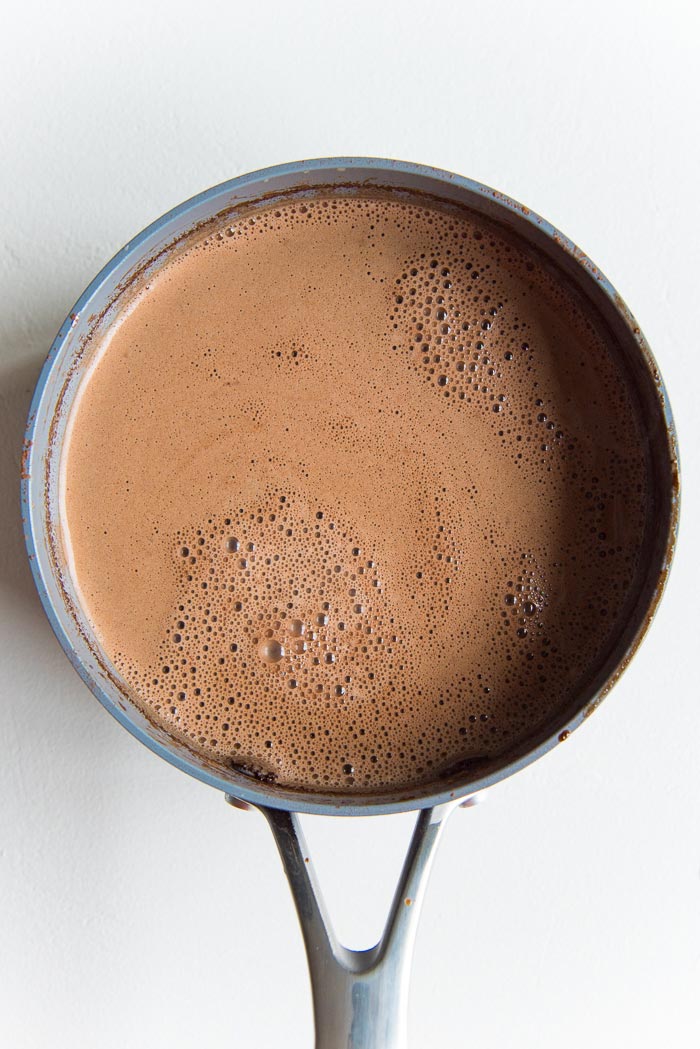
Step one – Whisk the egg yolks, vanilla, salt, and sugar together to form a smooth paste, that is a little pale in color. This ensures that the egg yolks have broken down and mixed through properly without leaving any solid bits of egg yolk behind. Step two – Then add the cocoa powder and mix it through, making sure there are no lumps. Step three – Stream the milk into the egg yolk mixture, while mixing to ensure there are no lumps and the egg mixture is mixing with the milk well. Once you have added about 1/2 – 1 cup of milk, add the rest of the milk and cream, and whisk to combine well. Step four – Transfer this mixture into a saucepan, and add the semisweet chocolate. Step five – Now, heat the custard. Heat your chocolate ice cream base over medium heat while frequently whisking. As the custard heats up, the chocolate should melt and mix with the milk mixture well. There should be no lumps or bits of separated chocolate. The custard should look smooth, and have a deep chocolate color. Make sure to whisk so that the chocolate mixes uniformly. Keep heating the mixture while whisking, until the custard registers at 165 F. This is the temperature at which the egg yolks are pasteurized. If you don’t have a thermometer, then the milk will start to steam when it’s at about 160 F, so just stir it for a couple minutes more while the milk is steaming and you’re done. For me, this takes about 10 – 15 minutes, depending on the heat of the stove and the pot size. Step six – Then, let the custard cool down slightly, before transferring to the fridge to chill overnight. OR you can transfer it to the freezer to chill completely which can take about 2 – 4 hours. To chill the mixture faster, transfer the custard into a large, shallow dish and place it in the freezer.
Churning the chocolate ice cream
Once the chocolate custard is chilled, it can be churned. You have two methods of churning your ice cream.
Ice cream maker with a freezer bowl (also can be an attachment in your stand mixer). Ice cream maker with a compressor.
I used to own an ice cream maker with a freezer bowl, but as I make ice cream a lot more often during summer, I invested in an ice cream maker with a compressor instead. But this recipe can be made in either. Churn the chocolate ice cream base in your ice cream maker according to the manufacturer’s instructions. This is important because you don’t want to overfill the freezer bowl when making ice cream. During hot summers or on particularly hot days, the bowl will loose the “chill” much faster too. The ice cream is done churning when it has reached soft serve consistency. If you’re able to, you can go a little further, but it has to reach a minimum of soft serve consistency. Finally, transfer the churned ice cream into a container that is also preferably pre-chilled. Transfer to the freezer to set for 2 – 4 hours, preferably overnight. Once set, scoop and serve your creamy chocolate ice cream!
How to make this without an ice cream machine
Once you have chilled the chocolate ice cream base, set aside about 1/2 – 3/4 cup of the custard in a jug or bowl in the fridge. Pour the rest of the chocolate ice cream custard into ice cube trays and freeze overnight. Once frozen, place the ice cubes in a high powered blender. This is important because your blender must be able to blend and crush ice cubes. Add the chilled, unfrozen chocolate ice cream custard into the ice cubes and blend the mixture. Start from low speed and increase gradually. The ice cubes should turn into a smooth mixture. Make sure not to blend the ice cream on high speed for too long because the heat from the blades can cause it to melt. Once you have a nice smooth, thick mixture, transfer the chocolate ice cream into a chilled container and place it in the freezer to set for a few hours. For an ultra smooth ice cream, let it freeze until almost set, and re-blend the mixture once more and freeze again – but this is optional! Ice cream made this way will be a little more dense than churning because the blender will not incorporate as much air as an ice cream maker.
My best recipe tips
Use a good quality cocoa powder for this recipe. I use dutch-process cocoa powder, but you can use natural cocoa powder too. Natural cocoa powder has a bitterness that dutch processed cocoa powder does not, and a deeper chocolate flavor. (You can read more about it in my baking basics article on Dutch process vs natural cocoa powder.) Choose a good semisweet chocolate for the ice cream too. The flavor should be just a little sweet, but with great chocolate flavor. All of this will reflect in the ice cream flavor. To speed up the chilling process for the custard, you can either, Make the custard base with just milk, and add chilled heavy cream AFTER making the custard base. Be warned that the custard base will be much thicker because of the chocolate. OR, place the chocolate custard in a large shallow dish and transfer to the freezer. The larger surface area will cool it down and chill it faster. If you’re using a freezer bowl, chill it longer than what is recommended by the manufacturer. This is to make sure that the bowl is frozen well. Chill the storage container prior to storing the ice cream in it. Since the ice cream will still be soft straight out of the ice cream maker, it will melt and become liquid in the container. If it’s chilled, this will minimize the melting. Avoid keeping the ice cream out of the freezer for long periods of time. The ice cream will melt and refreeze which will shorten the lifespan of the ice cream AND also cause ice crystals to form.
Flavor variations
Chocolate cookies and cream ice cream – Fold in crushed Oreos after churning the ice cream. Larger pieces can get stuck in the paddle depending on the ice cream maker you have. Chocolate chip ice cream – Add mini chocolate chips after churning your ice cream! This will also make this ice cream a double chocolate ice cream (or even triple chocolate ice cream since we are already using cocoa powder + semisweet chocolate to make this, it’s just semantics though). Fudge swirled chocolate ice cream – During the last few minutes of churning, drizzle in hot fudge sauce. However, leave some aside to swirl through the ice cream after you transfer it into the storage container as well. Hazelnut chocolate ice cream – Add Nutella (or homemade vegan Nutella) to the chocolate base, and roasted hazelnuts after churning the ice cream. Raspberry chocolate ice cream – Swirl raspberry preserves / jam or coulis (or strawberry jam for strawberry chocolate ice cream) through the ice cream after churning it. Chocolate candy ice cream – Fold in crushed candy bars through the churned chocolate ice cream. Rocky road ice cream – Fold and swirl in mini marshmallows, peanuts, and raspberry jam. S’mores ice cream – Fold in mini marshmallows and crushed graham crackers through the chocolate ice cream. Death by chocolate ice cream (or triple chocolate ice cream) – If you’re a serious chocoholic, then you can add chocolate fudge sauce into your ice cream by swirling it through after churning the ice cream. For even more decadence, add chopped chocolate brownie pieces to the ice cream as well! Peanut butter chocolate ice cream – Add some peanut butter into the chocolate custard to add the peanut butter flavor. Also fold in chopped mini peanut butter cups through the ice cream after churning as well. Mexican chocolate ice cream – Replace the chocolate with Mexican chocolate for a more authentic flavor. Mexican chocolate contains cinnamon and sometimes chili as well, adding a lovely warmth to the chocolate. The chocolate also has a more bold and earthy flavor. Alternatively, you can just add some cinnamon and some dried and powdered chili, such as ancho chili to the custard. Make sure it’s not a chili powder mix that contains garlic.
Serving ideas (toppings, mix-ins, and add-ins)
Just like vanilla ice cream, you can serve this ice cream however you like.
Sprinkles on top – including rainbow and/or chocolate sprinkles. Chocolate hot fudge sauce or salted caramel sauce drizzled on top. Serve with waffles or crepes (like these yeasted waffles and French crepes, or even chocolate crepes) and whipped cream on top. Use it to make the best chocolate milkshake ever (For example, I use my vanilla ice cream to make falooda, a fantastic rose flavored milkshake). Serve with fresh fruit such as strawberries and raspberries. Praline, brittle (like peanut brittle), or praline paste on top.
More ice cream recipes you’ll love
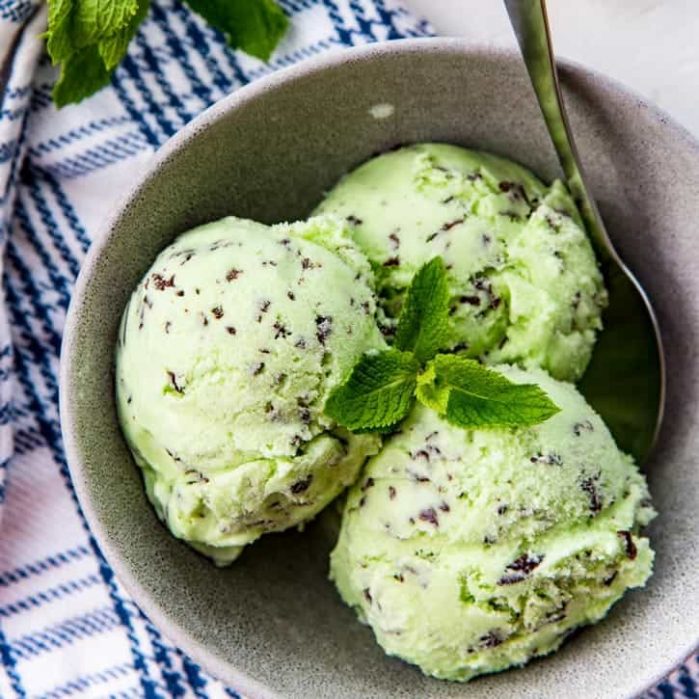
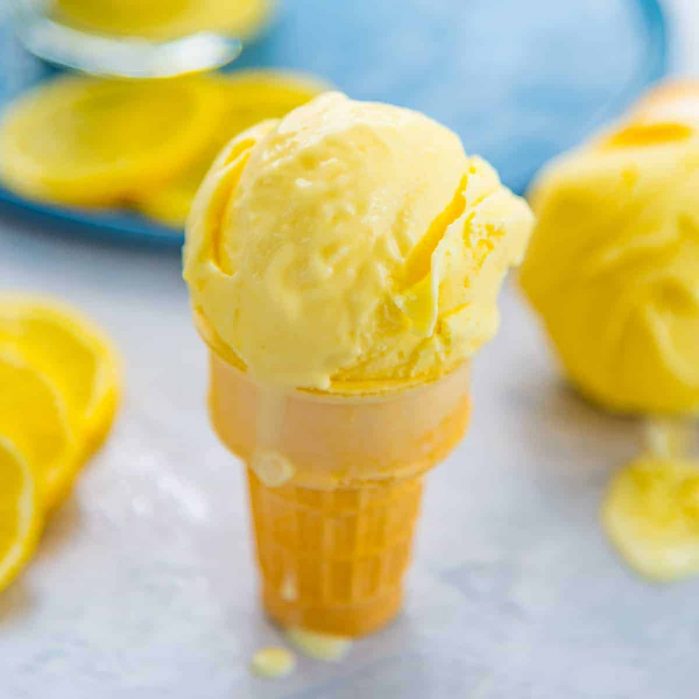
Vanilla ice cream Butterscotch ice cream (butter pecan ice cream) Date and tahini ice cream Mint chocolate chip ice cream Vegan cardamom spiced coconut ice cream Buttermilk pancake ice cream Rainbow ice cream slice No churn galaxy ice cream Cookie dough ice cream Lemon ice cream
Equipment I use to make this recipe
Ice cream maker – An inexpensive freezer bowl ice cream machine will be perfect for the average cook/baker. I have used & recommend this Cuisinart model. If you do constantly make ice cream in summer, then I would recommend investing in an ice cream maker with a built in compressor. These machines do not require to be pre-chilled and you can make many batches of ice cream over and over again. I currently own, and recommend this Cuisinart model. Thermometer – An inexpensive Cooking thermometer or a more expensive instant read thermapen. Blender – If you don’t have an ice cream maker, then you can use a high powered blender that is capable of crushing ice. Vitamix blender and Blendtec are great, but any blender with the capacity to crush ice will work.
Commonly asked questions