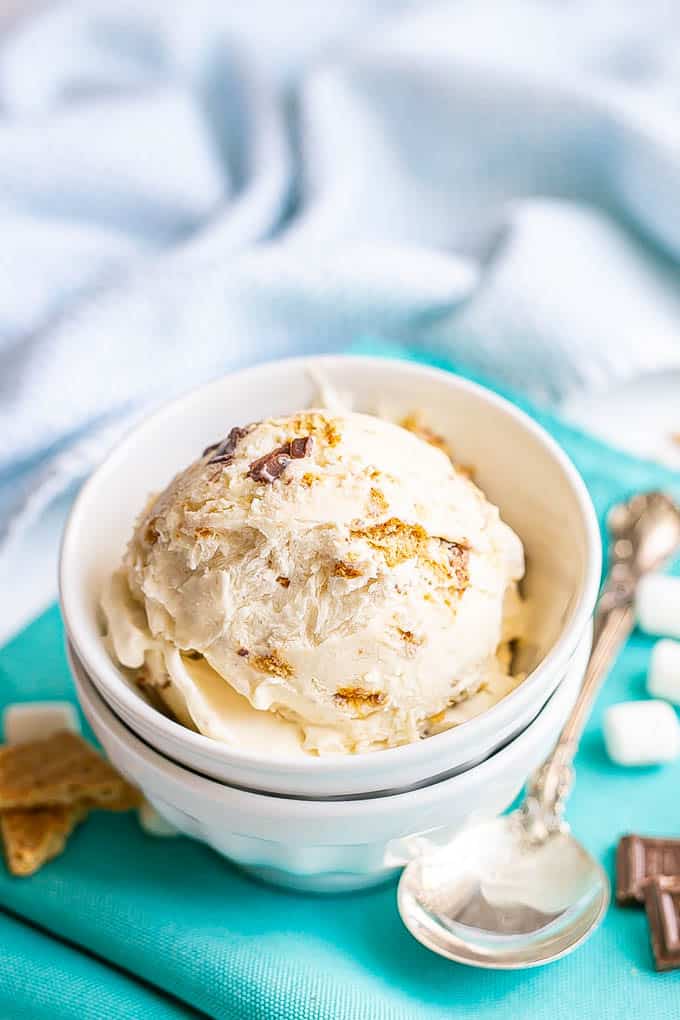
My in-laws came to visit this past weekend - after a year of not seeing them - and wow, it was so lovely! (I am blessed with amazing in-laws that I truly love and are so easy to get along with. I know, I’m so lucky.) They had tons of fun playing with the kids - lots of backyard baseball - and were super helpful in getting my spring garden prepped and planted. I’m so thankful they love to help and love a project! Plus, it was Mother’s Day, and it was so special to get to share it with my own mom as well as my MIL. Yup, my heart is full. ❤️ OK, let’s move on to the treat I have for you today. Last year I shared my go-to homemade no churn vanilla ice cream. It’s 3 ingredients and so perfectly smooth, soft, sweet and delicious. The texture, too, is spot on. No grainy bits, no artificial tastes, just clean, pure, cold, yummy ice cream. And because it’s just 3 ingredients, I pretty much make it on repeat all year long. Vanilla is also one of my favorite flavors for ice cream and fro yo, and no, you cannot convince me that it’s boring in any way. But… I do love to experiment. And this week I’m sharing two of our other favorite ice cream flavors to make at home. Today, we’re starting off with a classic flavor: s’mores ice cream. This quickly became our new favorite. Sorry, vanilla, but this s’mores ice cream just blew you out of the water. It’s got a creamy vanilla ice cream base, plus toasted marshmallows, graham crackers and chocolate folded right in. This loaded ice cream tastes just like what summer is meant to be in every single bite. (And if you love s’mores like we do, check out these easy microwave s’mores and oven baked s’mores for an almost instant fix. Or if you want a fruity summer fix, check out this no churn peach ice cream.)
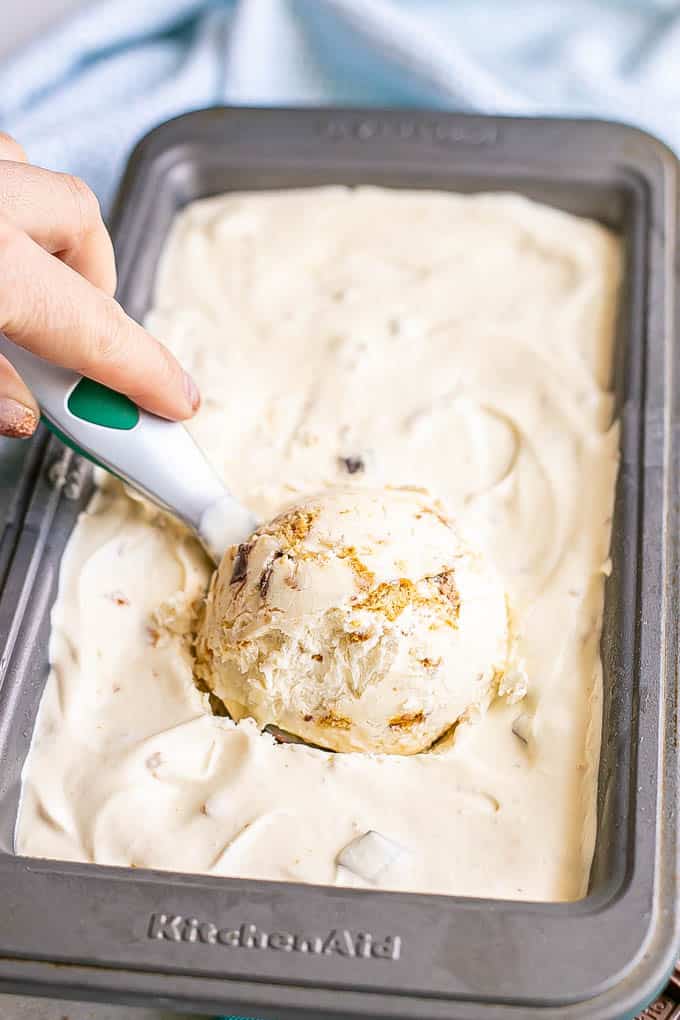
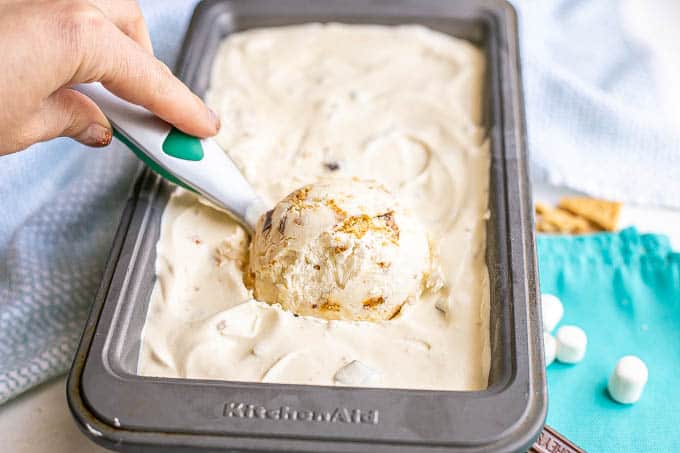
And it’s ridiculously easy to make at home with just 6 ingredients. It takes 15 minutes to prep and sets up perfectly in the freezer. It doesn’t stay soft serve soft and it doesn’t get rock hard. It’s right there in the middle and ready to pull out and dip a spoon into any time of day. (You know I’m not judging your 10 a.m. sneaky spoonful of this ice cream! Summer mornings here in the South get pretty hot pretty early, so I’ve been there. Err, I mean, I would understand if you go there… ) Anyway, you’ll love the taste, you’ll love the texture and you’ll love how simple it is. And amazingly, there’s no ice cream maker needed! I even have one - my mom lent me hers years ago and has never wanted it back - and I still prefer to make homemade ice cream this way. Plus, you don’t have to worry about freezing the ice cream maker core and going through the hassle of messing with it. Nope, you just need 6 ingredients and about 15 minutes prep. The kids can even help get this ready, it’s so simple. And y’all, my husband is particular about his ice cream. Really particular. Wanna know what he said about this one? He called this ice cream a “masterpiece.” That’s seriously saying something. And he’s not wrong.
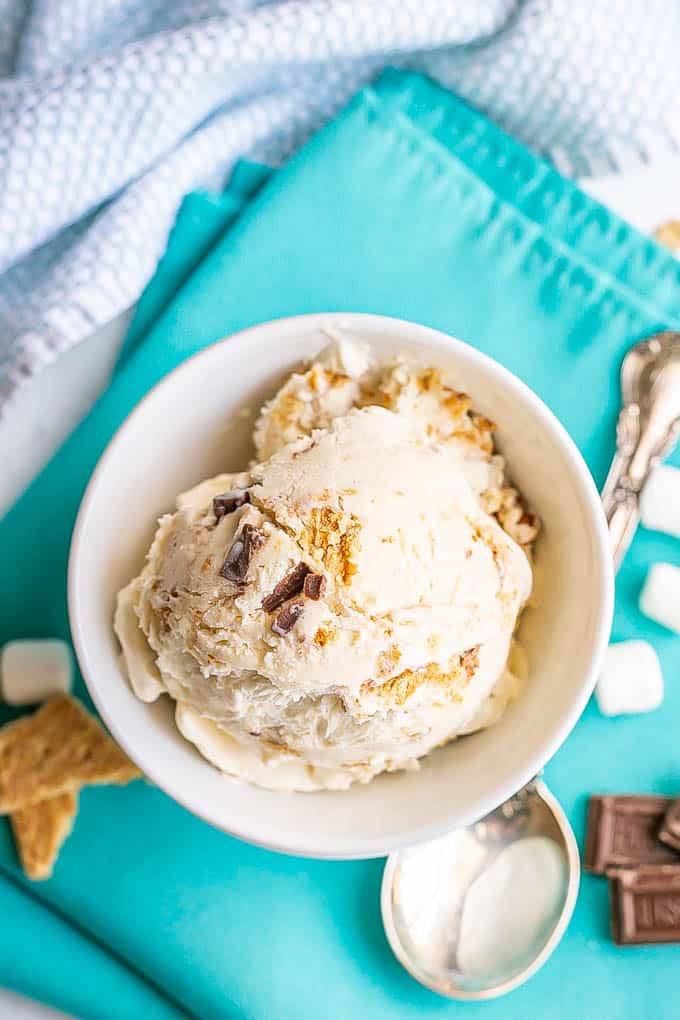
He says the graham cracker bits are his favorite part. Me, I think my favorite part is the toasted marshmallows. They blend in with the ice cream so it’s kind-of like a fun surprise when you discover you have some in your bite. Really though, it’s all of it together. The creamy ice cream base and the fun trio of graham crackers, chocolate and marshmallows to give it the s’mores treatment. You’ll definitely be angling for a bit of everything in each bite. And I have a feeling you’ll be as smitten - and addicted - as we are! OK, let’s get to making it! Now, I’ve got some notes and substitutions coming up on how to make s’mores ice cream. Just tryin’ to be helpful. If you want to jump on down to the recipe, simply scroll right on through the rest of the text. The recipe card is near the bottom of the page, above the comments section.
Notes on making homemade no churn s’mores ice cream:
Heavy cream: You’ll need 1 pint — or 2 cups — of heavy whipping cream. Details below on how to do the whipping part. I have not tried this with other substitutes, so you’re on your own there. Sweetened condensed milk: You can use a can of regular or fat-free sweetened condensed milk. I’ve tried it with both before. Just be sure you are not using evaporated milk. Not the same. Marshmallows: Toasting the marshmallows is super simple in an oven or toaster oven and really makes all the difference here to give it that authentic s’mores flavor. Details are below as well as in the recipe card on how to do this step. Chocolate: I’ve always made this with a bar of Hershey’s chocolate that I chop up. You could also try it with some mini or regular chocolate chips if you’d like. You could also sub in some dark chocolate if you’d like. Freezing: For freezing, you’ll want to put the ice cream in a freezer-safe container. I use a 9x5 bread pan and it works perfectly. (If you only have an 8x4, that will do, but it’ll be VERY full.) A deep-dish pie pan or shallow freezer-safe bowl would work too. A large freezer-safe plastic container is good too. Set up time: Freeze time will vary, but it’s usually ready to eat in 3-4 hours, though it might still be a little bit soft. After 5-6 hours, it should be completely set up. Storing: The ice cream can be kept, covered, in the freezer for up to 10 days. If it lasts that long.
Last thing: I prefer a vanilla base for my s’mores ice cream. It’s so creamy and good. However, you could also make this with a chocolate base. Here’s a no churn chocolate ice cream that’s just 4 ingredients. Make that chocolate version then fold in these add-ins as directed.
OK, now about the whipping cream… if you are intimidated by making your own whipped cream, trust me, it’s super duper easy. Here’s a few pointers if you haven’t done it before.
How to make whipped cream:
- You’ll need a hand mixer or stand mixer.
- You put your cold heavy whipping cream in a large bowl (which you can chill for a few minutes) then you turn your mixer on low.
- Start with low for a minute or two to get it going so your whipping cream doesn’t splatter all over your kitchen. You can gradually increase the speed up to medium, as long as the splatters aren’t too out of hand.
- You’ll need to beat it for about 4-6 minutes, until stiff peaks form. Stiff peaks means that when you hold up the mixer, the whipped cream stands up. It’s not so liquid or loose that it falls right off back into the bowl. You’re all set! Also, I mentioned I would break down the toasting of the marshmallows part. Here’s the run-down.
How to toast marshmallows for ice cream:
If you only have regular size marshmallows, you’ll need about 6. Try to cut them up or pull them apart into smaller pieces so they get incorporated more evenly throughout the ice cream. (Admittedly, this isn’t easy to do which is why I prefer the mini marshmallows.) Now, I wouldn’t dare add a single thing to this ice cream. Remember, it’s a “masterpiece” as is, according to my husband.
However, I know some people are all about the ice cream toppings. And since I’m all about toppings for everything else, I had to include at least a few ideas. Definitely optional and definitely only if you want to.
S’mores ice cream topping ideas:
Chocolate sauce or caramel sauce Extra crushed graham crackers Crushed cookie pieces Mini or regular chocolate chips or more chopped Hershey’s pieces Sprinkles - my kids say they go on any kind of ice cream
Pick and choose your favorites. Or come up with your own additional toppings! Whatever you do, I hope you make this s’mores ice cream part of your summer plans. Or your fall or winter or spring plans. Cause seasons shmeasons - they don’t dictate when to make ice cream. I’ll have it any time I like, thank you very much. (If you need portion control help like I do, check out s’mores popsicles for a way to control the urge to eat this entire batch at once.) And now you can make ice cream any time too, seeing how crazy easy and utterly delicious it is. Enjoy! XO, Kathryn P.S. Stay tuned because I have another fun no-churn ice cream coming up later this week that you’re going to love. (Update: Check out this easy no churn chocolate ice cream.) You can sign up for my free e-newsletter to get all of my new recipes delivered straight to your inbox so you never miss a thing. I’ll even send you my free e-cookbook, Healthy Weeknight Dinners, as a thank you!
Heavy cream: You’ll need 1 pint — or 2 cups — of heavy whipping cream. Details below on how to do the whipping part. I have not tried this with other substitutes. Sweetened condensed milk: You can use a can of regular or fat-free sweetened condensed milk. I’ve tried it with both before. Just be sure you are not using evaporated milk. Not the same. Marshmallows: Toasting the marshmallows is super simple in an oven or toaster oven and really makes all the difference here to give it that authentic s’mores flavor. If you only have regular size marshmallows, you’ll need about 6. Try to cut them up or pull them apart into smaller pieces so they get incorporated more evenly throughout the ice cream. (Admittedly, this isn’t easy to do which is why I prefer the mini marshmallows.) Chocolate: I’ve always made this with a bar of Hershey’s chocolate that I chop up. You could also try it with some mini or regular chocolate chips if you’d like. Or you could use a dark chocolate bar if you prefer. Freezing: For freezing, you’ll want to put the ice cream in a freezer-safe container. I use a 9x5 bread pan and it works perfectly. (If you only have an 8x4, that will do, but it’ll be VERY full.) A pie pan or shallow freezer-safe bowl would work too. A large freezer-safe plastic container is good too. Set up time: Freeze time will vary, but it’s usually ready to eat in 3-4 hours, but might still be a little bit soft. After 6 hours, it should be completely set up. How to make whipped cream:
You’ll need a hand mixer or stand mixer.You put your cold heavy whipping cream in a large bowl (which you can chill for a few minutes) then you turn your mixer on low.Start with low for a minute or two to get it going so your whipping cream doesn’t splatter all over your kitchen. You can gradually increase the speed up to medium, as long as the splatters aren’t too out of hand.You’ll need to beat it for about 4-6 minutes, until stiff peaks form. Stiff peaks means that when you hold up the mixer, the whipped cream stands up. It’s not so liquid or loose that it falls right off back into the bowl.
Optional toppings:
Chocolate sauce or caramel sauceExtra crushed graham crackersCrushed cookie piecesMini or regular chocolate chips or more chopped Hershey’s piecesSprinkles