Below, I’ll show you 2 different methods of preparing the exact same recipe:
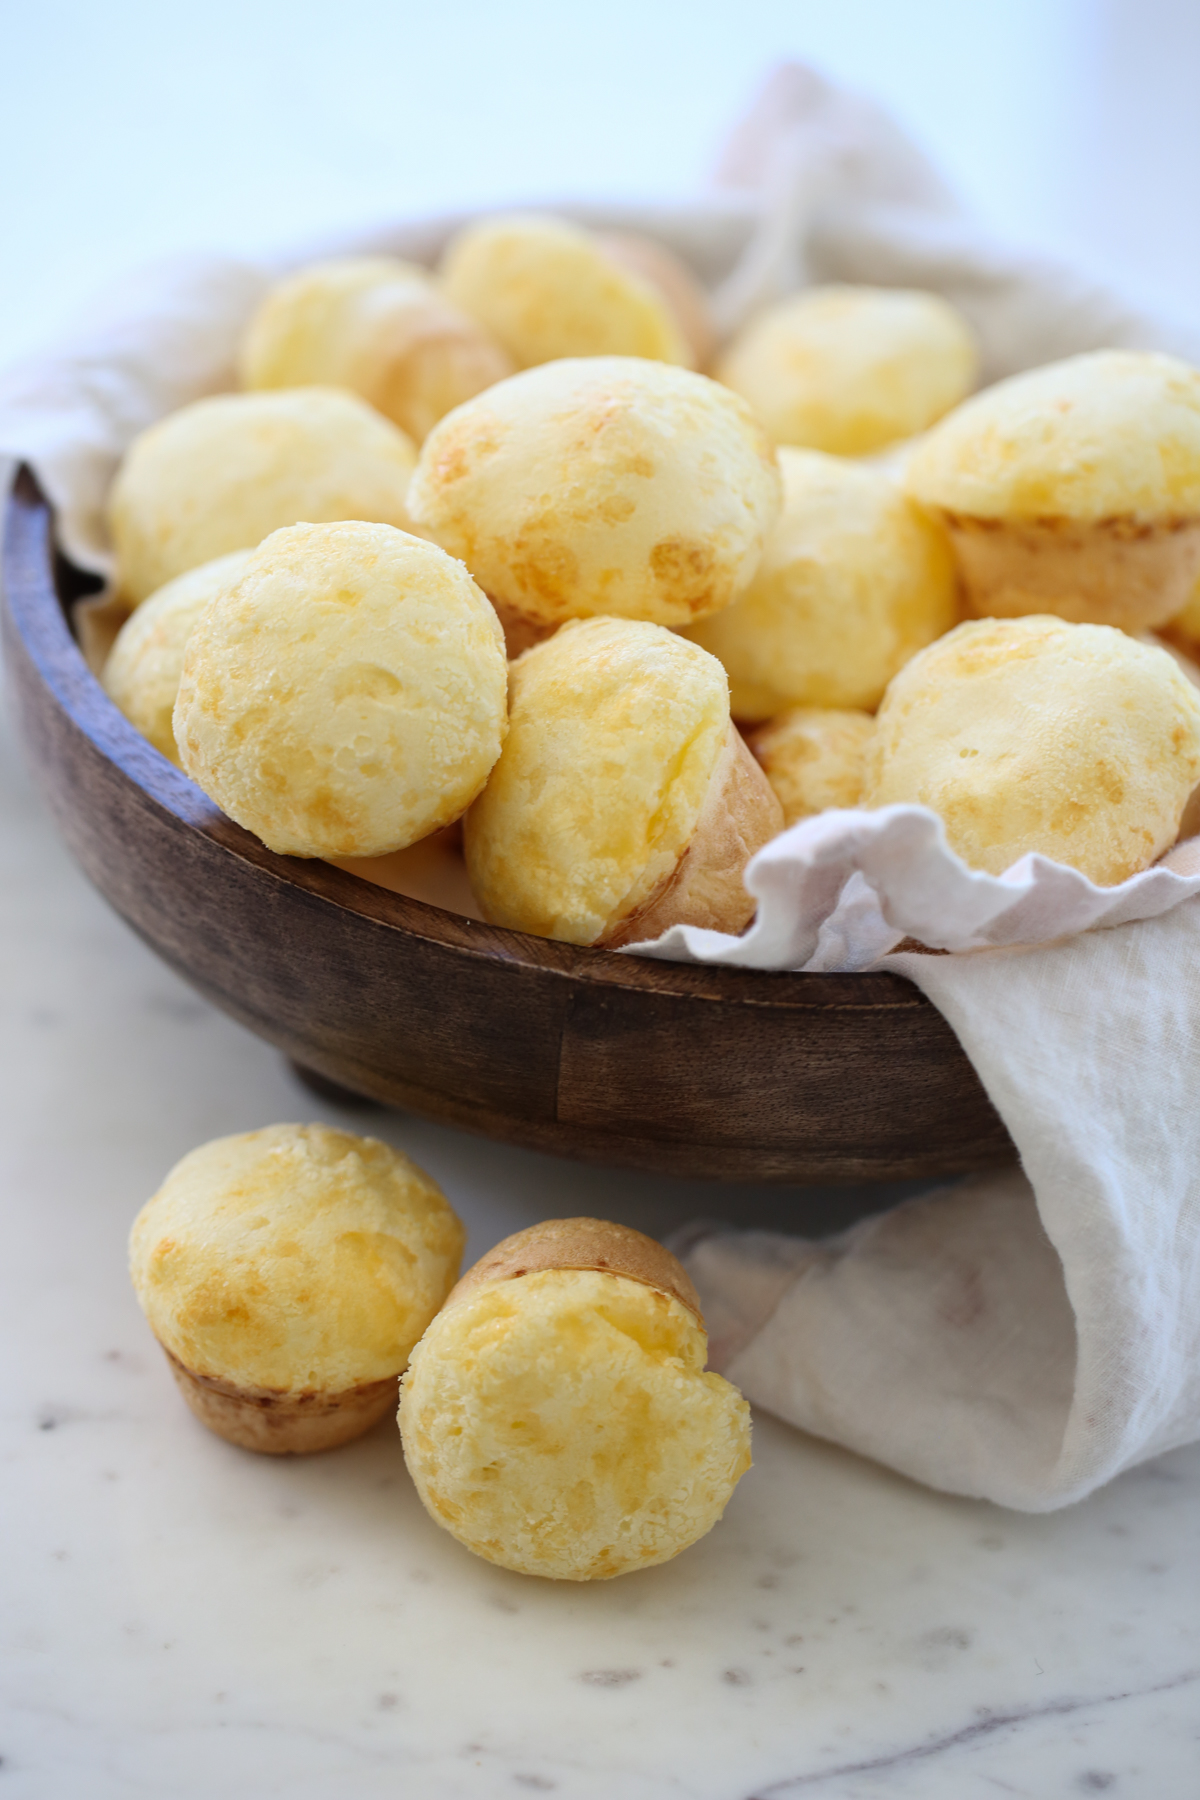
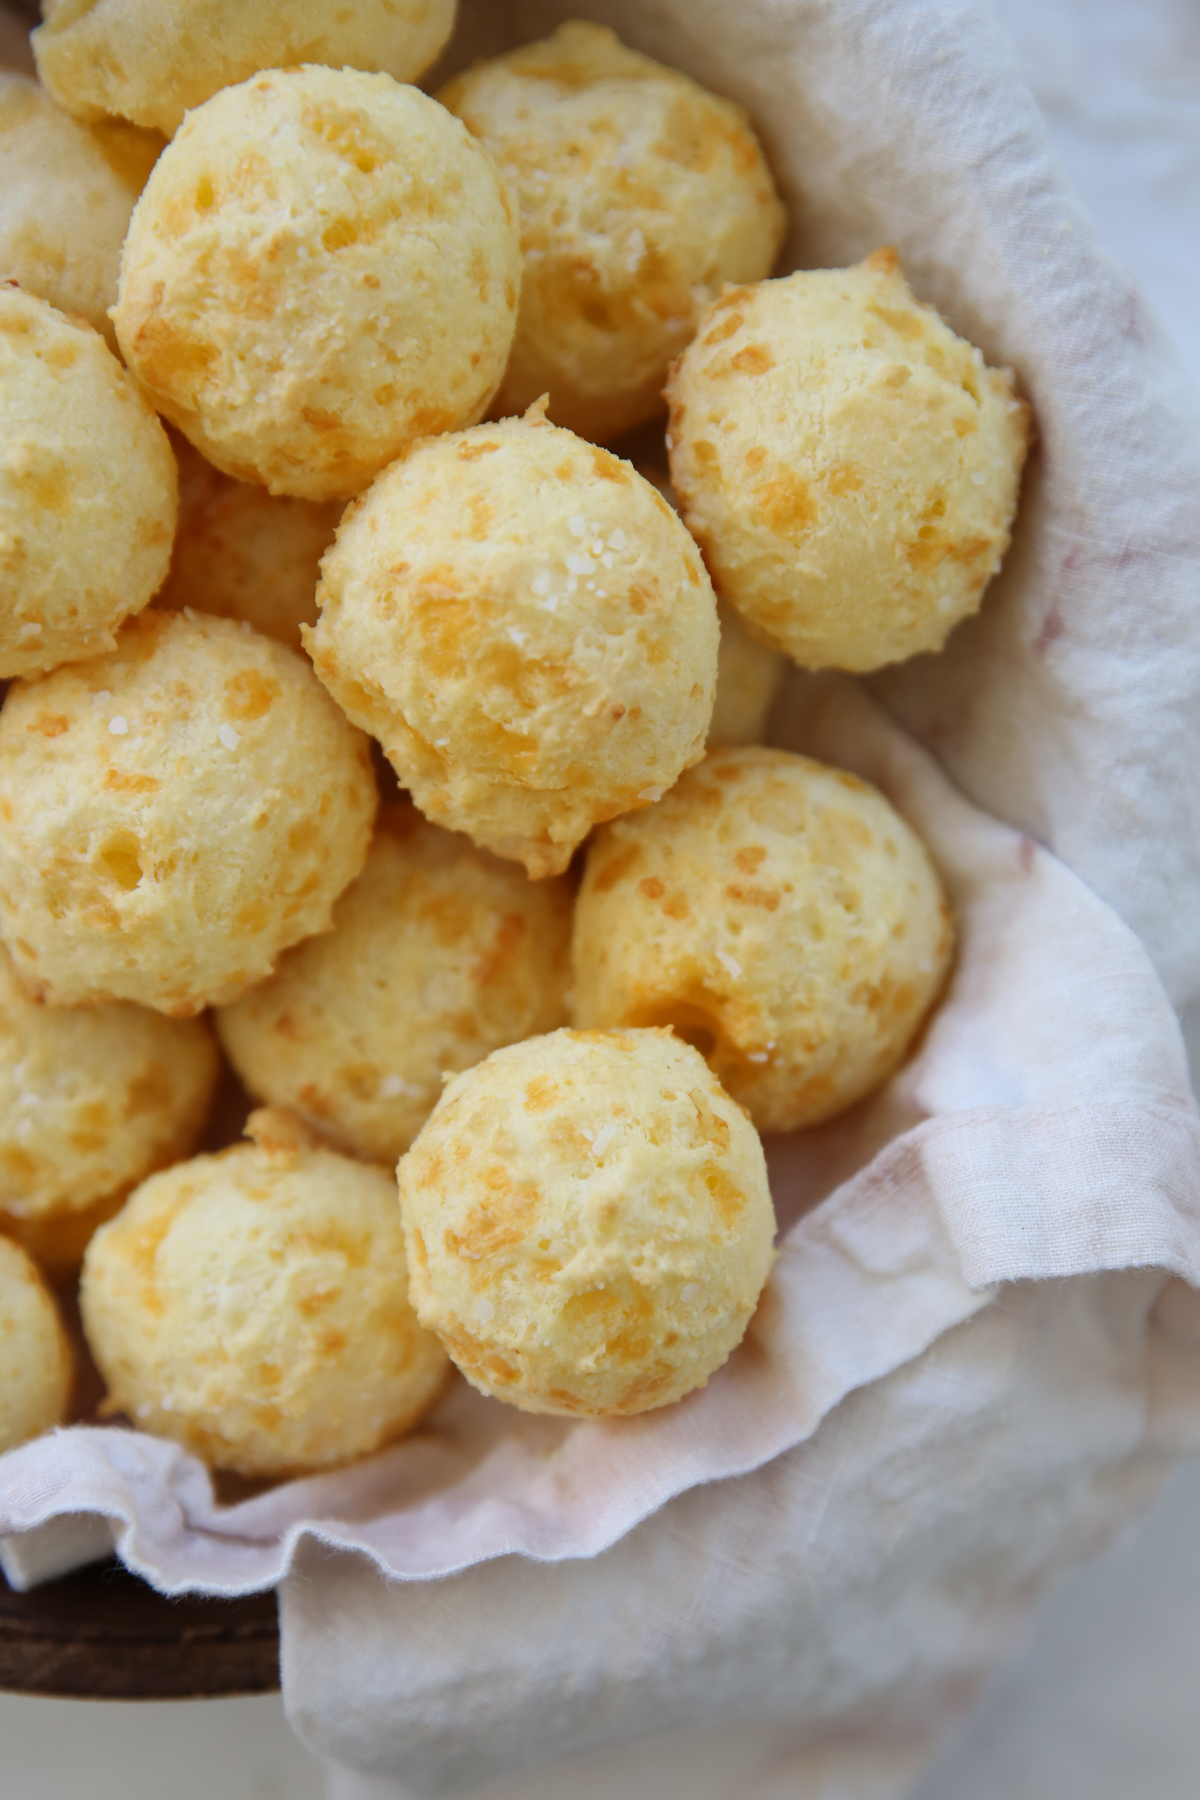
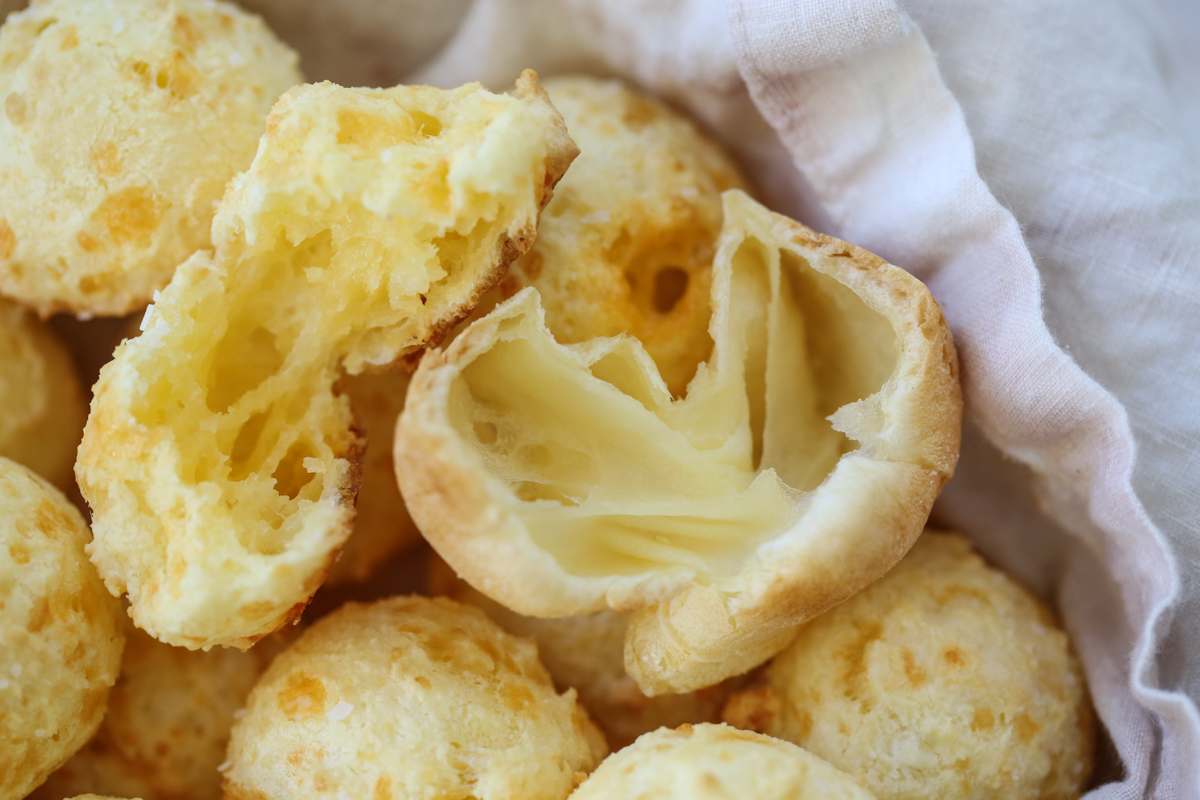
- The traditional method (shown above, R) where the wet ingredients are first heated and then beat together with the dry ingredients and scooped into little dough balls before baking. This results in: A traditional roll with a slightly crisp outside and a soft chewy center.
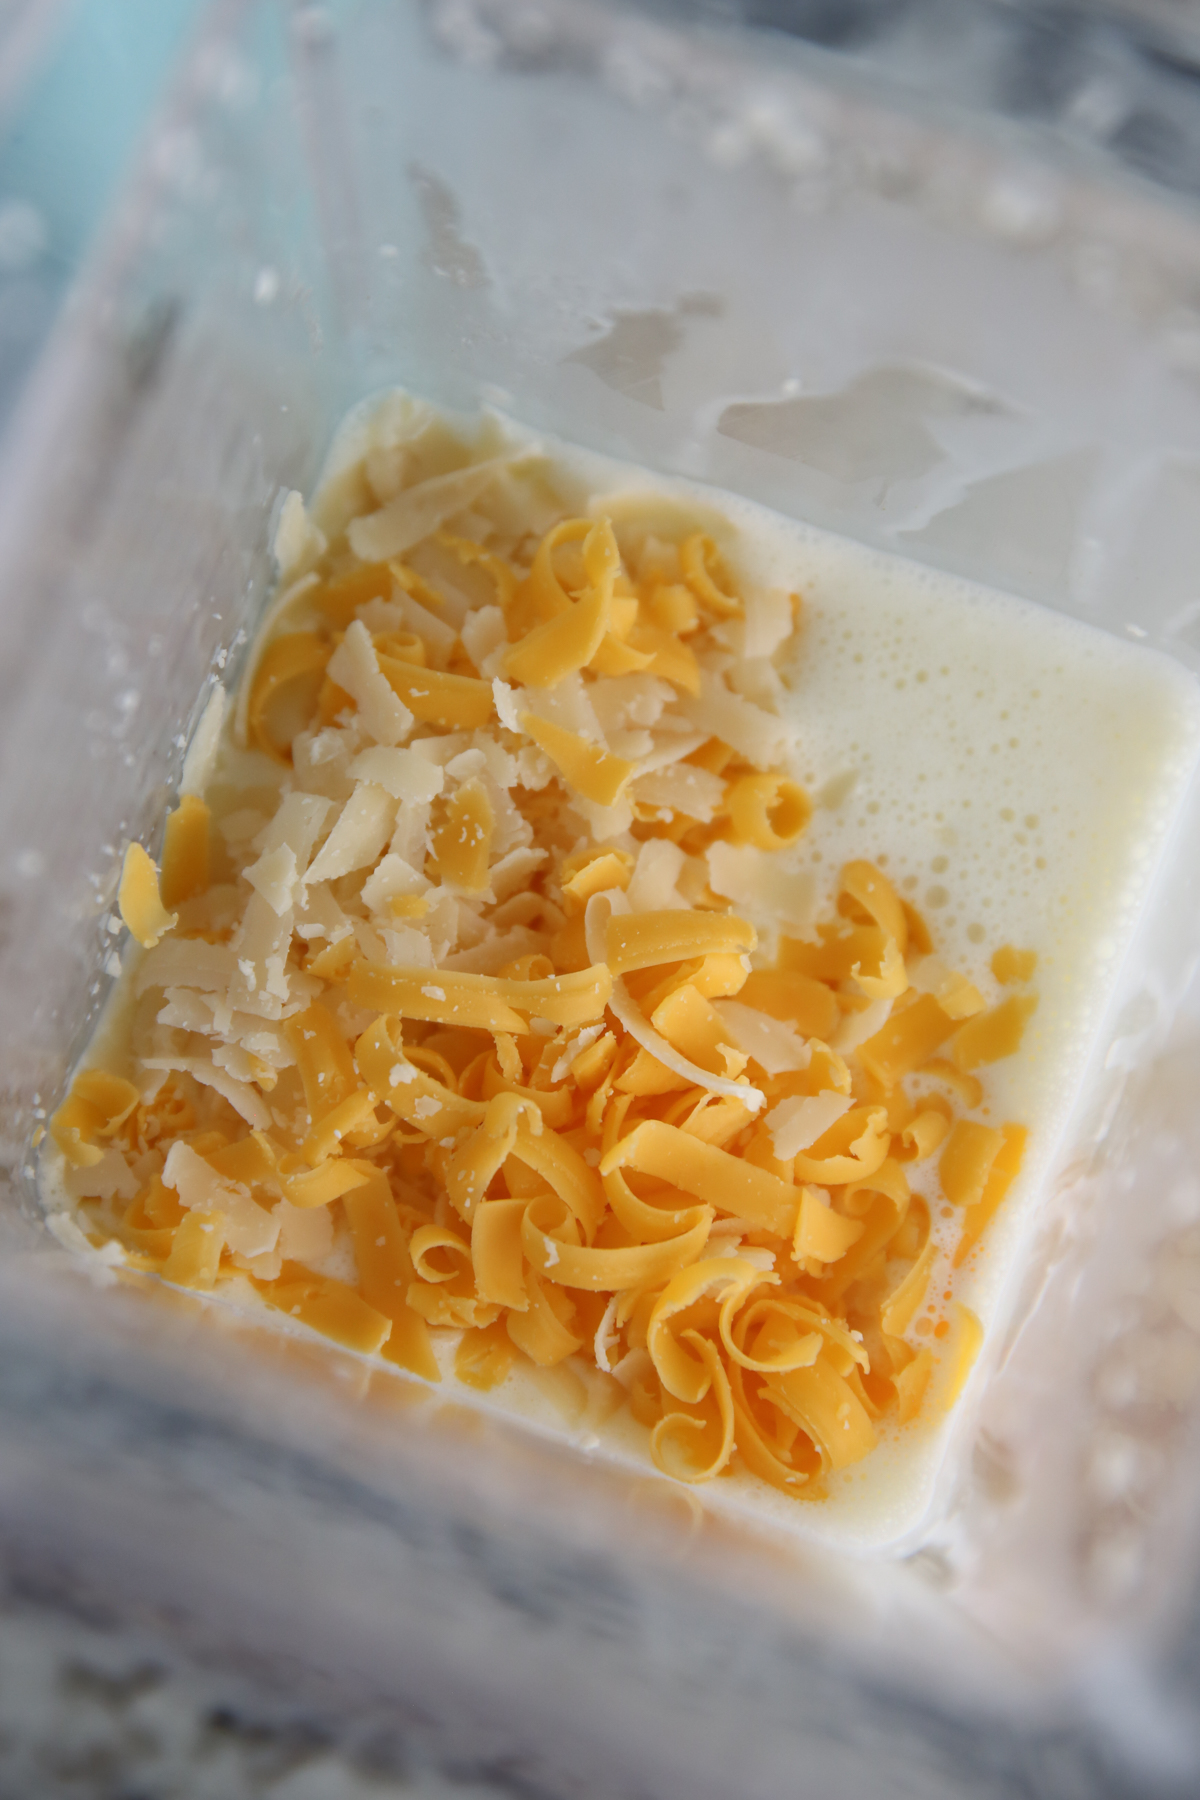
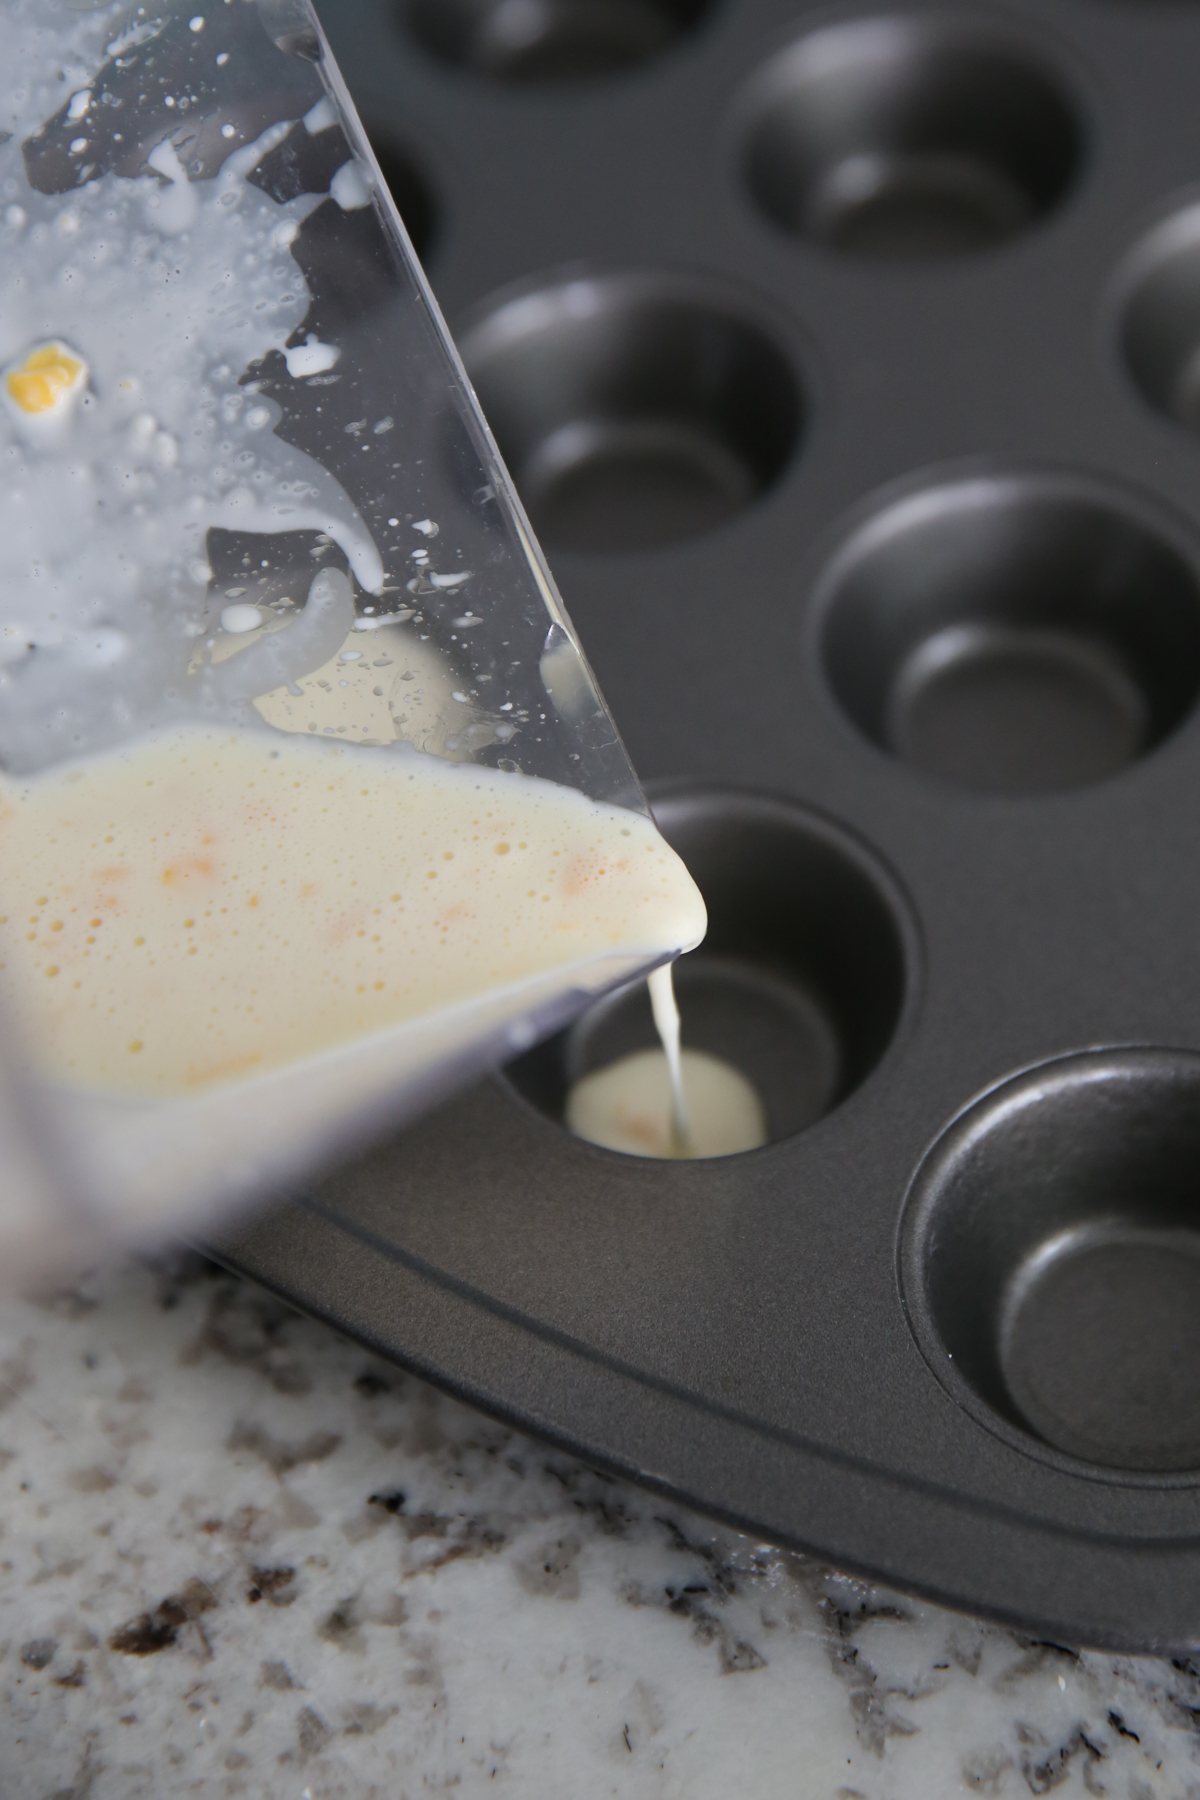
- The shortcut version (shown above, L) where you put all ingredients in a blender and pour the ultra thin liquid batter into a muffin tin. This results in: A flavorful roll with the same chewy texture, but not as much density. These often puff up with hollow centers, and shrink after baking. The outside is a little thinner, but still delicious. Here in this photo you can see the blender method roll on the right and the traditional method on the left. Both super delicious!
Ingredients and Equipment List
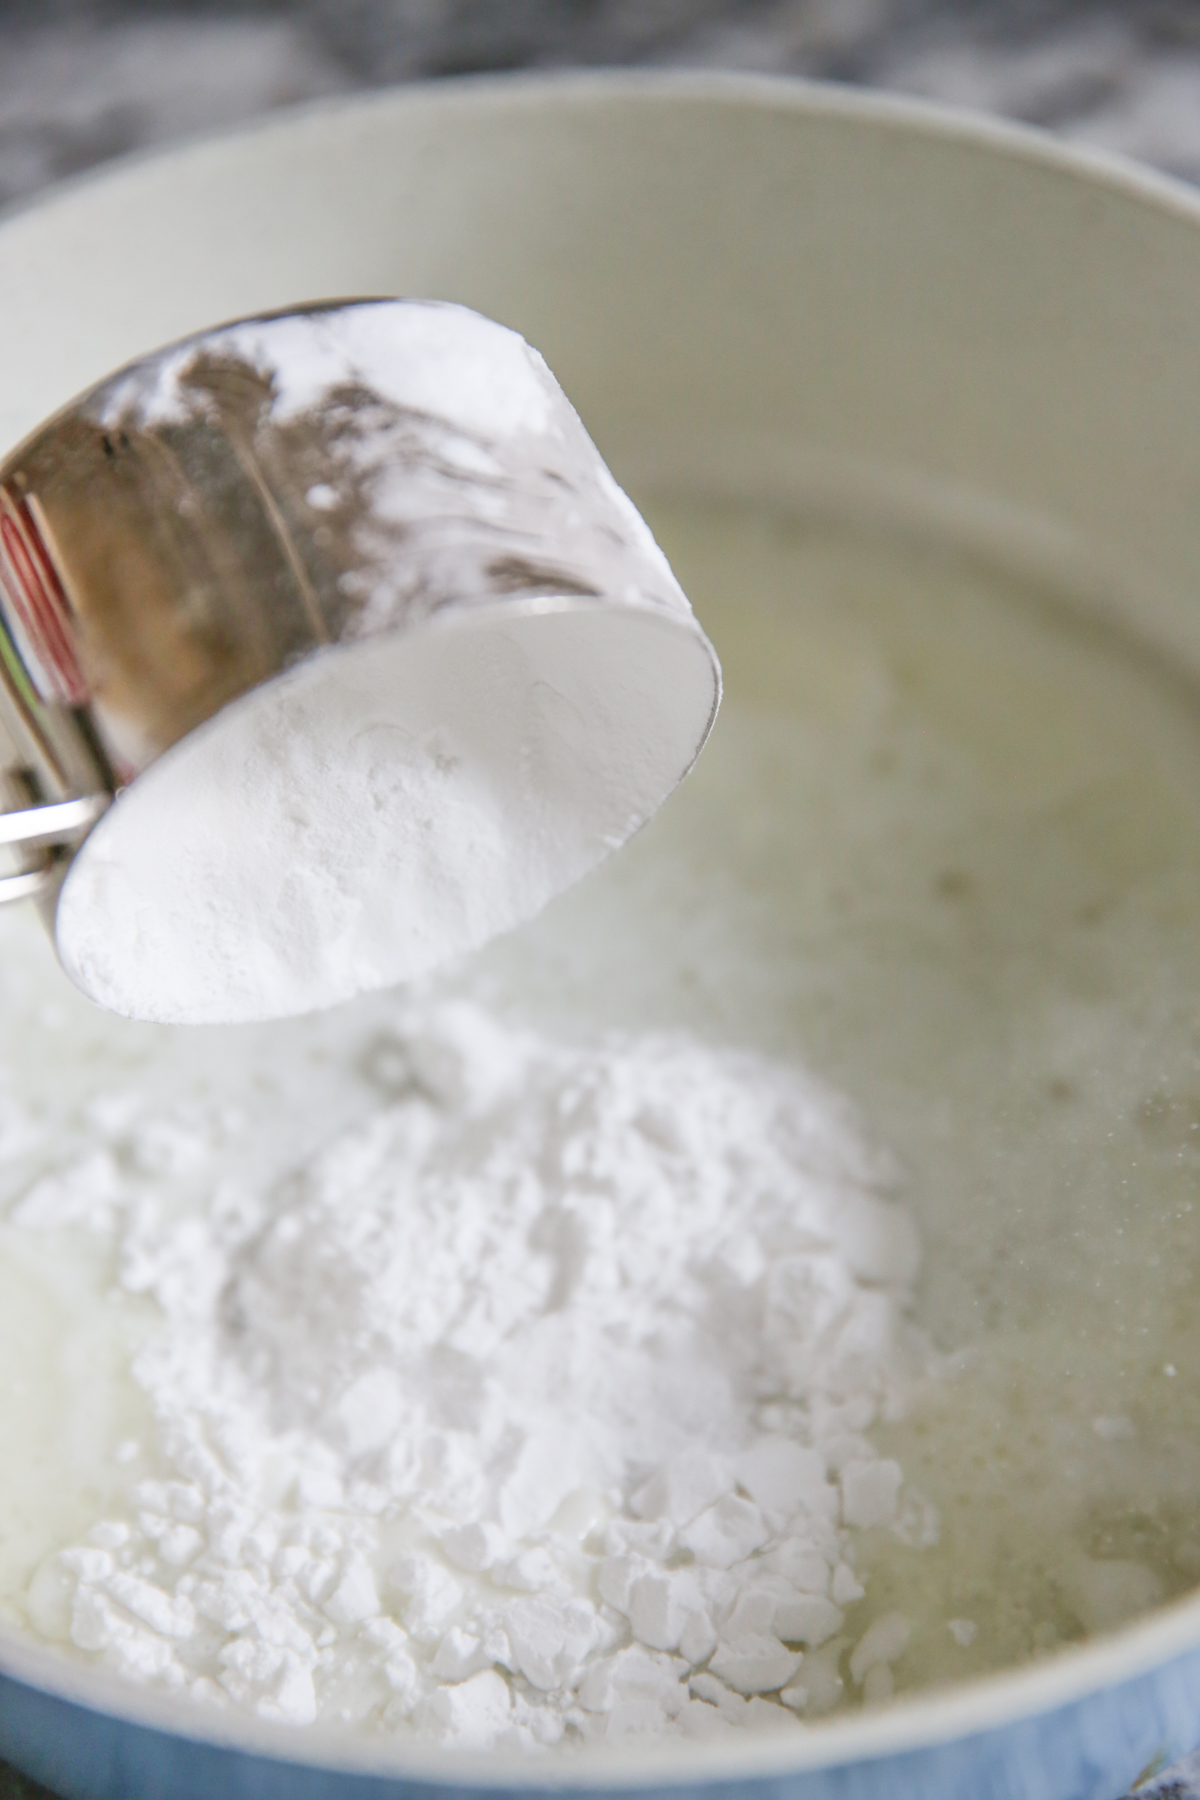
Tapioca Flour– look for tapioca flour in the specialty flour section of the grocery store, or online. I have also found it sometimes in the bulk foods area of stores like WINCO. It’s a naturally gluten free flour. If you happen to be serving these to a person who needs to avoid gluten for medical reasons, avoid purchasing from bulk bins where there can be risk of cross contamination. Egg – Egg acts as a binder and helps produce the chewy texture. I’ve never tried these with any egg substitute. Milk – You can use any milk in this recipe, though I prefer one with a higher fat content, like 2% of whole. If you don’t have those, use whatever is in your fridge, including a plant based option if you need to do that for dietary reasons. Salt – without salt, these will turn out quite bland! I use kosher salt. If subbing table salt, decrease the amount slightly. Cheese – feel free to vary the cheese and discover new combinations. I prefer to use medium or sharp cheddar and parmesan, but most cheeses work well. Stronger flavored cheeses will produce a more flavorful roll.
Instructions
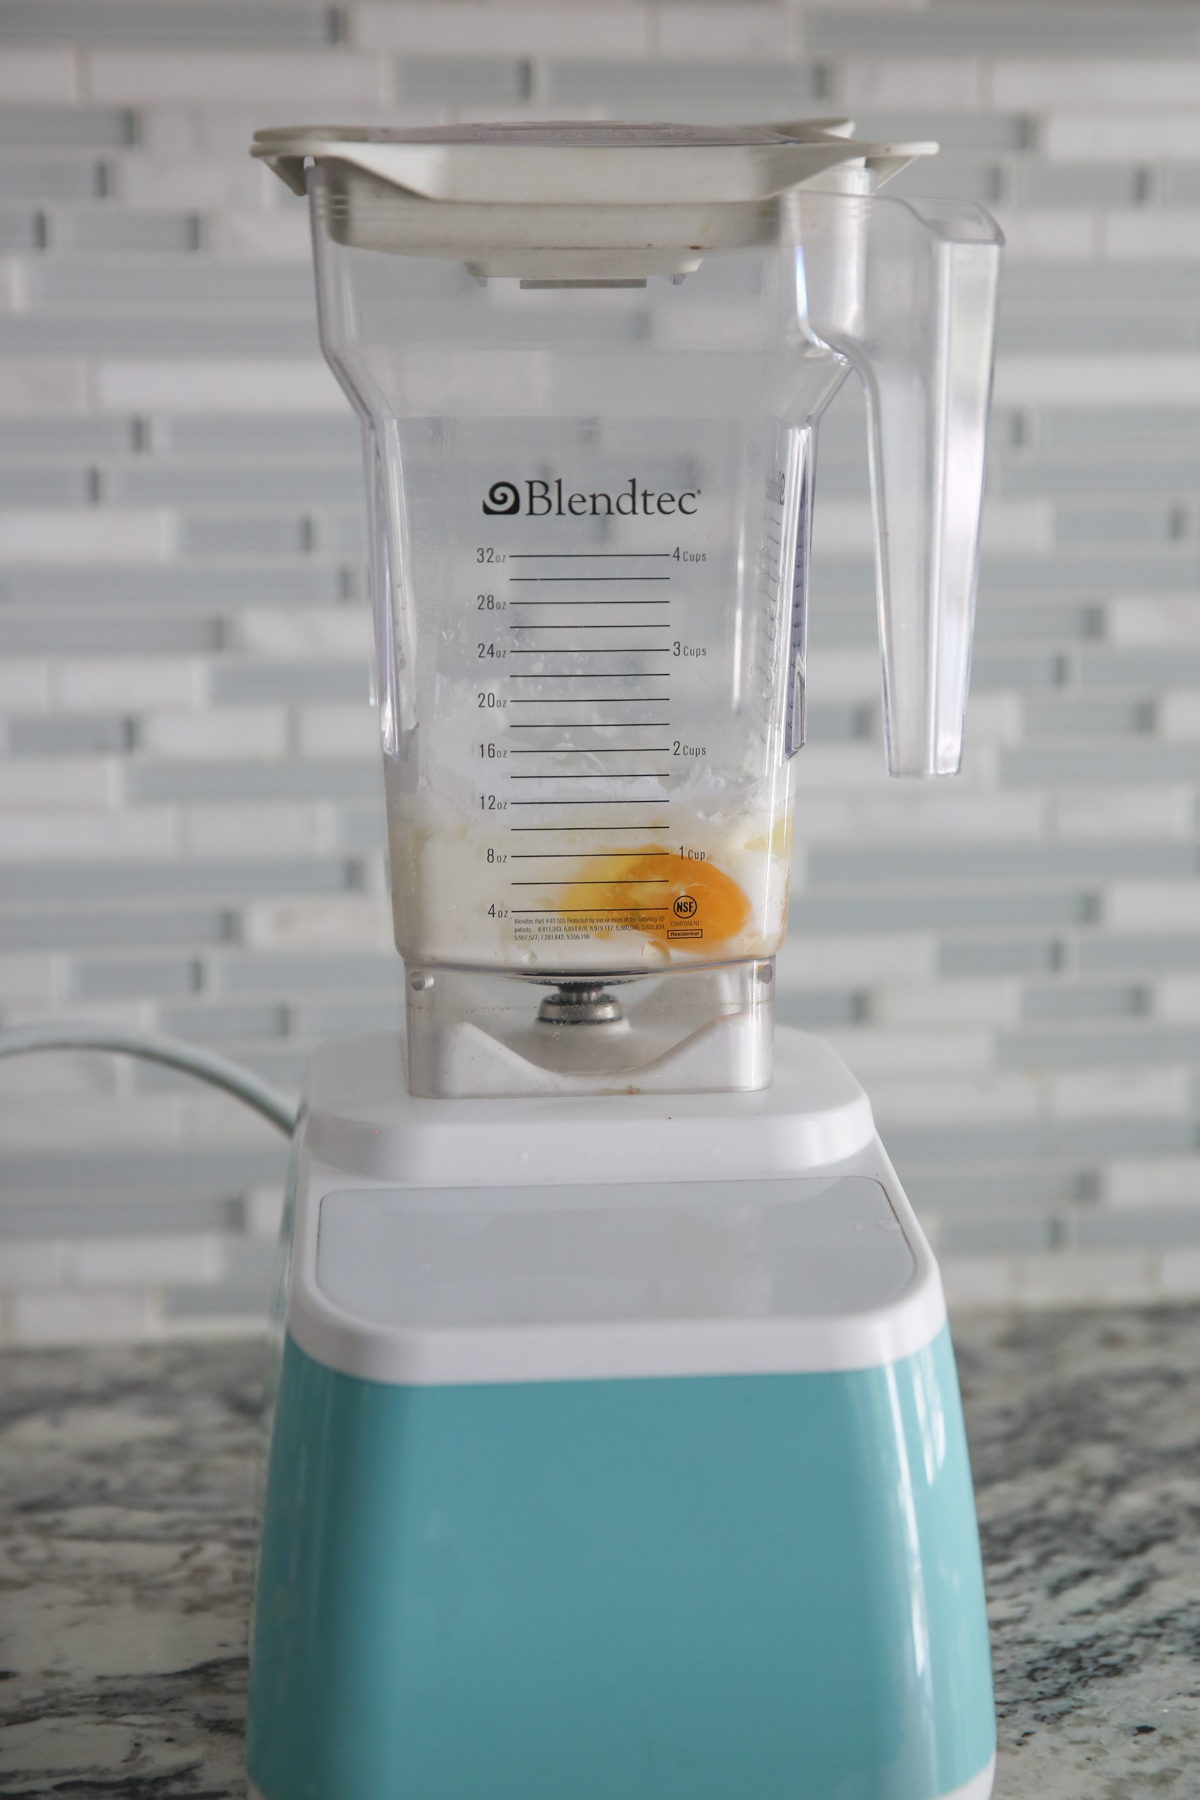
BLENDER METHOD
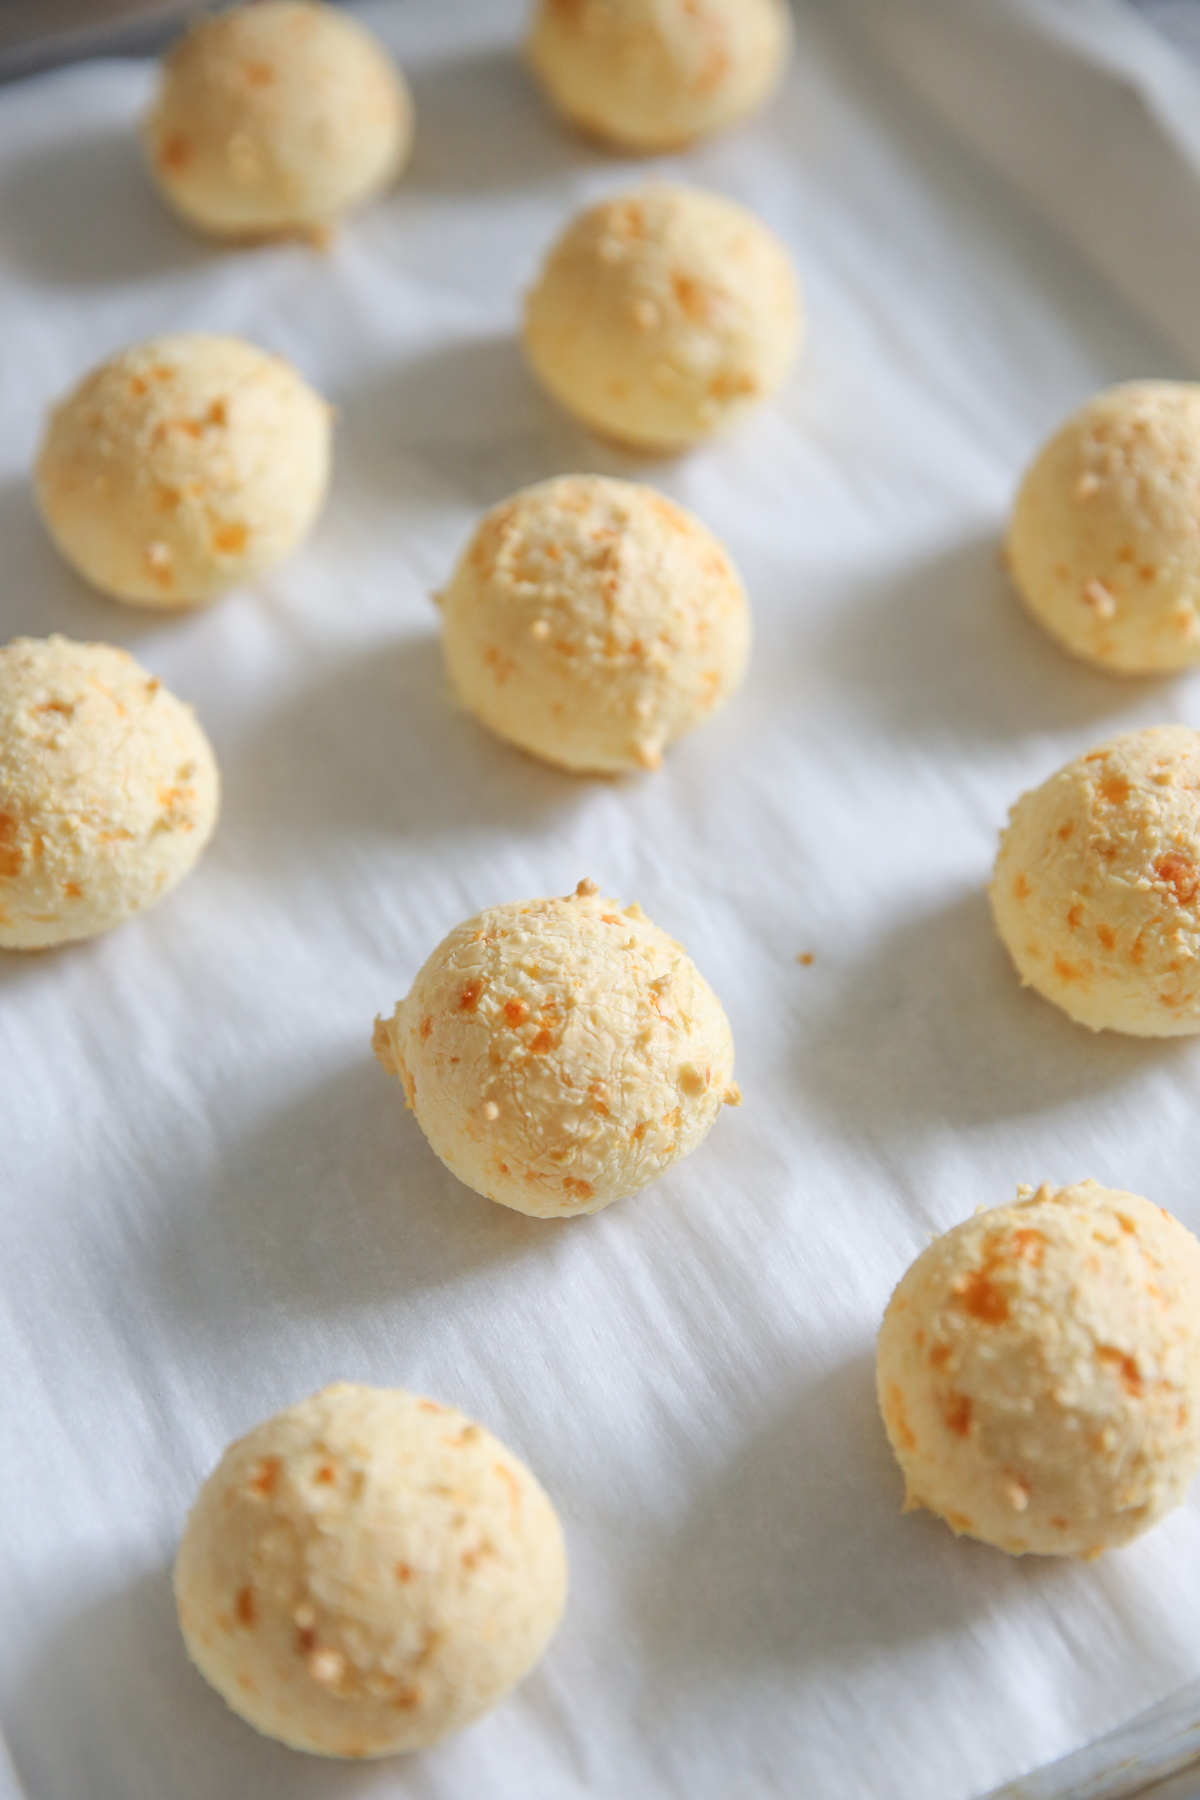
TRADITIONAL METHOD
Pay attention to the photos and my explanation here, because while I have made these a ridiculous number of times over the years, the finished dough, with the exact same ingredients and measurements (even weighed to be sure) often turns out with completely different consistencies. And it’s okay!
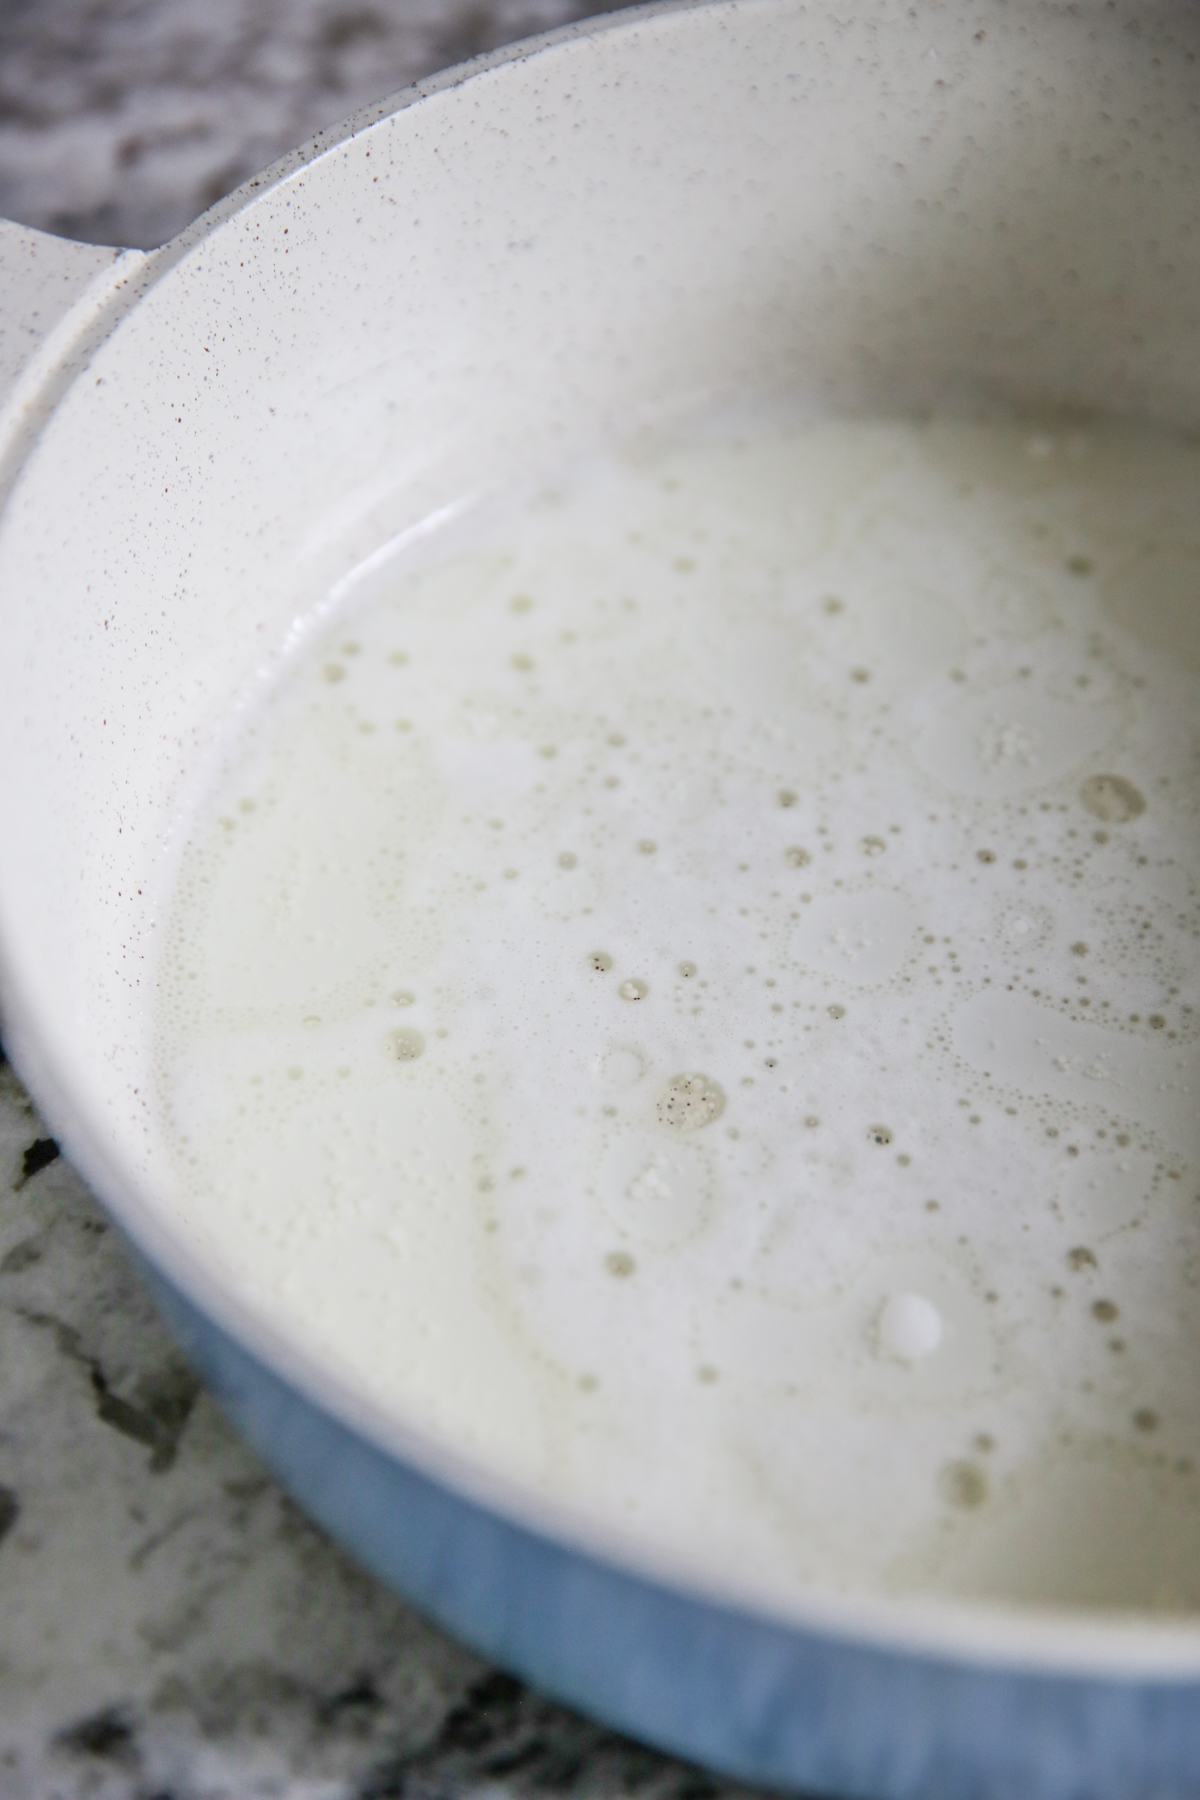
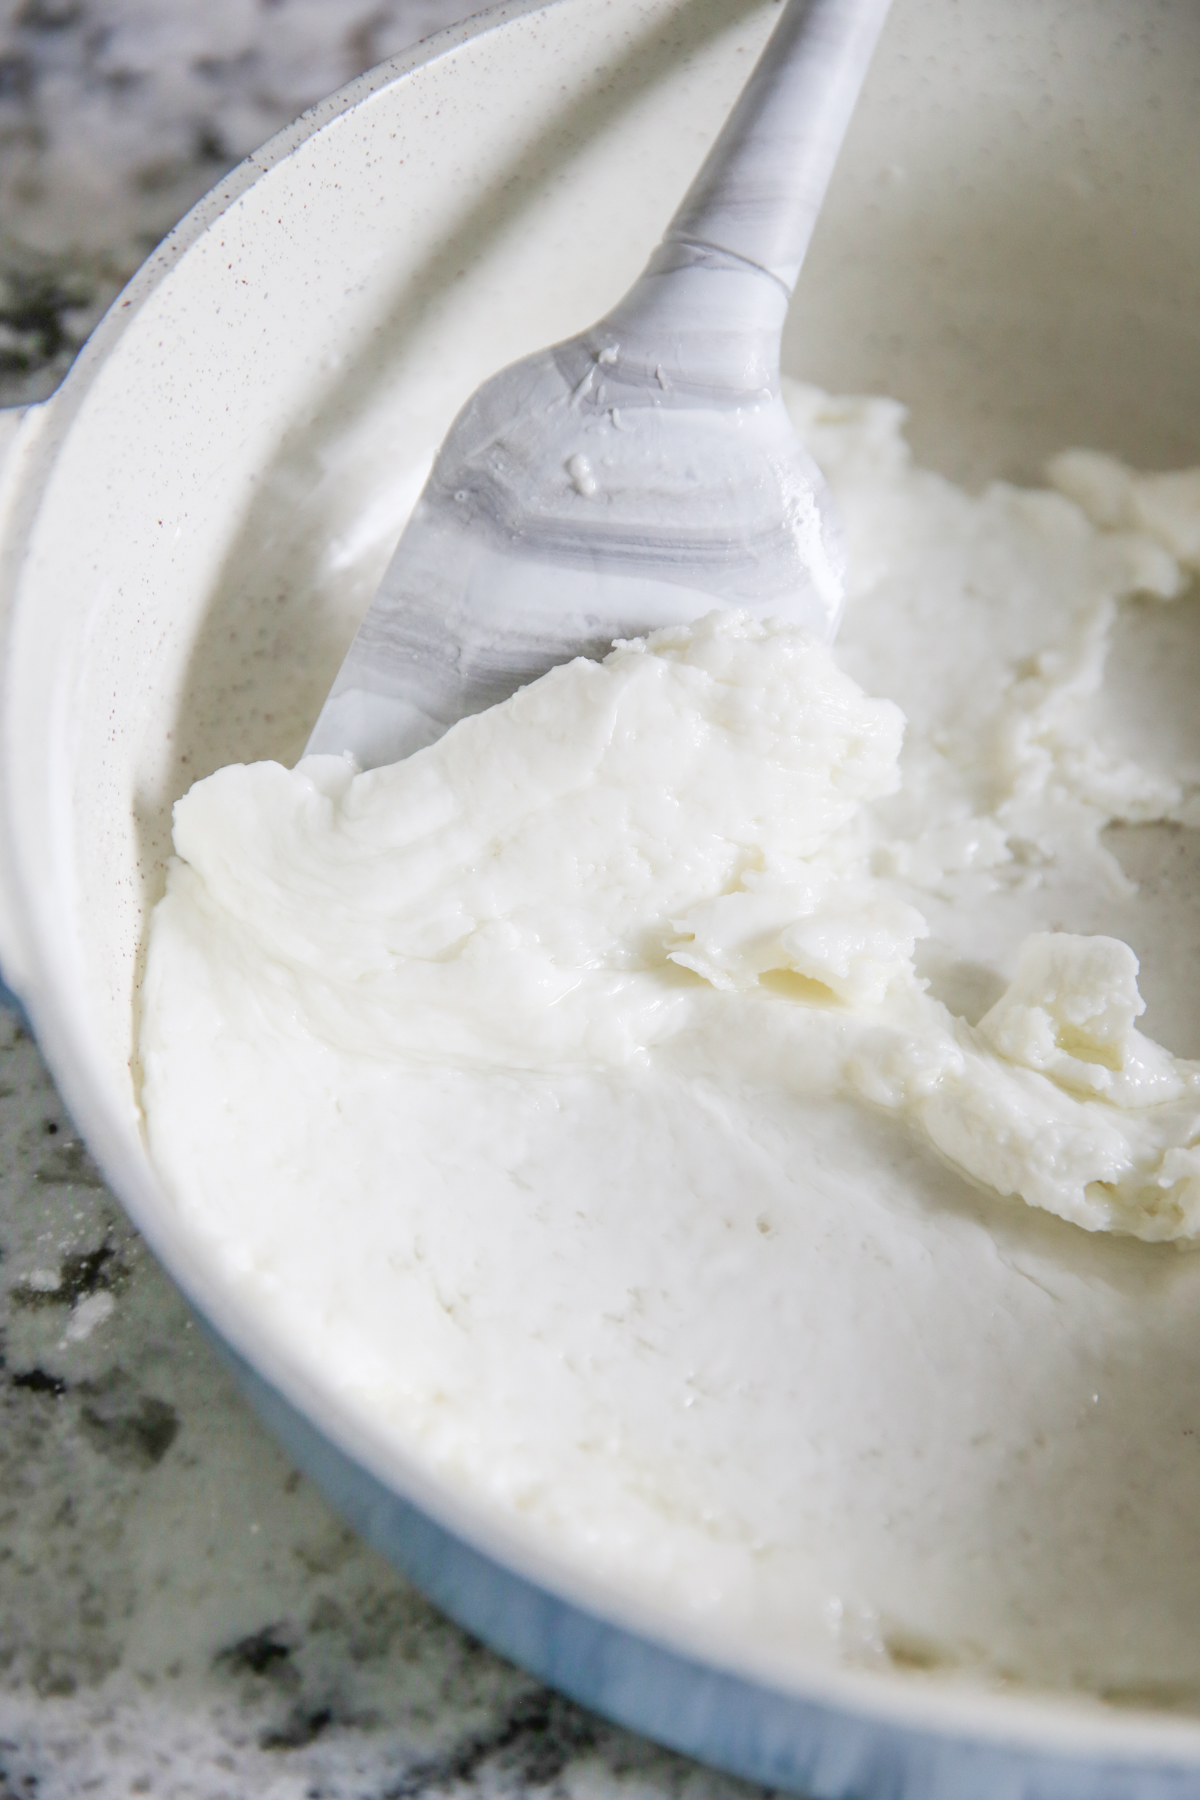
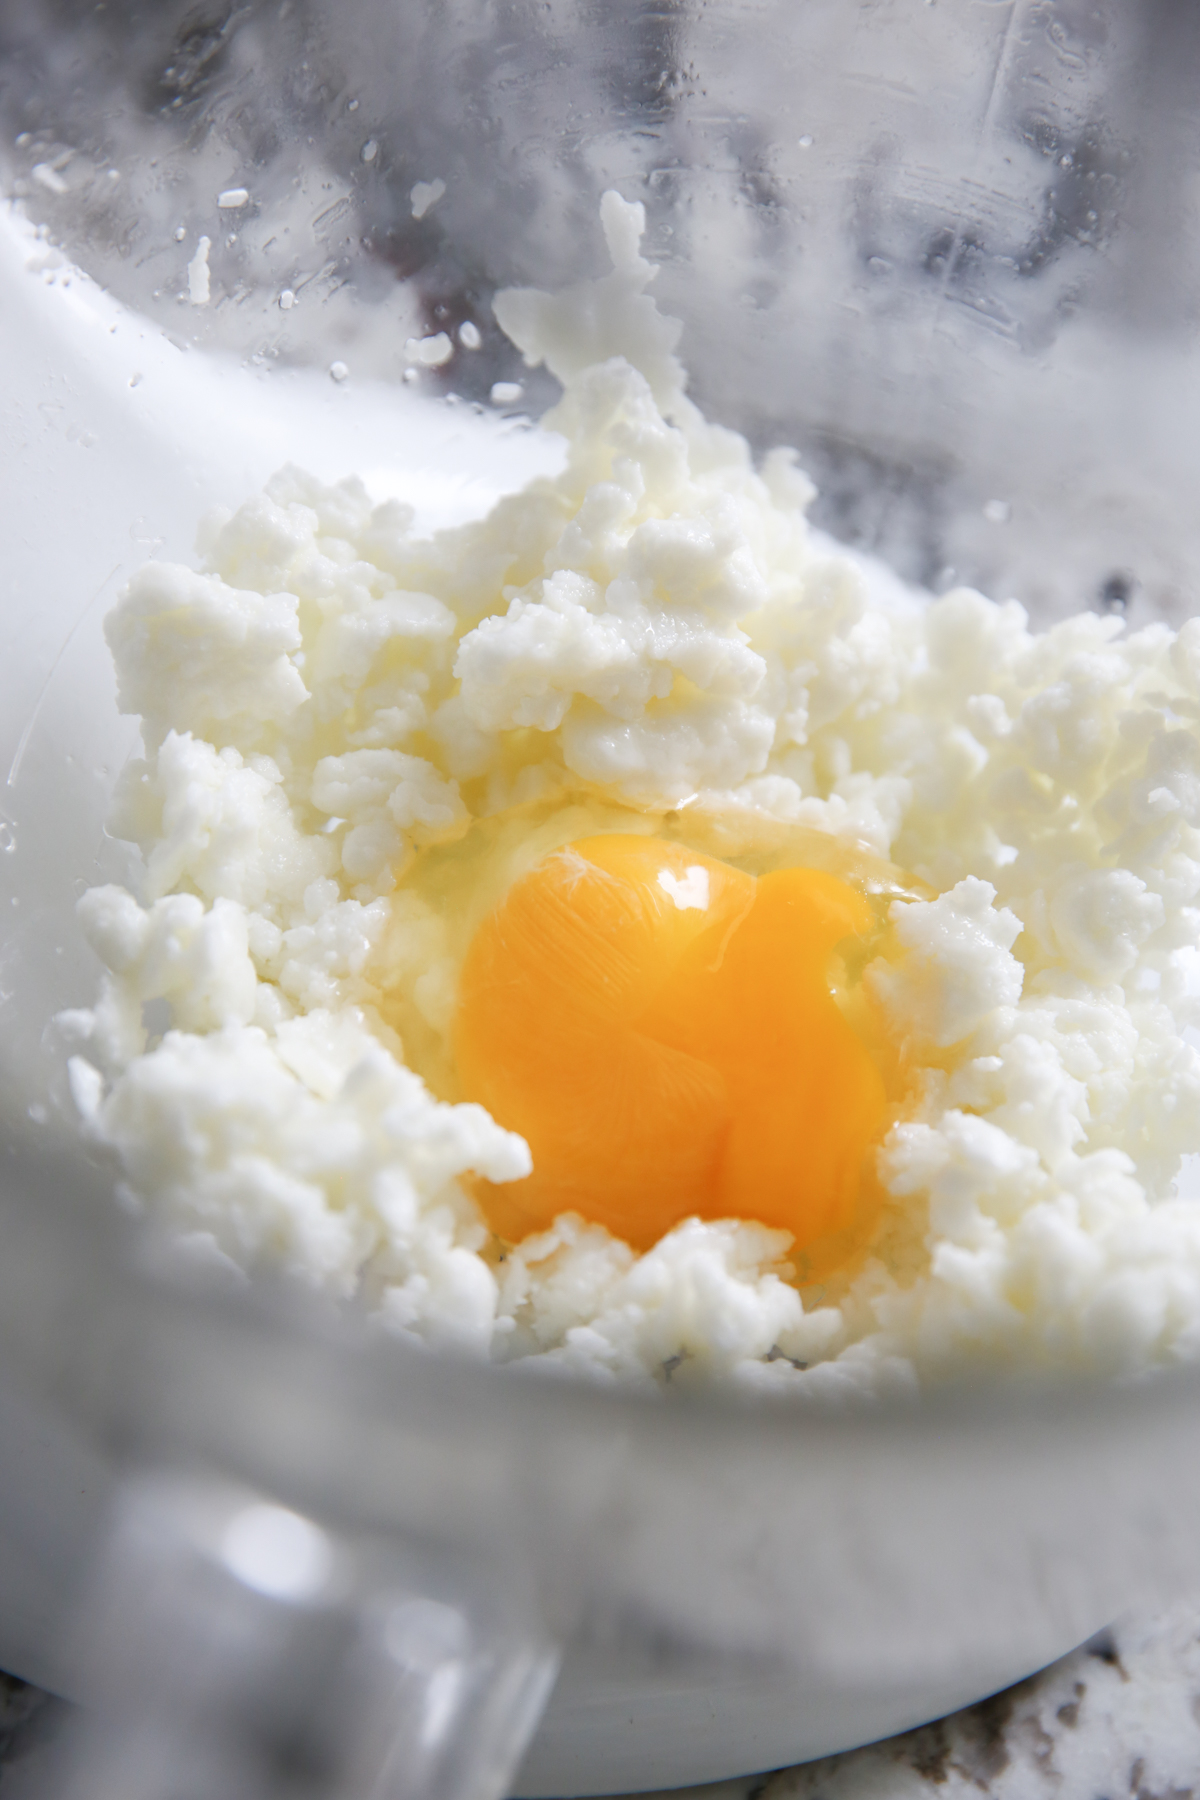
Here’s where it gets interesting. Sometimes this mixture comes out smooth and silky like playdough. Other times it’s crumbly like wet sand. You’ll notice the smooth version in the pan below left, and the crumbly batch (with the egg on top) on the right. The lack of consistency has driven me crazy for years, but after trying other people’s recipes and encountering the same thing, I think it’s just part of the fun haha. I know that different brands of tapioca flour have different levels of absorbency, but even with the same bag of flour, I find this still happens, so now I just go with it. Bottom line- either of these outcomes is okay!
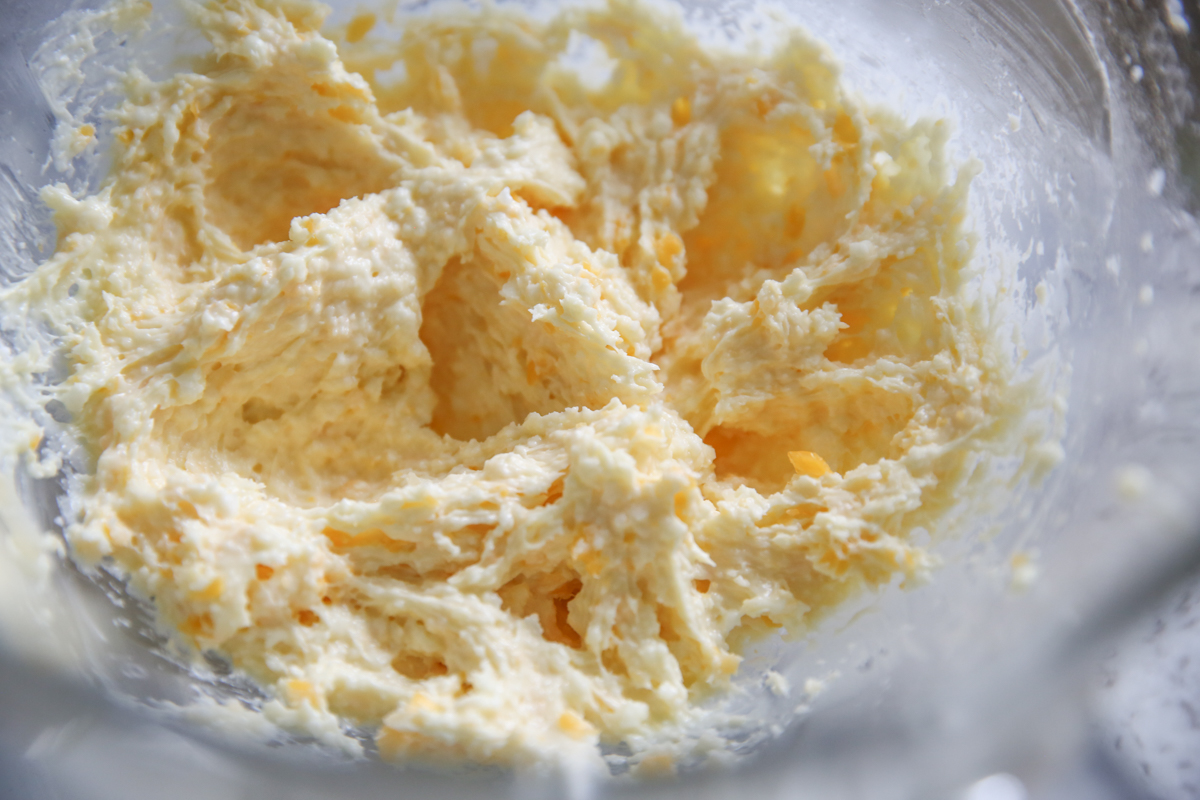
3. The next step is beating in the egg, and then the cheese. Ideally, your mixture should look like a wet cookie dough:
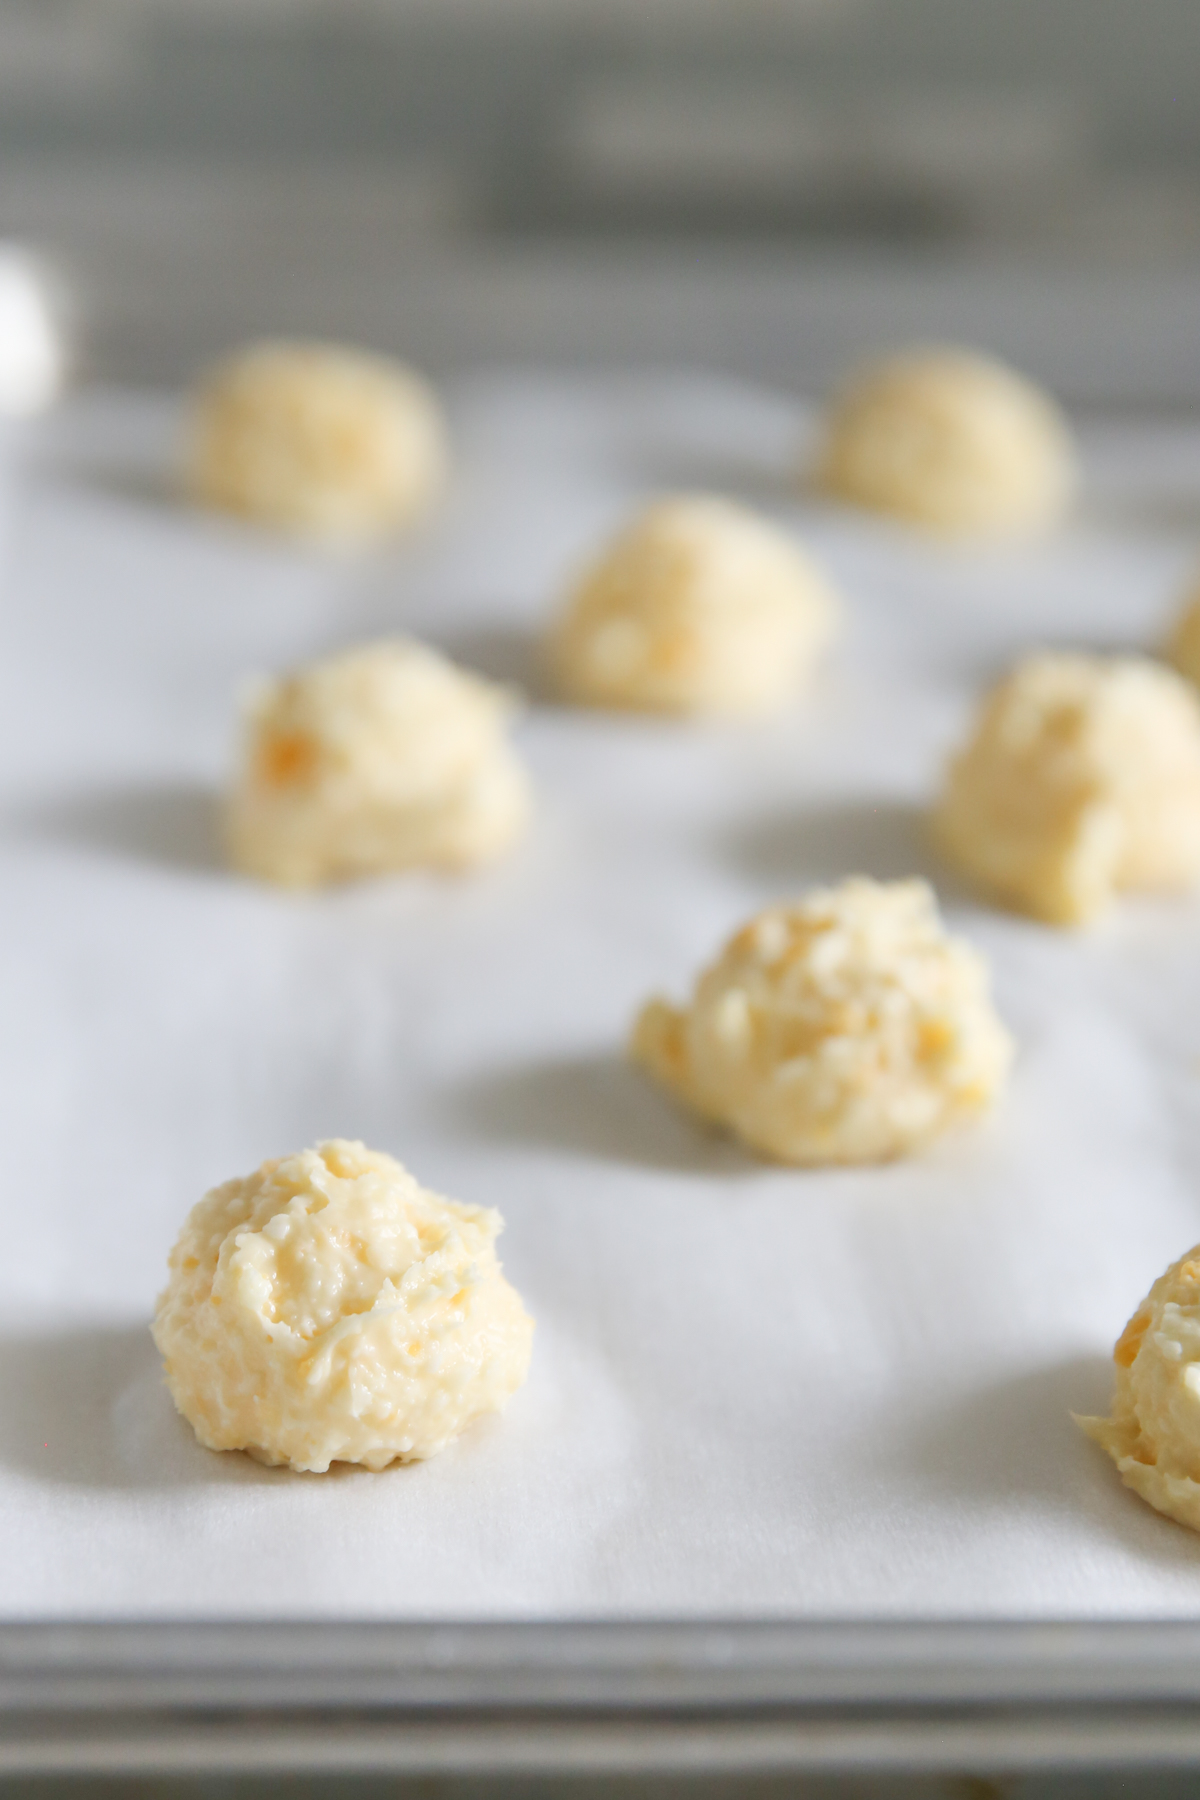
4. You can then use a cookie scoop to drop it on a baking sheet and bake until puffed and golden.
SOS!
But let’s say your batter is super runny! There’s no way it will hold its shape. Guess what? Happens to me too! Sometimes it just does that. No problem! If it’s just slightly too wet, you can simply add a bit more tapioca flour and even a bit more cheese. If it’s really loose, simply spoon your batter into a muffin tin (mini OR full size) as opposed to the baking sheet, and they will bake right up and be absolutely delicious. They’ll be a little crispy on the outside and soft, tender, and chewy on the inside. The yield is anywhere from 16-24 rolls, depending on how full you fill your muffin pan. I fill mine pretty full (a good 3/4 full) and I generally get about 16-18.
Can these be made ahead? These are best eaten fresh, but you can absolutely make the dough/batter ahead of time. With the traditional method, refrigerate dough in an airtight container for up to 2 days. Chilling also helps it set up if it’s a little runny. Can you freeze Pao de Queijo? The baked breads aren’t as good after freezing, but if you use the traditional method of preparation, you can scoop the dough onto parchment and then freeze. Place frozen dough balls in an airtight container or zip top back for up to 3 months. Bake from frozen, adding a few minutes onto baking time.