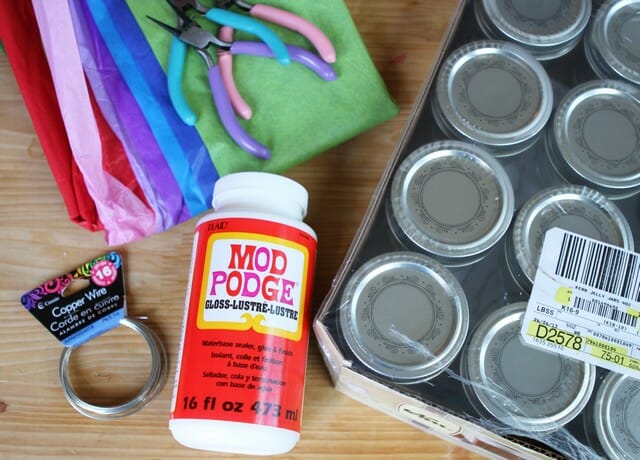
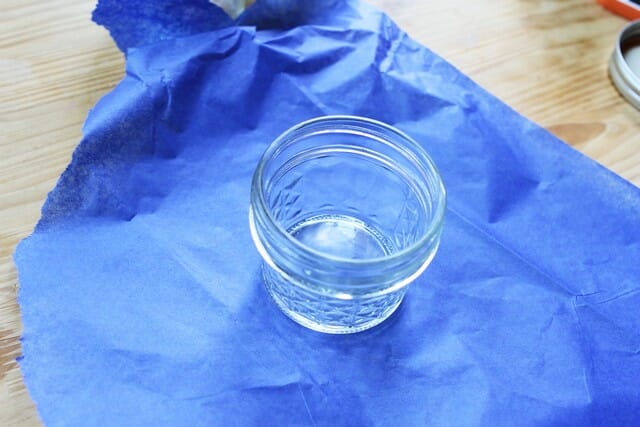
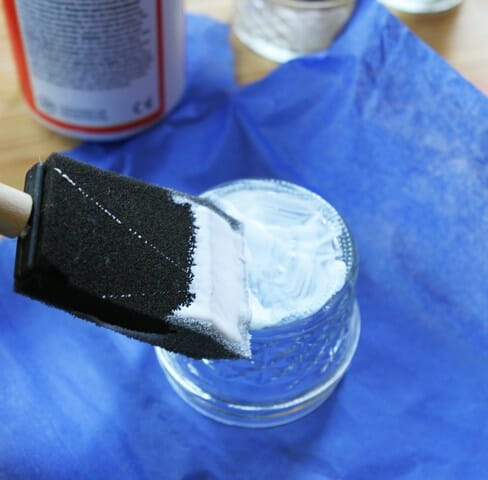
This is likely our last summer here, so I’m trying really hard to have a good attitude this summer. It doesn’t hurt that we’re leaving for the most unbearable weeks, but until then, I’m trying to make the most of our grill, and our deck and backyard that made us fall in love with our house in the first place. Before we ever owned a house, I dreamed of summer parties in our backyard with those strings of outdoor colored lights. So when the first summer in our house rolled around, I excitedly headed to Target to check out their lights selection. Turns out this was a flawed plan. The strands were too short, there was no good way to plug them in without creating a tripping or clothselining hazard, and they were so expensive. So as we all know, I am not the crafty one in the Our Best Bites relationship, but I can be if a) I’m desperate enough and b) it’s foolproof enough. Which was how these lanterns came to be. We made these a few years ago for a summer party and they created such a charming, magical atmosphere that I was actually glad the strands of lights didn’t work out. For the lanterns, you’ll need 4-ounce glass canning jars, colored tissue paper (I used a multi-color pack, but you could use any colors to match a theme like, say, red, white, and blue for the 4th of July), Mod Podge, and wire (for these, I used 16 gauge wire, but you could go a little thinner if you want). You’ll also need some pliers and wire cutters; I bought a multi-pack in the craft section of Walmart for just over $5. My husband informed me that he had all those pliers and wire cutters in the garage, but I informed him that they did not have soft pastel handles. Kate 1, Sam 0. Remove the lids from the jars and tear off a square of the tissue paper you’d like to use. Paint a thin layer of Mod Podge over the jar…
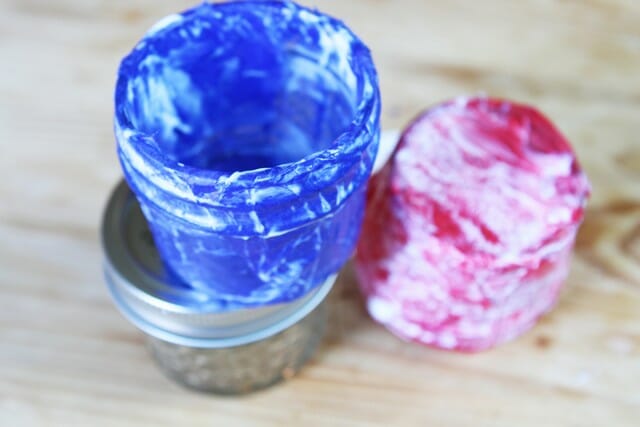
Then just tear strips of the tissue paper and layer them onto the jar. The good news is that this is SUPER forgiving (believe me…I don’t do unforgiving crafts), like so forgiving that most kids can help with a little supervision, so even if it’s horrifyingly ugly for a few minutes there, chances are good that when it dries, it will be awesome. The key is just making sure you’re using enough, but not too much Mod Podge and that the tissue paper is sticking flat to the jar. When you’ve covered the jar with tissue paper, carefully paint the tissue paper-covered jar with another thin layer of Mod Podge and allow it to dry completely.
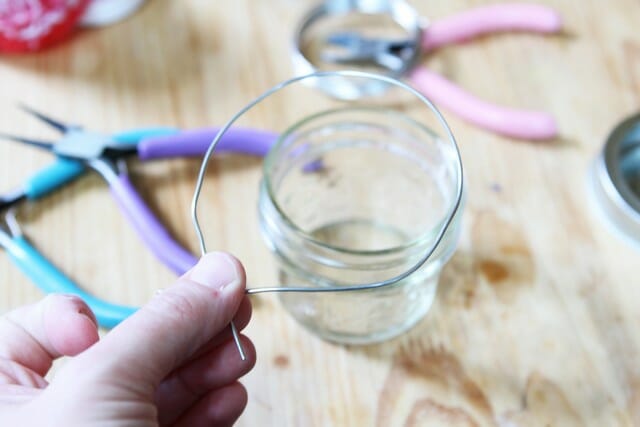
When the jars are dry, wrap some wire around the opening of the jar and then cut it so you have about 1-2 inches extra to work with.
Wrap it around the jar,
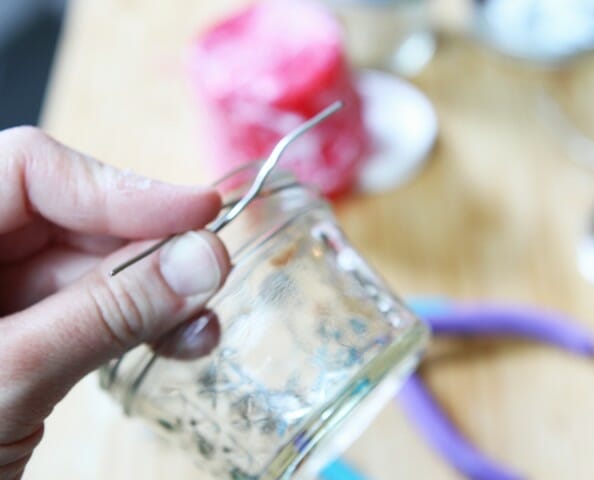
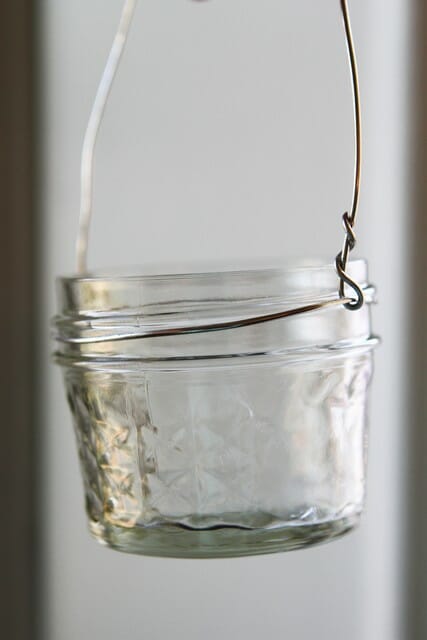
making sure it’s secure but loose enough to slip another wire between this wire and the jar. Use the needle nose pliers to help twist the ends securely. Clip any sharp or long wires if necessary. Cut another 6-8″ length of wire and slip each end between the first wire and the jar, using the pliers to securely twist the wire, forming a handle.
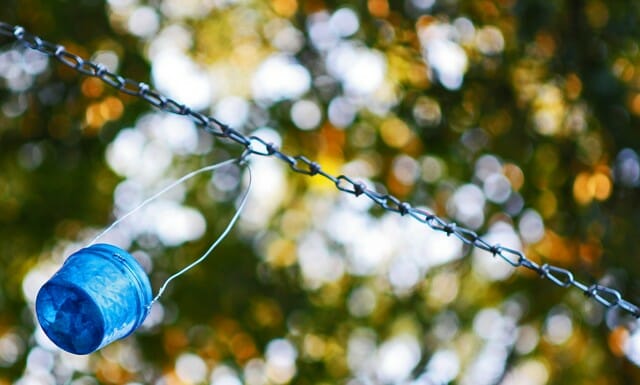
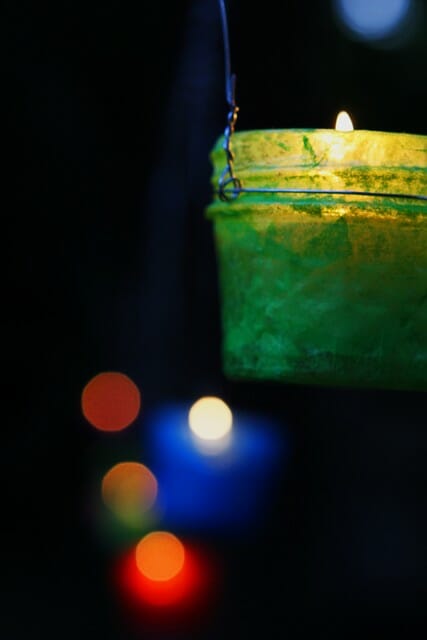
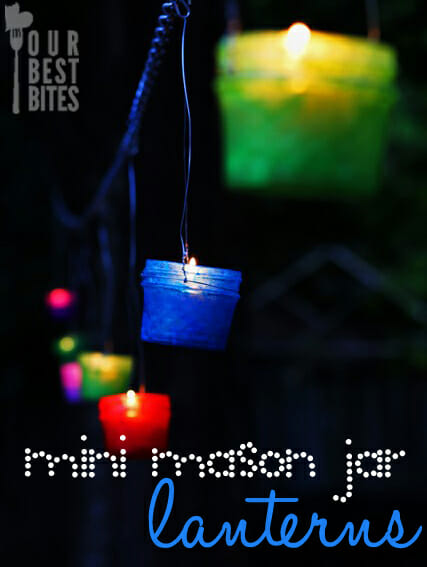
Now you can hang these wherever you want! I hung some of mine on the posts on my deck and then I (and when I say “I,” I mean my husband) hung a chain between a tree and my house and we then attached s-hooks to the chain and hung the lanterns from the hooks.
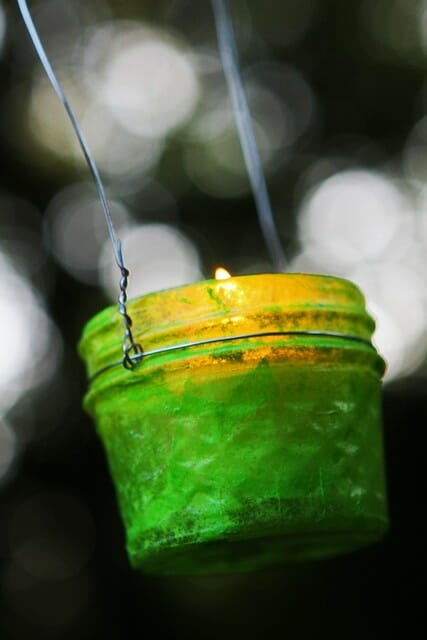
We put tealights in each jar (if you’re nervous, especially if you’re hanging these from something flammable, you could put an inch or so of sand in the bottom) and then transformed our backyard into something magical.
My kids ooh and aah every time we bring these out.
I hung these up and then was taking pictures periodically while the sun went down. And while I was waiting, I laid down on my back and stared at the sky, which I haven’t done in…well, I can’t remember how long.
It was like being a kid again. And then I got, like, 34 mosquito bites and I called it a night. Summer is awesome.