The only guide you need to make perfect marshmallows!
Skip ahead to the recipe if you like, but make sure to read the post for all the tips and to learn the basics of the process.
When it comes to marshmallows, I’ve been spoiled. I’ve enjoyed PERFECT homemade marshmallows since I was little, because my grandmother was an absolute pro at making them. She passed on the obsession to me, and I’ve been fluffing ’em up for as long as I can remember. I’ve shared these butterscotch swirled marshmallows on the blog before, but decided it was time to make a detailed, troubleshooting post with all tips and tricks I’ve learned along the way, so that I can show you how easy it is to make the fluffiest, most divine marshmallows in the comfort of your home.
So why bother making homemade marshmallows?
Well, as cliche as this sounds, they really are SO MUCH better than any store-bought marshmallows. Store-bought marshmallows just don’t have that pure, irresistible, marshmallow flavor or the melt-in-your-mouth fluffiness. And if you try making s’mores, you’ll find that homemade marshmallows have a really desirable melting quality that store-bought marshmallows don’t have. Homemade marshmallows can be made in any size you want and you know exactly what goes in. And if you store them in an air-tight container, it’ll keep pretty much for ever. I mean, seriously. There’s nothing in it that can go bad over time, so they’ll keep for a really long time! And if all that wasn’t enough to sway you, how about this? Homemade marshmallows are really simple to make! 🙂 True story. And even if you’re nothing like me, I have a feeling if you try it once, you just might get hooked, just like I did!
So, let’s get to it. Here I’m going to show you step by step, how to make marshmallows at home. I’ll be sharing how to make homemade marshmallows WITHOUT corn syrup, as well as WITH corn syrup (and corn syrup substitutes). And then WITHOUT a sugar thermometer, and WITH a sugar thermometer.
Yes, it does make your life easy if you have a sugar thermometer (candy thermometer), but it’s not essential. After all, my grandmother slayed it without a thermometer for decades. This post is for anyone who wants to understand the process, and even adapt the recipe to what you have at hand. If you want to skip right ahead to the recipe, please do so. But if you do have questions about the technique, please make sure to take your time and read the post. First let’s talk about the ingredients.
What kind of sugar can I use to make this recipe?
I always use white cane sugar and this is what I recommend. Cane sugar tastes better, but granulated white sugar (that can be derived by other means, like beet) is OK too. You can use any kind of granulated white sugar. Substitutions – There are ways to use unrefined sugar too. You can make marshmallows with unrefined raw sugar, or brown sugar too. Again, you need to boil the raw sugar to the same stage as you would the white sugar. You can use maple syrup or honey too. Since these sugar substitutes have a higher water content, the process and quantities will be different.
Can I make homemade marshmallows WITHOUT corn syrup?
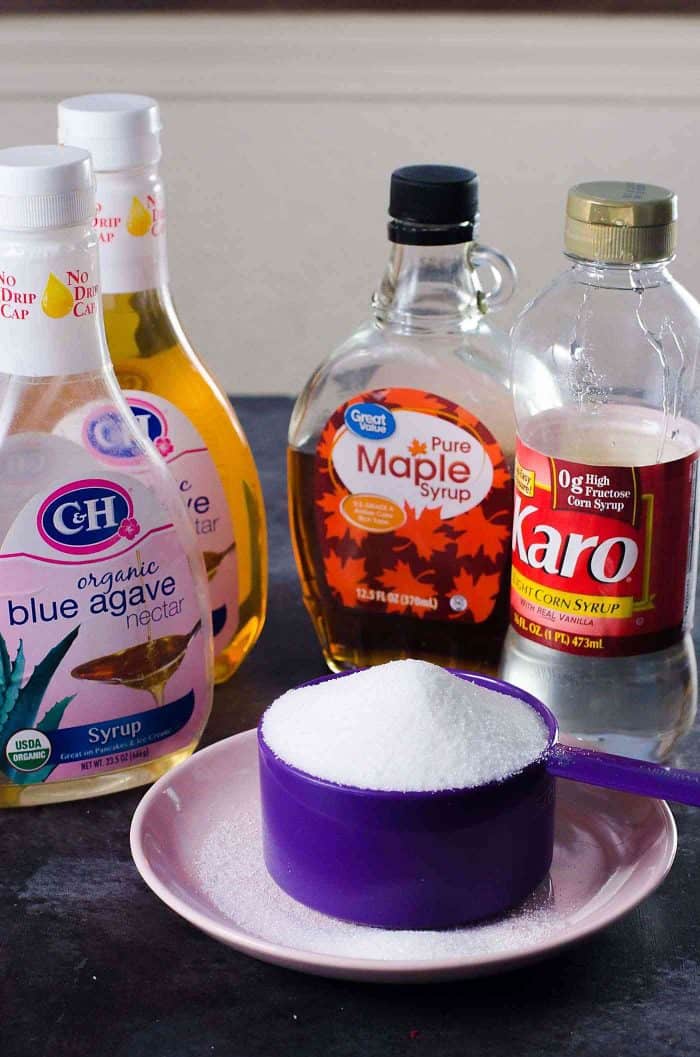
YEP! Although, it CAN be a little trickier to make marshmallows without corn syrup. The main reason why corn syrup is added is to prevent crystallization of the sugar syrup. When the sugar is melted and boiled to the point where it has 0% water, the syrup can revert back to it’s crystallized state in a hurry. All it takes is some cold water, one grain of sugar, or agitating the sugar syrup. The inverted sugar in the corn syrup helps prevent this from happening. It’s not fool-proof, but definitely helps protect the sugar syrup. If you prefer not to use corn syrup, you can leave it out OR substitute it with other inverted sugars like,
agave syrup OR golden syrup (which will add some flavor) ORmaple syrup ORhoney instead.
This will also help prevent the syrup from crystallization. However, if you’re making homemade marshmallows only with sugar (i.e. no corn syrup or agave), you can still totally do it. BUT, you need to be extra careful to make sure that you do not re-introduce sugar crystals, or cold water. And definitely DO NOT stir the sugar syrup. I mean it.
Can I use gelatin or agar?
Gelatin is the setting agent for marshmallows. If you’re vegan or vegetarian, you can use a recipe that uses agar instead. But just be aware that the texture will change. The texture is very important for me with these homemade marshmallows and that’s why I prefer using regular gelatin. Here is a good vegan marshmallow recipe from serious eats. One thing to note with gelatin is that it loses some of its setting properties at high temperatures. This is a problem when making marshmallows, because you’re basically adding very hot sugar (hotter than the boiling temperature of water) to gelatin here. So once the sugar has heated to the right temperature, let it cool down ever so slightly (until the bubbles subside), and then add the sugar syrup along the wall of your mixer bowl, while whisking the gelatin. This cools down the sugar further, while still melting and mixing the gelatin uniformly. I also prefer to WEIGH the gelatin, over using the packets. This is because I have noticed that gelatin packets can vary ever so slightly in weight, between brands and the size of the gelatin granules.
What’s the purpose of adding egg whites?
Whisked egg whites are sometimes added to marshmallows. This is especially popular among the French. The whisked egg whites make the marshmallows extra light and fluffy and a little more manageable, especially if you want to pipe shapes with the marshmallow.
As soon as the marshallow mix is whisked to its full capacity, it starts to set very quickly. The addition of egg whites slows down this process a little, making it easier for you to pipe shapes, like peeps or rosettes. The addition of egg whites makes the marshmallows softer. They have less of a “bite” than egg-less marshmallows (because there’s less gelatin per egg white marshmallow vs egg-less marshmallow).They melt even more easily!
I personally don’t like to add egg whites, unless I’m planning on piping marshmallow shapes. It’s just an additional step and honestly, most of the time I’m just too lazy to do it. Plus, I actually prefer the taste and mouthfeel of vanilla marshmallows made without egg whites. Another reason is that marshmallows made with egg whites will not keep for as long, since you’ve got egg whites in there which can go bad fairly quickly. Whereas regular vanilla marshmallows made without egg whites will keep for a VERY long time (unless you eat it all right away, of course), and it’s safer for kids and pregnant women too.
How can I add flavor?
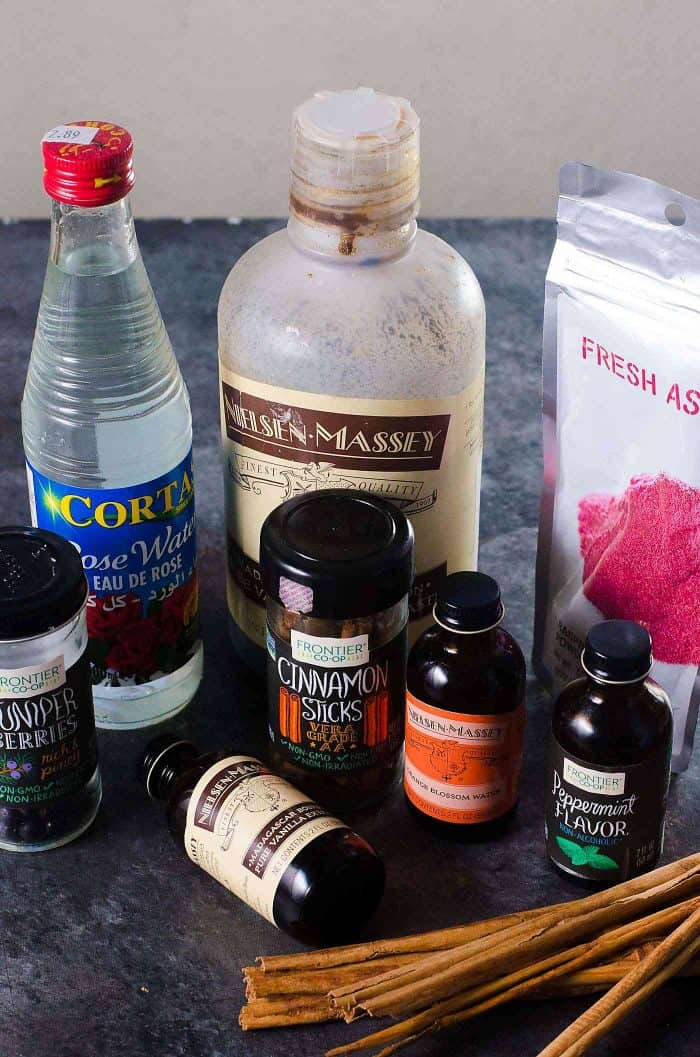
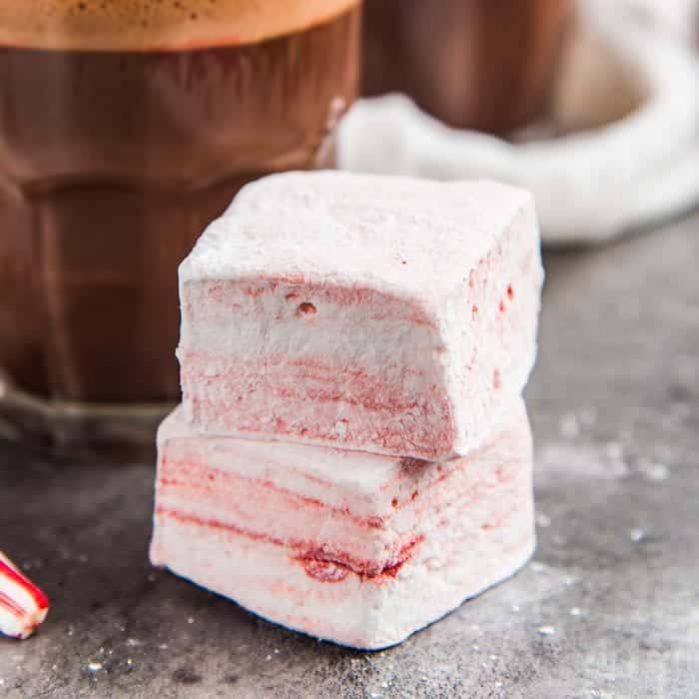
This is one of my favorite things to do, and you can get super creative with it! 🙂 Usually, flavoring is added at the end. The high temperature of the sugar syrup can ruin the flavoring, so it’s better to add it when the marshmallow mix has cooled down. This is especially true for extracts and alcohol-based flavors. During the whisking stage, make sure to add some salt as well. This salt will balance out the sweetness and make your marshmallows taste that much better. My go-to flavor is vanilla. I love homemade vanilla marshmallows. I ALWAYS add salt and vanilla to my marshmallows no matter what other flavors that I’m going to introduce later. Vanilla marshmallows are just a great canvas to work on. They are perfect for basic homemade marshmallows. So make sure to use a good-quality vanilla extract, or my favorite – a good vanilla bean paste. I like using Madagascar bourbon vanilla, but a Tahitian or Mexican vanilla works well too. You can use other extracts like peppermint, almond, lemon, orange and alcohol-flavored extracts (rum or bourbon essence). If I’m not making them for kids, I usually like to add alcohol as well to get some artisan boozy marshmallows. For certain flavors, you can add the flavoring to the sugar syrup. Like for lemon zest (or other citrus flavors) or maple or other fruity marshmallows, you can substitute the liquid or sugar with the flavoring ingredient and proceed with the rest of this recipe. But if you do add a substantial amount of flavoring like fruit puree, or cocoa powder, you may need to add extra gelatin to make sure your marshmallow sets properly. Another way to add flavor is to substitute some of the liquid of the water used to bloom the gelatin. I’ve had some fantastic readers letting me know that they have made some creative tea flavored marshmallows, by substituting the gelatin blooming water, and some of the water in the sugar syrup too! You can also make awesome swirled marshmallows like these butterscotch swirled marshmallows that I shared last year. They taste part marshmallow and part toffee, and very delicious. 🙂 But this recipe is on how to make homemade vanilla marshmallows, so I will show you how to make basic homemade marshmallows WITHOUT corn syrup (using agave syrup) and with real vanilla flavor. I will cover more complicated flavored marshmallows in a different post, but will add some simple flavor variations in the NOTES section of this recipe.
RECIPE NOTES, TIPS & TRICKS for making Homemade Marshmallows!
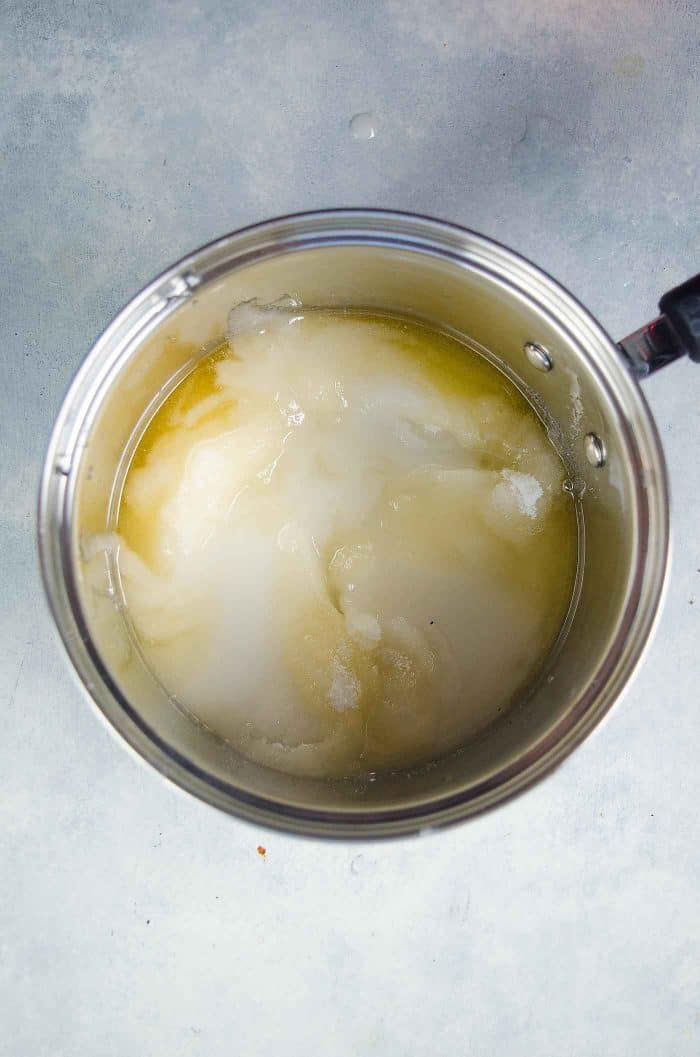
Step 1 – making the sugar syrup.
Whether you use all sugar OR sugar and a syrup, once the sugar dissolves in the mixture, it’s really important to make sure that the sugar on the side of the pot has dissolved completely too. You can do TWO things to make sure this has occurred. I usually follow method number two because it’s easier. Especially if I haven’t used corn syrup or agave in my sugar syrup. But you can use both methods if you do use corn syrup.
Tip for first time marshmallow makers
Step 2 – making sure the sugar syrup reaches the right temperature.
This step is easy if you have a sugar thermometer (or candy thermometer). Set it to 240° – 245°F (firm-ball stage), and swirl the pan from time to time (gently) to dissipate the heat evenly. You’ll know the sugar mixture is ready when the thermometer reaches 240°F – 245°F. If you have an alarm on the thermometer, set it to about 238°F, because the sugar mixture will get hot very quickly If you’re not using corn syrup (or a substitute), make sure not to agitate the sugar syrup. This means that if you are using a sugar thermometer, do not move it around in the syrup too much. This can cause the syrup to crystallize. Make sure the candy thermometer is clipped to the side of the saucepan, with the probe immersed in the sugar syrup but without touching the bottom of the pan. If you just place the thermometer in the pot (with the probe touching the bottom of the pan), you won’t get an accurate reading. Remember to swirl the pan gently from time to time to distribute the heat evenly, and prevent hot spots! Even if you don’t have a candy thermometer, you can still check the sugar syrup stage as follows. Every 5 minutes or so, take a small amount of the sugar syrup and drop it into a small bowl of cold water.
If the sugar dissolves in the water completely – it’s not ready. The sugar forms a cohesive shape in the cold water, but it can be completely flattened in your fingers, then it is not ready – this is the soft-ball stage.If the sugar has reached firm-ball stage, then it will form a cohesive shape in the water. You can form a firm and pliable ball with the sugar using your fingers too. It will also hold the shape it’s pressed into without dissolving. THIS IS THE RIGHT STAGE. But if the sugar forms a cohesive ball that is too firm and is not easily pliable, then it’s gone a little too far. You can still make marshmallows with this sugar syrup, but it will be slightly chewier. If you want to, you can add a little hot water to the sugar syrup and “re-cook” the syrup to reach the right temperature again.
This is how my grandmother used to check the stages of the sugar syrup of the marshmallows she made. And the fact is even with a sugar thermometer, I still use this test to absolutely make sure the syrup is ready to be used. Even if your thermometer isn’t working, the sugar syrup will not lie.
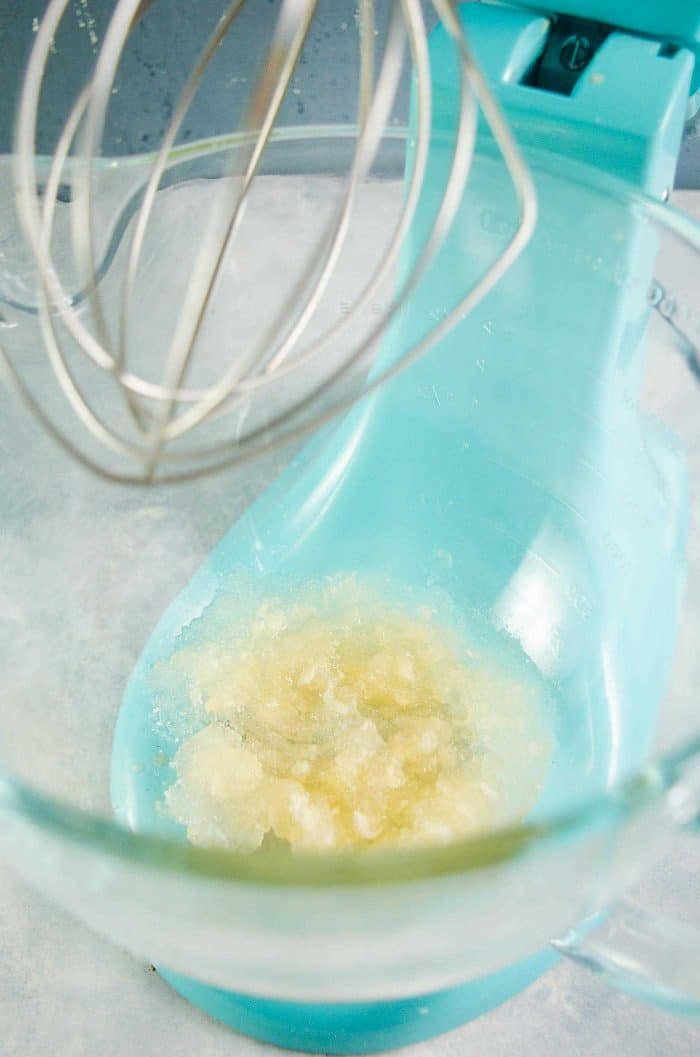
Step 3 – preparing the gelatin.
The gelatin is mixed with cold water to let it bloom or hydrate. This stage is important because without blooming the gelatin, you may still end up with “blobs” of undissolved “raw” gelatin in the marshmallow. The blooming process ensures the gelatin will dissolve evenly and easily as you whisk in the sugar syrup.
Optional step – adding egg whites.
Whisk the egg whites while the gelatin-sugar mix is being whisked to make the marshmallows.
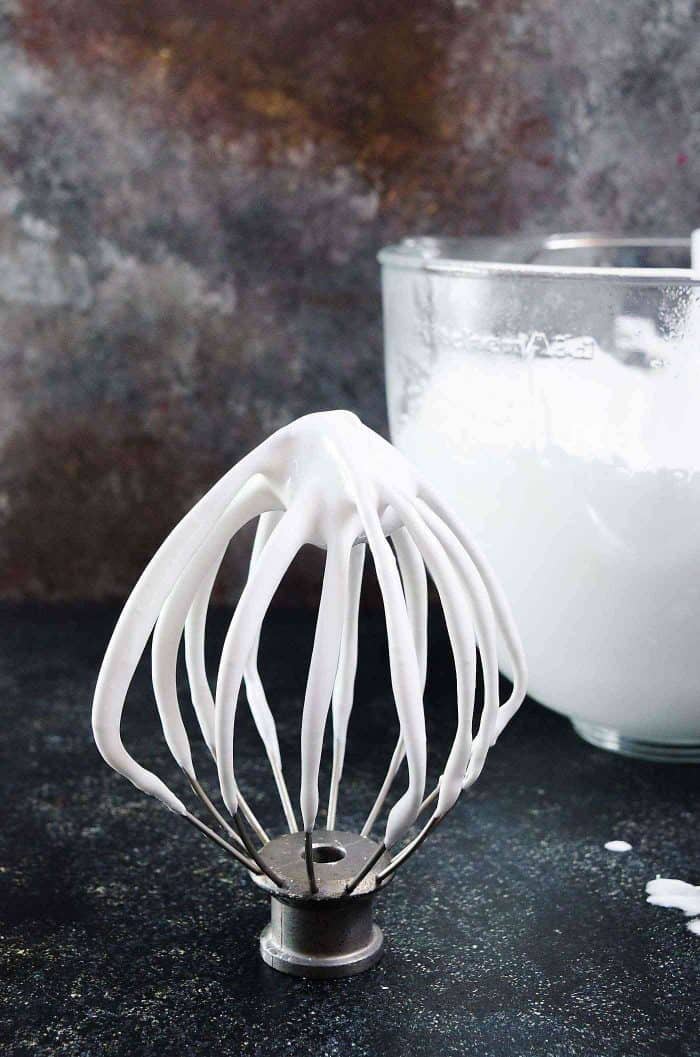
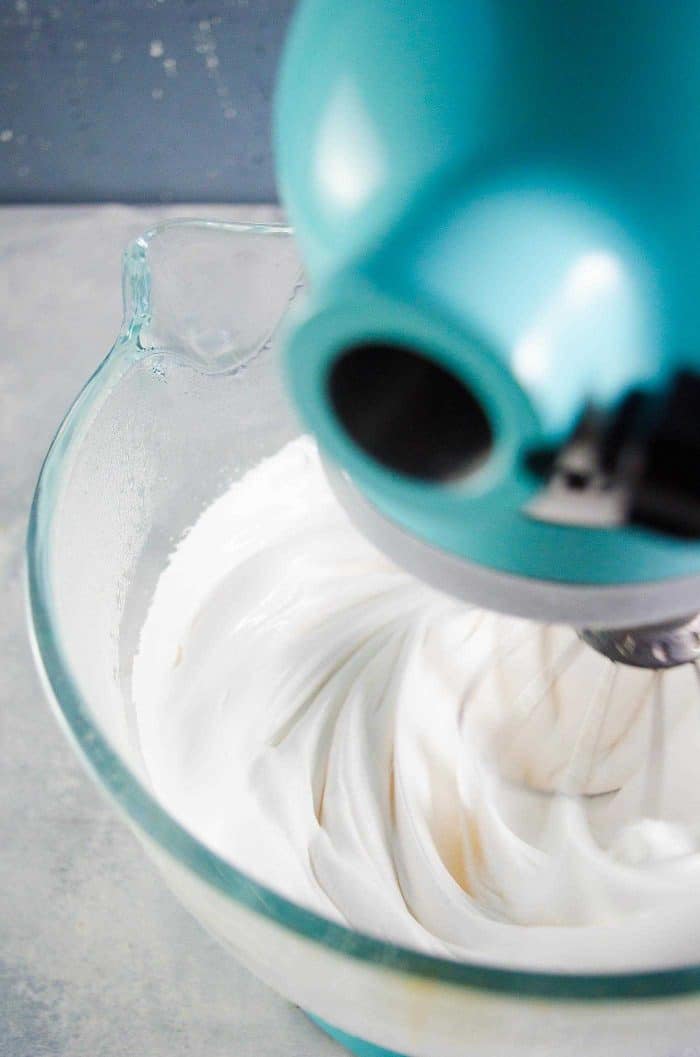
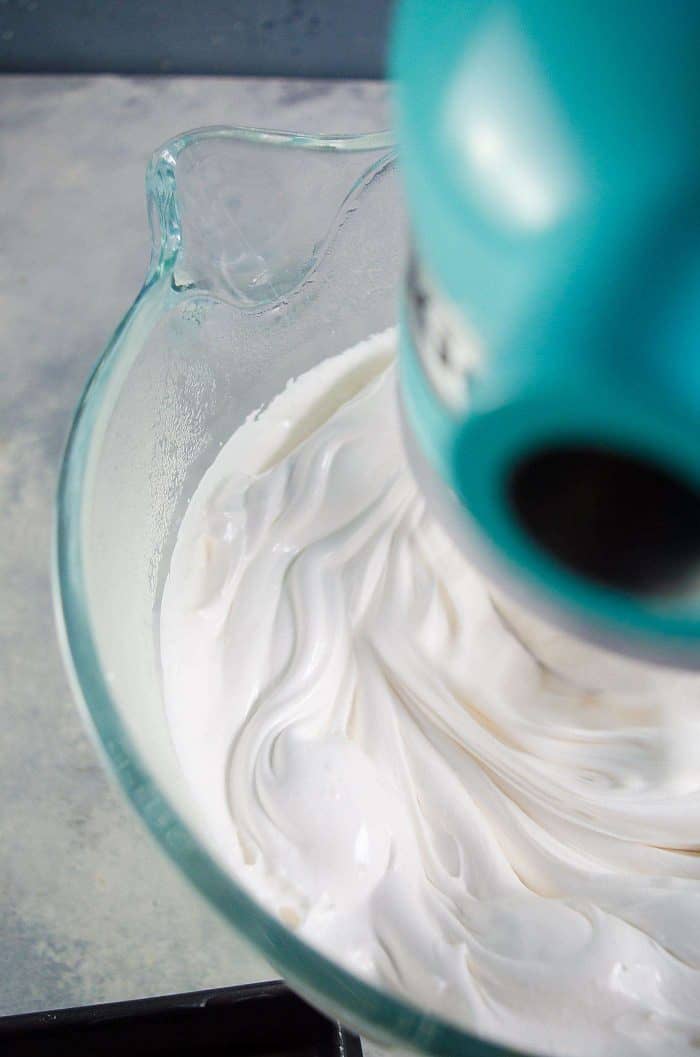
Step 4 -Making the Marshmallow mixture.
Place your mixer bowl with the bloomed gelatin in your stand mixer fitted with the whisk attachment. Slowly pour the sugar syrup into the mixer on low speed. This allows the gelatin to dissolve, while starting to cool down the sugar syrup too. Once the sugar syrup has been added, turn the speed to high to mix the gelatin and sugar mix for about 6 – 10 minutes (for 1 batch). I mix this until I see the base start to pull away from the sides as thick strings. At this stage, I add the flavoring and the whisked egg whites and whisk to combine.
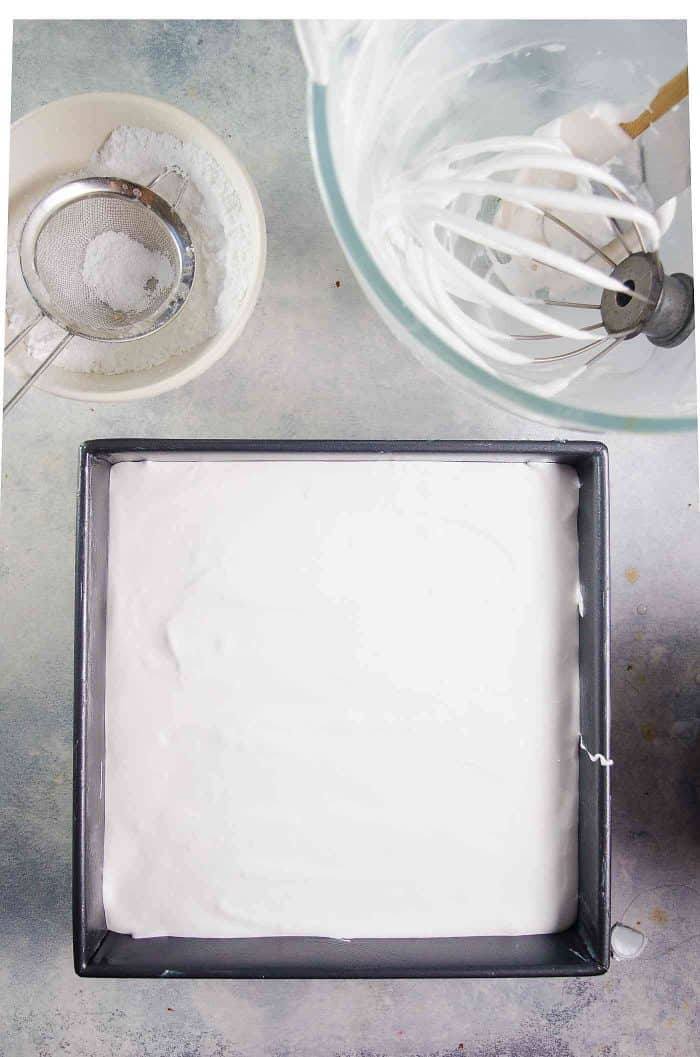
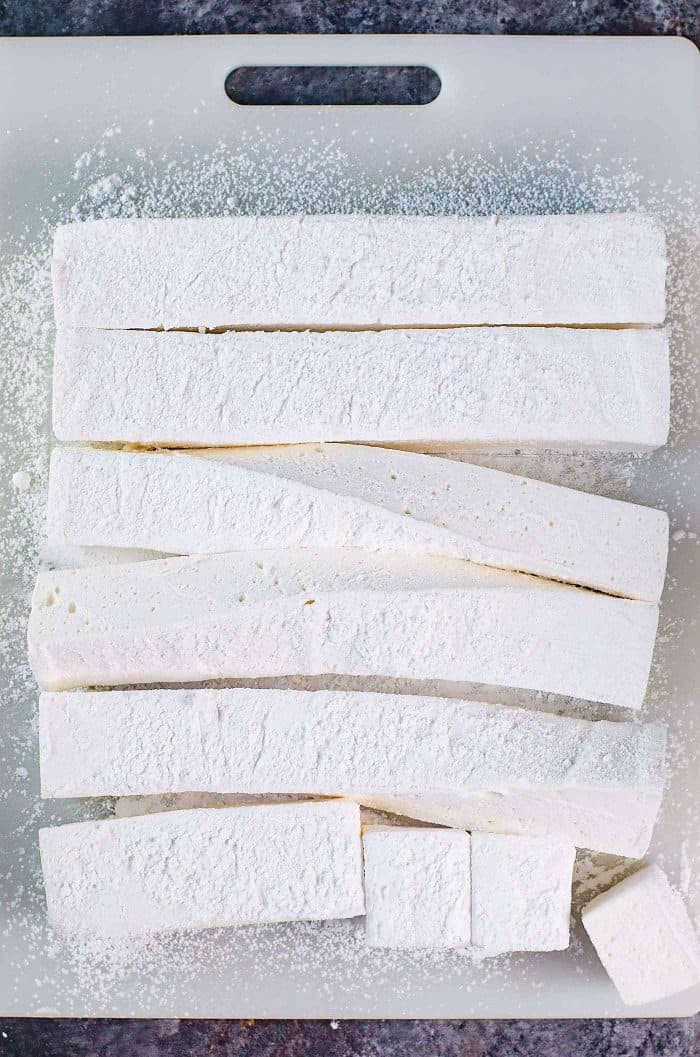
Step 5 – setting the marshmallow.
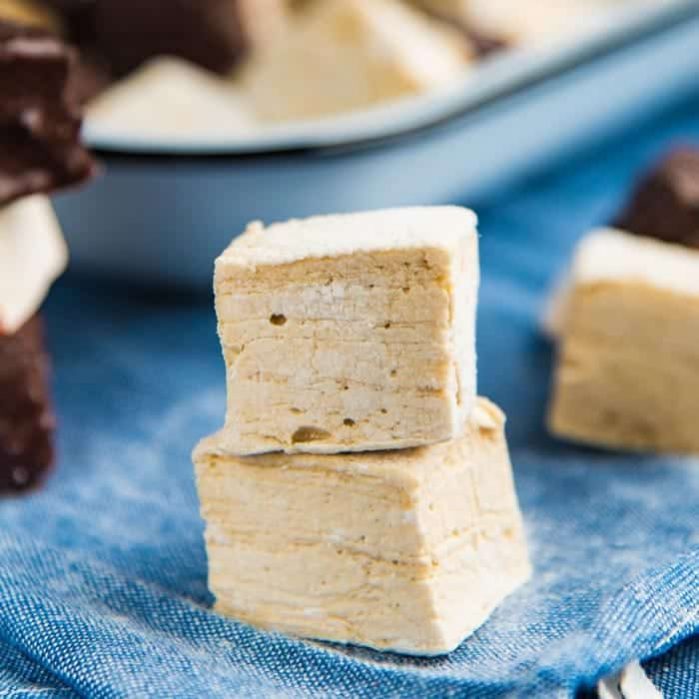
The marshmallow is spread into a prepared pan (square 8 x 8 inch pan or quarter sheet pan -9 x 13 inch pan). This pan needs to be prepped to make sure the marshmallow doesn’t stick. I prefer to rub the pan with shortening, solidified coconut oil or butter. I don’t like brushing it with vegetable oil UNLESS I line the pan with parchment paper too, because the marshmallow tends to stick to the pan if you brush the pan with a liquid oil or fat. The marshmallows have more height with an 8 x 8 inch pan, or 9 x 9 inch pan and they’ll be shorter if you use a 9 x 13 inch pan (ideal if you want to make shallow marshmallows or want to cut out shapes) Remember to ALWAYS rub butter, or shortening or coconut oil (solid coconut oil) on all the utensils you will be using too. This includes spatulas and knives or scissors that you will be using to cut the marshmallows. The next part is the hardest. WAITING. You have to wait at least 6 hours for the marshmallow base to “cure”. I’m not sure what the purpose of this is, but I find that marshmallows are easier to cut and have the right texture after it has set properly. DO NOT RUSH THIS PROCESS. Once you cut the marshmallows, you can toss them in the sugar mix, which is confectioners sugar and corn starch mixed together, or dip them in chocolate (yum!). Then the marshmallows are ready to be eaten.
How to store marshmallows?
It’s important to store the marshmallows in an air-tight container, AT ROOM TEMPERATURE. NEVER IN THE FRIDGE OR THE FREEZER. For extra measure, add some confectioners sugar into the same container to keep the marshmallows lightly coated. If you store these in the fridge or freezer, they will harden. And as they thaw out they can melt or get really really sticky.
What else can I do with these homemade marshmallows?
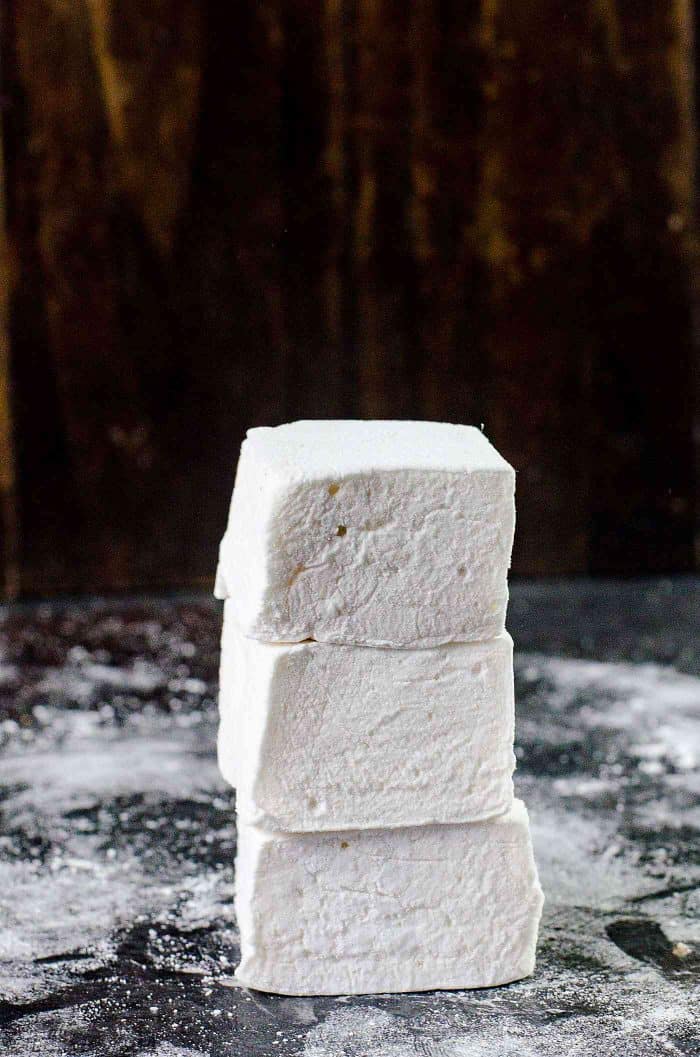
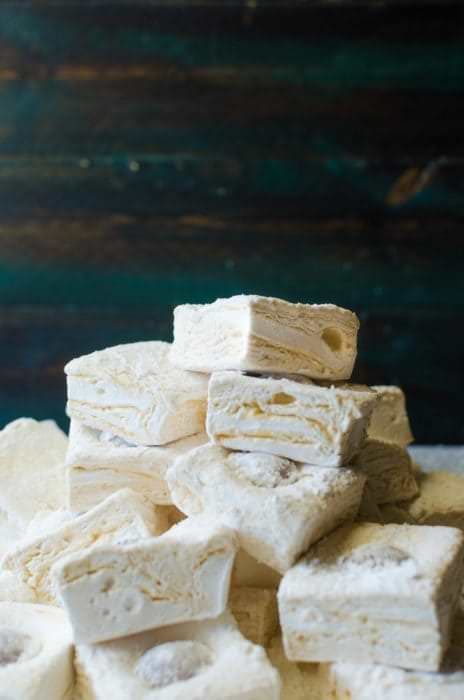
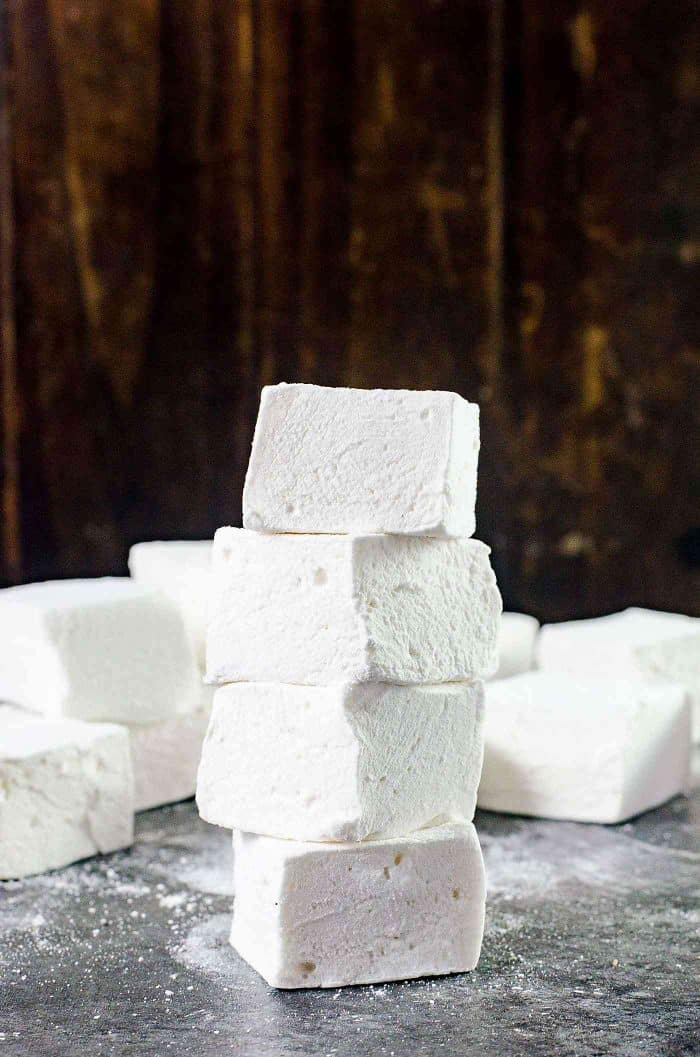
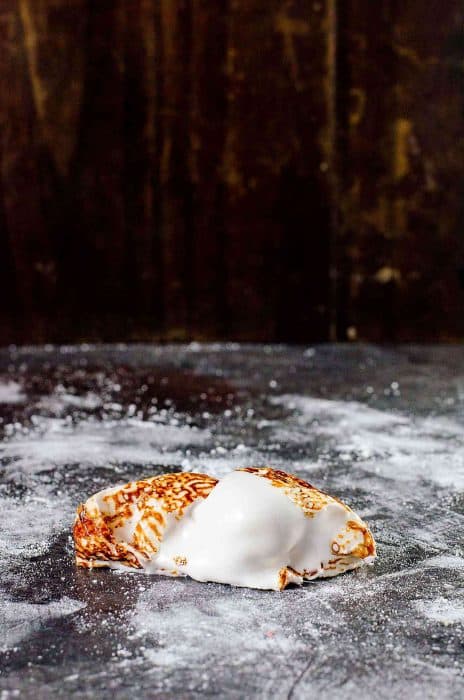
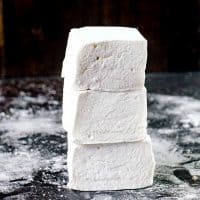
I promise you these marshmallows will be the softest, fluffiest, springiest little pillows of deliciousness you’ve ever had! 🙂 Once you know the ins and outs of making marshmallows, you can do all sorts of things with it. You can add coloring and flavorings and plenty more. You can also get your kids involved with the addition of colors and flavors, and then cutting shapes out of the marshmallow. And they will most likely remember all that fun for the rest of their lives, as I can attest to. 🙂 These homemade vanilla marshmallows are the real deal. They are so much better than store-bought. My FAVORITE way to enjoy these marshmallows though? TOAST THEM! Look how gooey these marshmallows become?
If you like marshmallows, then you will LOVE these other marshmallow recipes too!
Orange blossom marshmallows with pistachios Butterscotch swirled marshmallows Peppermint marshmallows Buttered Rum Marshmallows (or Butterscotch Marshmallows)
EQUIPMENT & TOOLS I USED FOR THIS RECIPE
Stand Mixer – I highly recommend using a stand mixer for making marshmallows. You need to whisk it for a LONG time, so it’s easier to have a stand mixer for this purpose. Silicone Spatula – I used at least 2, and it was lightly rubbed with butter / coconut oil to prevent it from sticking to anything. Cooking thermometer – I use this as my candy thermometer too. I now make marshmallows with my thermometer monitoring the sugar syrup temperature. It just makes the process so easy and takes the guesswork out of the process. 8 x 8 inch square pan – for the marshmallows to set