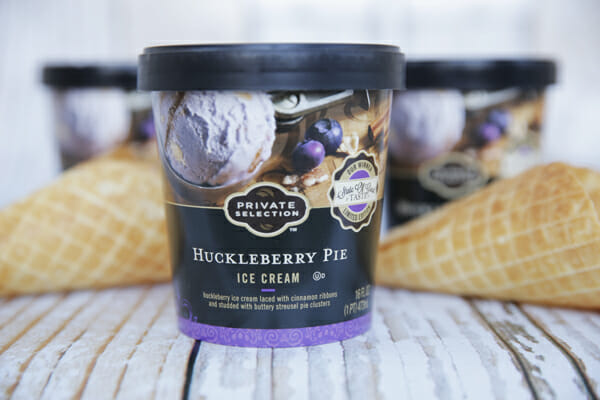
This weekend all three of my local news stations aired segments about this delicious little number:
Starring our state fruit, the huckleberry, this ice cream flavor I came up with is now available in Kroger and Kroger family stores (which includes places like QFC, Ralph’s, Smith’s, Fred Meyer, and more.)
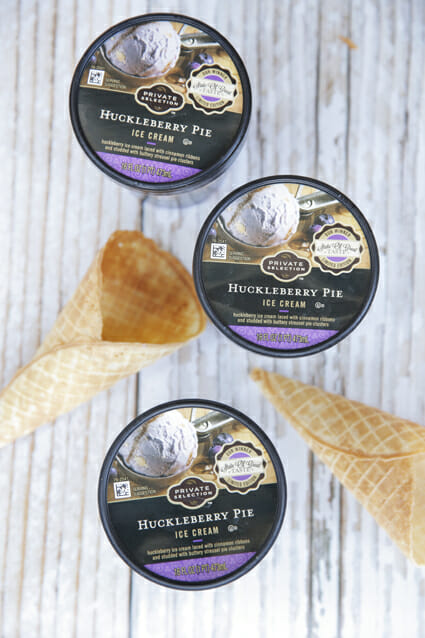
I helped pass out samples at one local store over the weekend, and I am sincerely sorry for the other two events that were scheduled and then cancelled at the last minute! I know so many of you planned to attend those and I was super bummed that we not only had to cancel, but that all the stores were sold out of this flavor. I’m hoping they’ll re-stock quickly!
So many of you others, all across the country, have been tagging us on social media after finding this and we LOVE that! This yummy ice cream has chunks of cookie pie crust, a “brown betty” ribbon and cinnamon streusel throughout.
And it’s mighty tasty if you ask me!
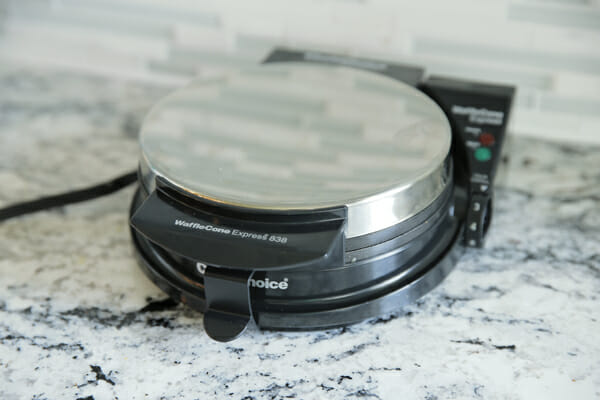
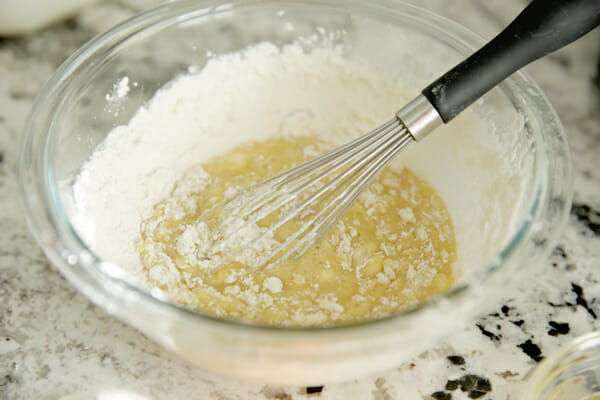
Waffle cone batter is super simple. The recipe I love is just just sugar, eggs, butter, milk, flour, and vanilla. It mixes up in about 60 seconds.
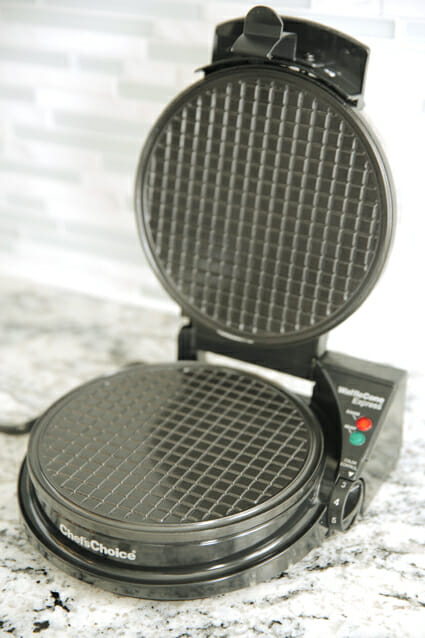
Then you just pour a couple of tablespoons on the waffle cone maker and press it shut to crisp up.
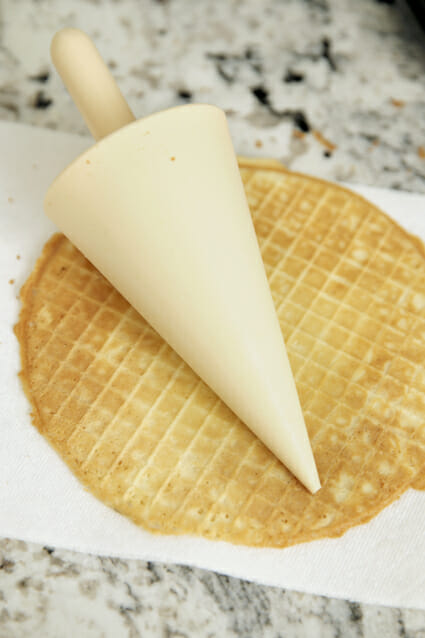
Waffle cones are soft and pliable when they come off the press, and that’s when you need to shape them. This waffle cone maker comes with a mold that makes it easy, but if you don’t have one, you can just shape it by hand, or cover a foam cone with foil and use that.
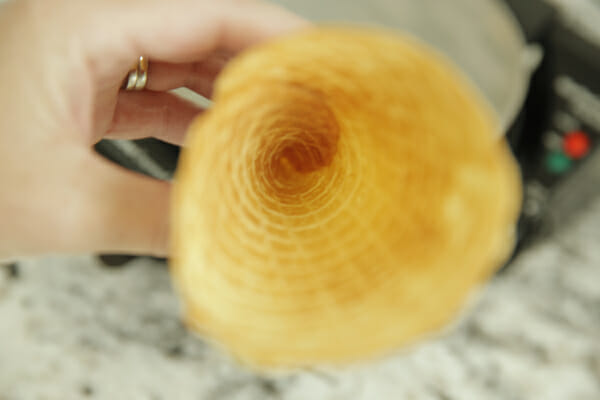
I always put mine down on a paper towel because they’re super hot and the paper towel makes it easy to handle. I also make a special point to pay attention to the bottom and make sure I’m closing them all the way, as opposed to having a hole at the bottom. When I do have holes, I usually just drop a chocolate chip down to the bottom to fill up the space.
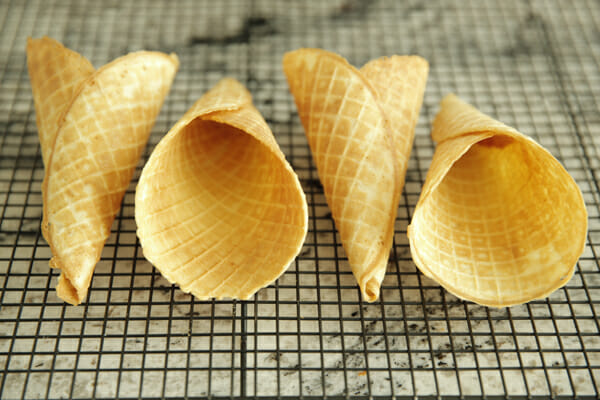
When your cones are shaped, just place them on a rack to cool and crisp. At this point, you can dip the rims in chocolate and sprinkles, or coat the inside with something yummy.
Then you can fill ’em up.
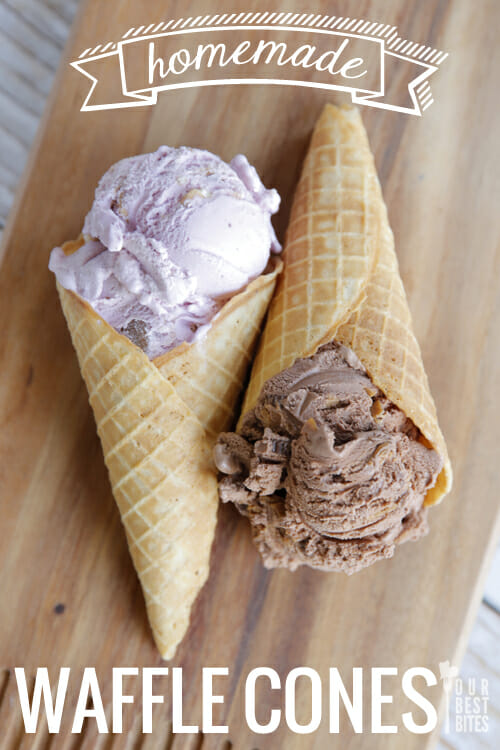
There is seriously nothing better than a really good ice cream in a really good cone.
Often for parties I’ll buy a bunch of great ice cream flavors, and then make tons of cones and let people scoop up their fave. My fave right now is that huckleberry pie.
Although Chocolate Peanut Butter Chunk is a front-runner as well.
Now, if you don’t have a waffle cone or pizelle maker, there are a couple of ways to still make these. I’ve done it many times over the years, but I will say it’s kind of a labor of love. They harden quickly so you really have to only do a couple at a time. The press makes it much easier. But you can use either a silicone mat on a baking sheet, or a piece of parchment on a baking sheet. Spread your batter thinly, but evenly in circles. If using parchment, you can trace circles on the underside of the paper as a guide. Bake in a 400 degree oven until they’re golden brown, about 5-7 minutes (but totally depends on the size, so keep an eye on them) and then shape them immediately when they come out and let them cool. You can also make them in a skillet, like you would a crepe- cooking each side until browned and toasted and then shaped into a cone. All the same tips apply if you’re making them without a waffle cone maker: remember they are hot hot hot so be careful not to burn your hands! Also, they crisp and harden quickly so you’ll have to work fast.
Here’s the link to the one I have one more time, because people always ask! Ingredients 2 eggs 1/2 cup sugar 2/3 cup flour 4 tablespoons (1/2 stick) butter, melted 1/4 cup milk 1 teaspoon vanilla Directions
In a bowl, whisk together the eggs and sugar until the sugar is incorporated and the eggs have lightened in color, about 1 minute. Add the flour mixture and stir until incorporated. Add the butter, milk, and vanilla and stir just until combined. Spoon 2-3 tablespoons batter onto the waffle-cone maker. Close the lid and cook for at least 1 minute before lifting the lid to check for doneness. Continue cooking until the desired color is reached. Quickly remove the waffle from the waffle-cone maker and shape it around a cone roller, or mold into cone shape. Another option is to lay over an inverted bowl, to make a waffle bowl. Hold the cone for a few seconds to set its shape. Set the cone on a cooling rack to cool. Repeat with the remaining batter. Makes about 10 cones.