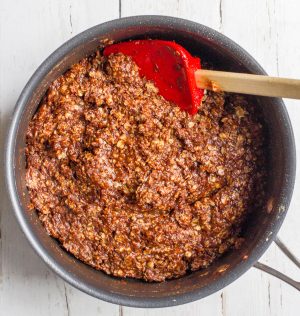
Here we are at Friday, but I’m a little less excited than usual. We’re potty training this weekend. (If that sounds familiar, yes, we attempted this several months ago. J wasn’t ready.) But he’s almost 3 now and it’s time. So bye-bye diapers, hello big boy underwear. I have a feeling there will be lots of laundry in my future. But on to happier thoughts. Like chocolate and peanut butter! I have to admit, I felt a little duped the first time I made no bake cookies years ago. I thought from the title it meant I would have a cookie ready to eat in 5 minutes. But you have to boil everything, let it cool and then let it set up for what felt like eternity. (No patience here.) Luckily, after having waited, not so patiently and perhaps with a few grumbles, I was rewarded. Oooey, gooey, soft, chocolatey, peanut buttery goodness. Heavenly. So I cleaned up the recipe a bit to make some slightly more healthy no bake cookie bars.
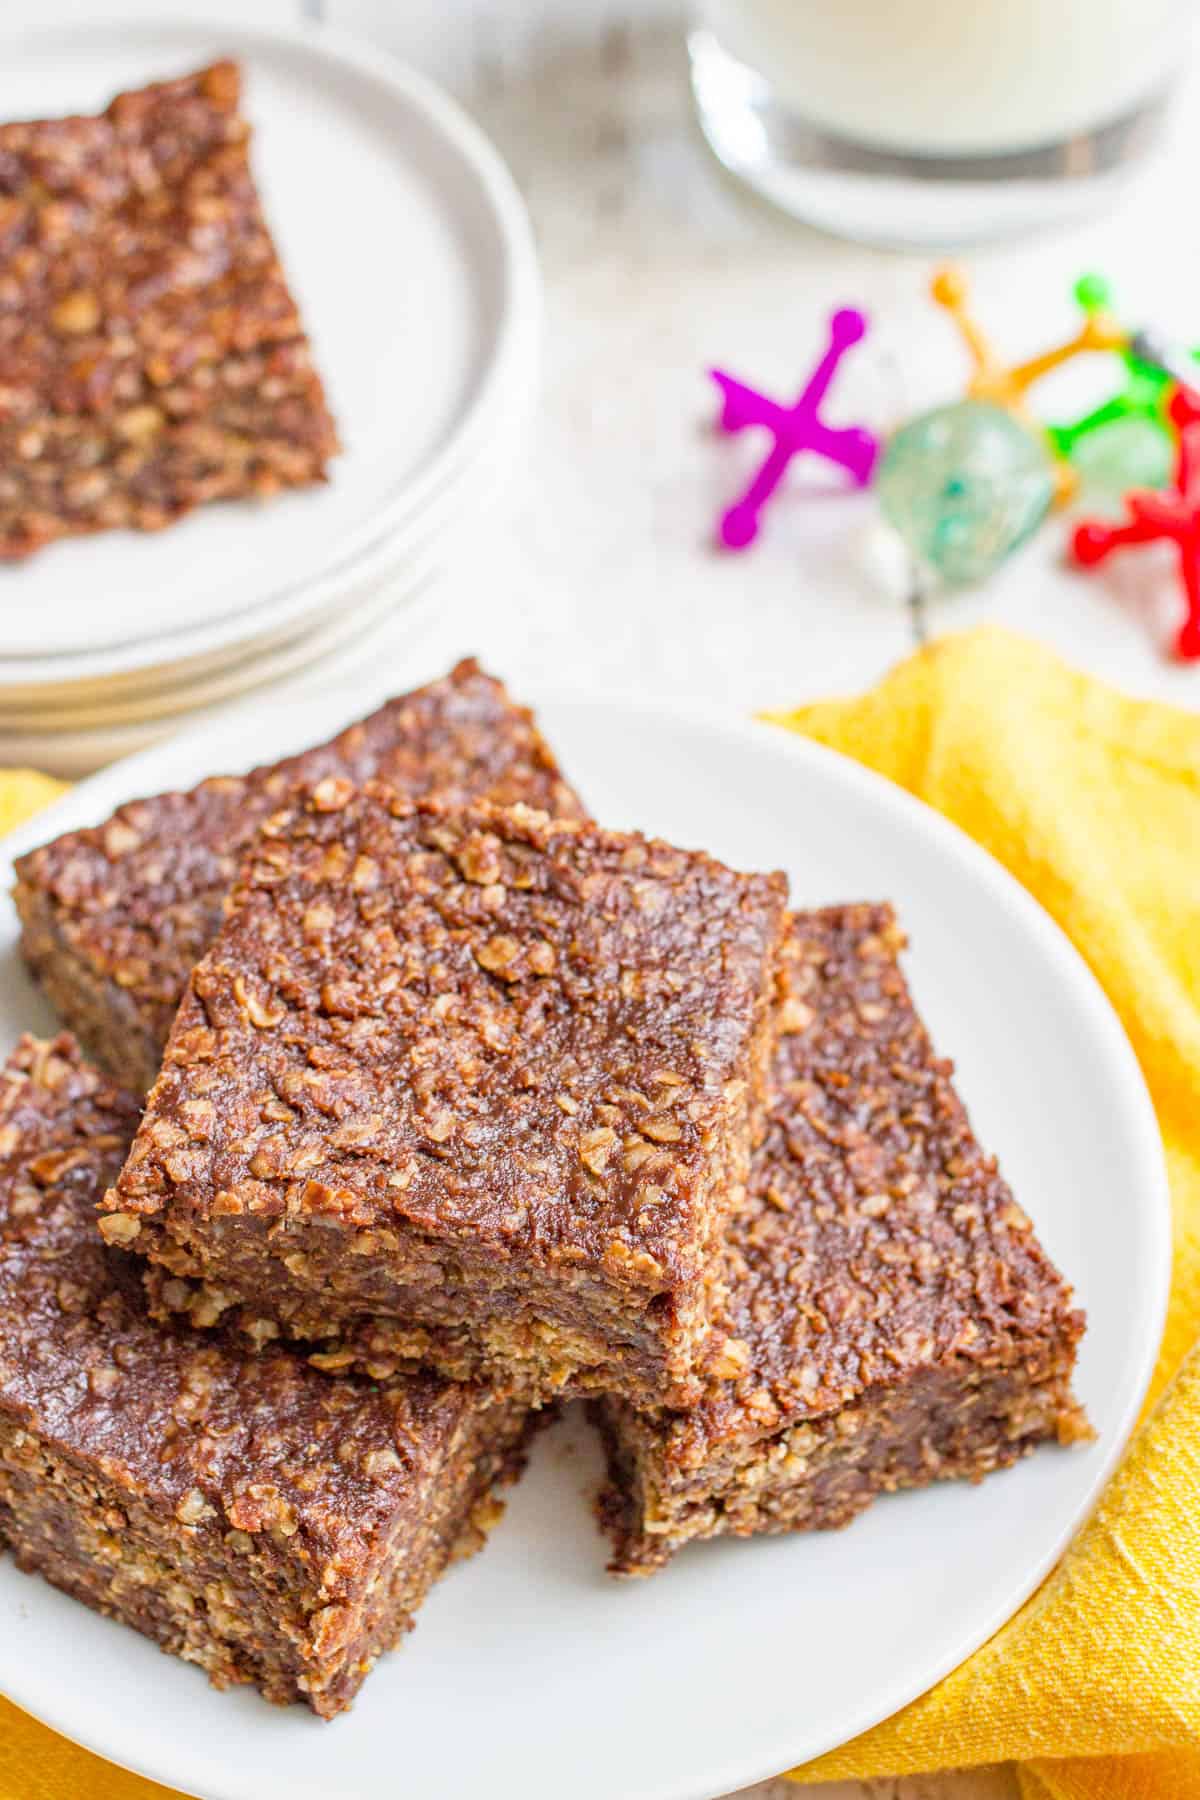
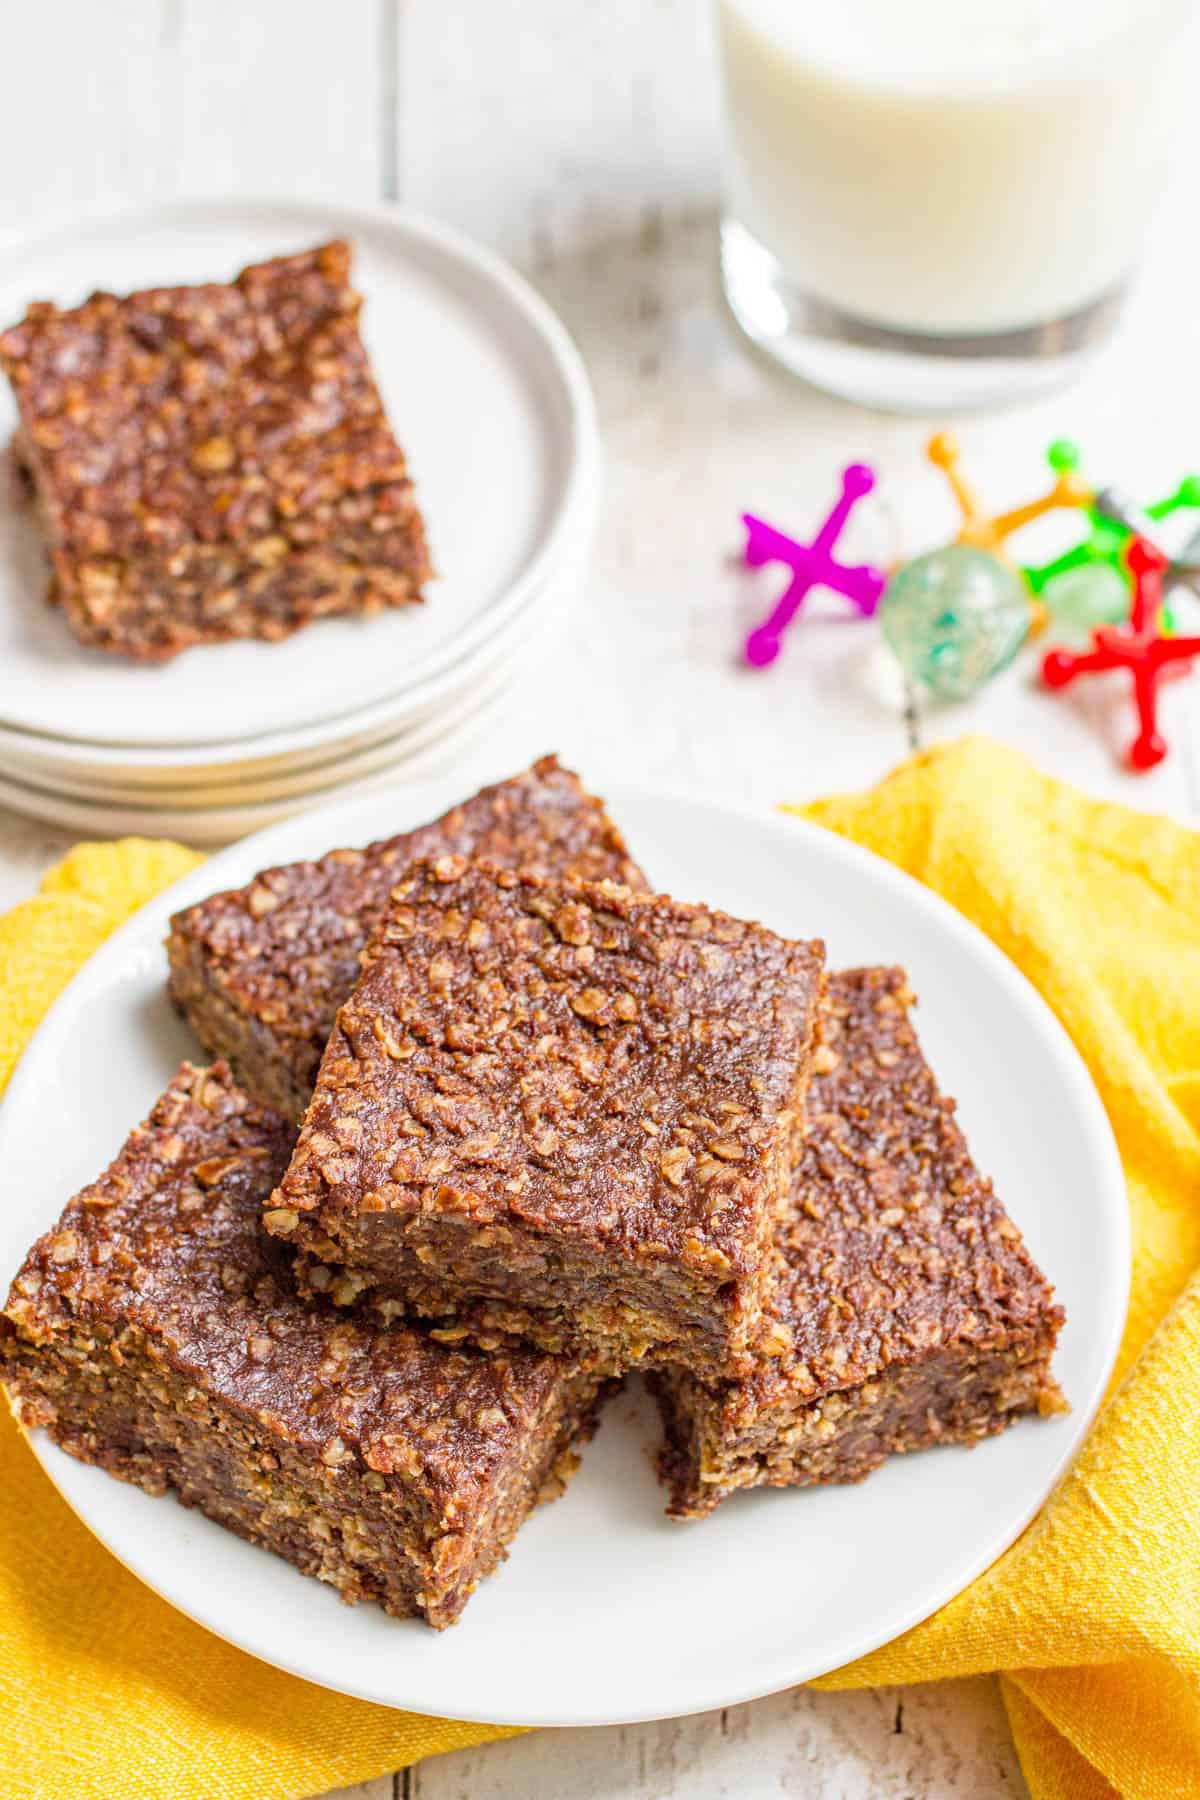
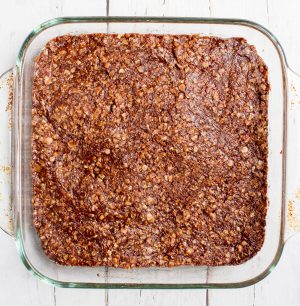
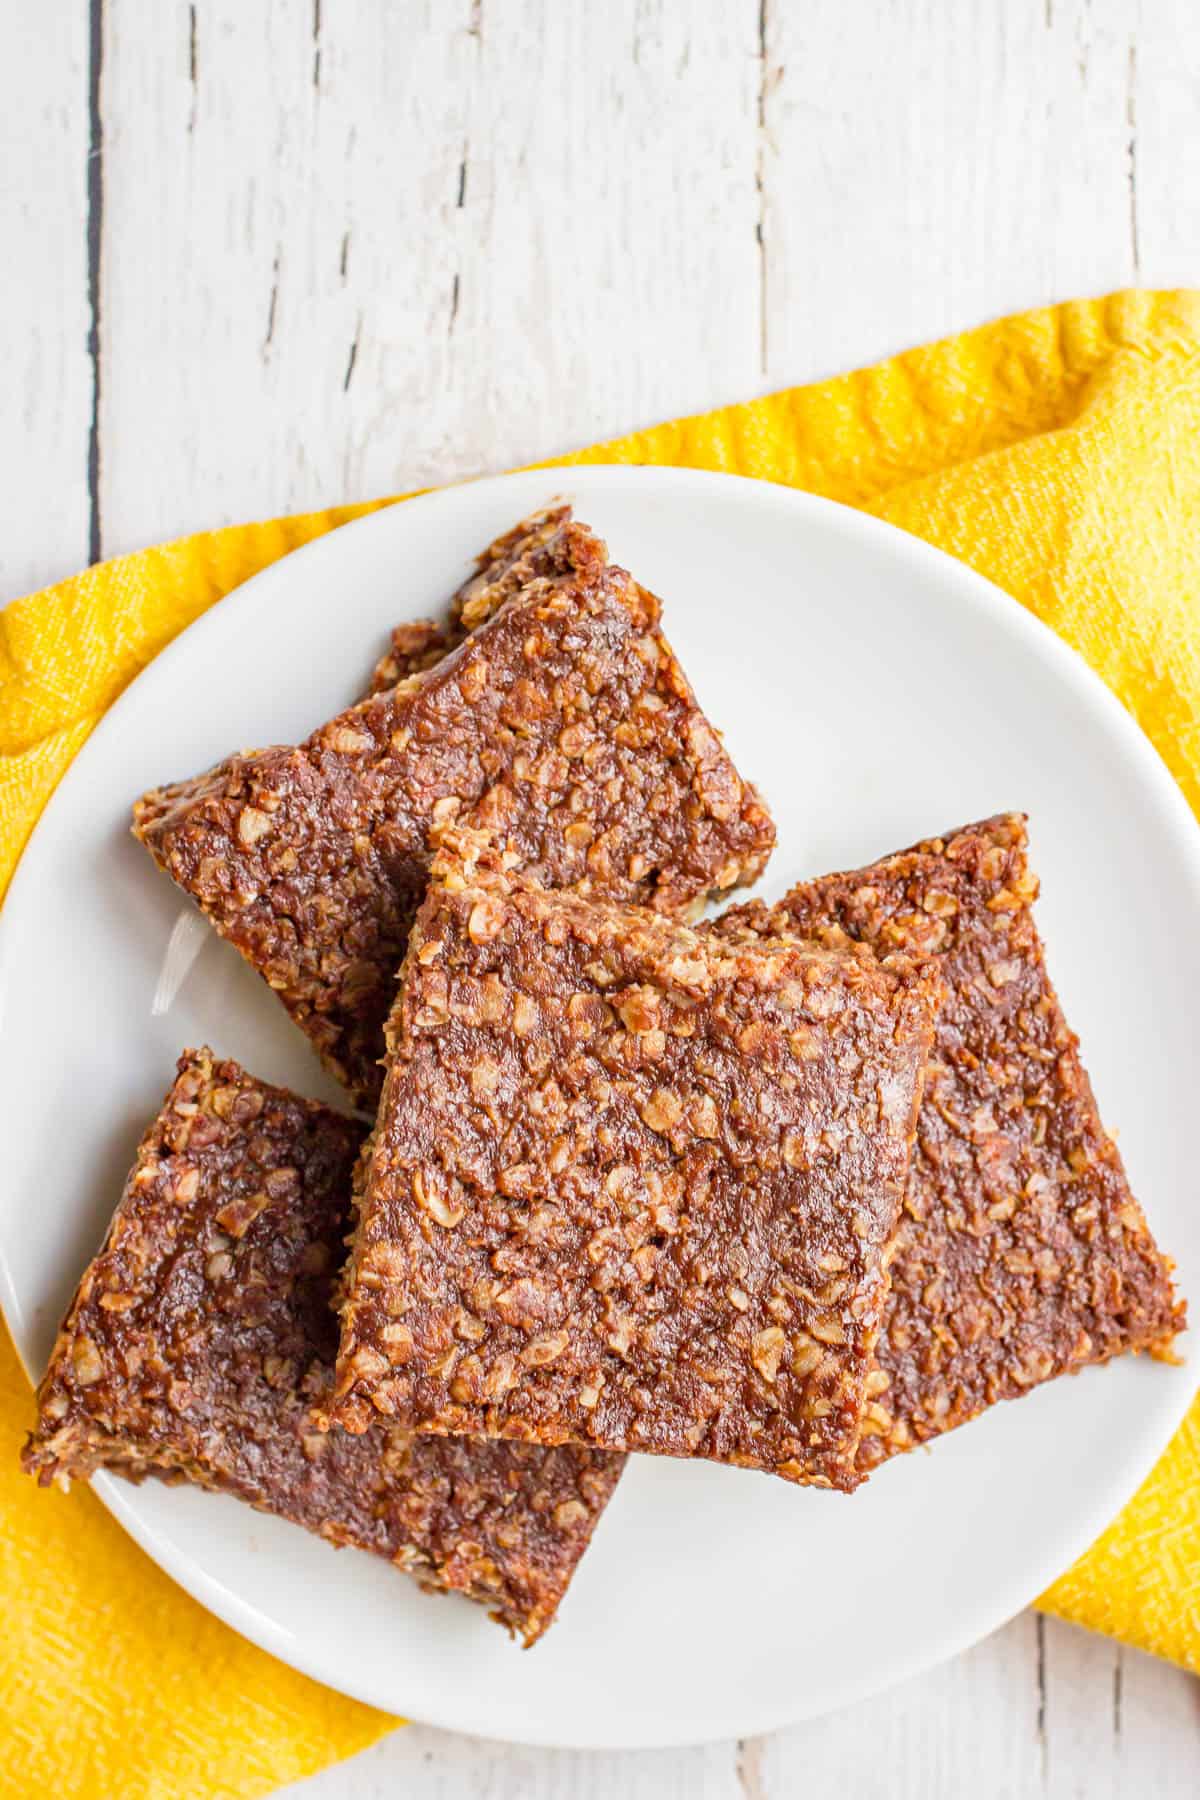
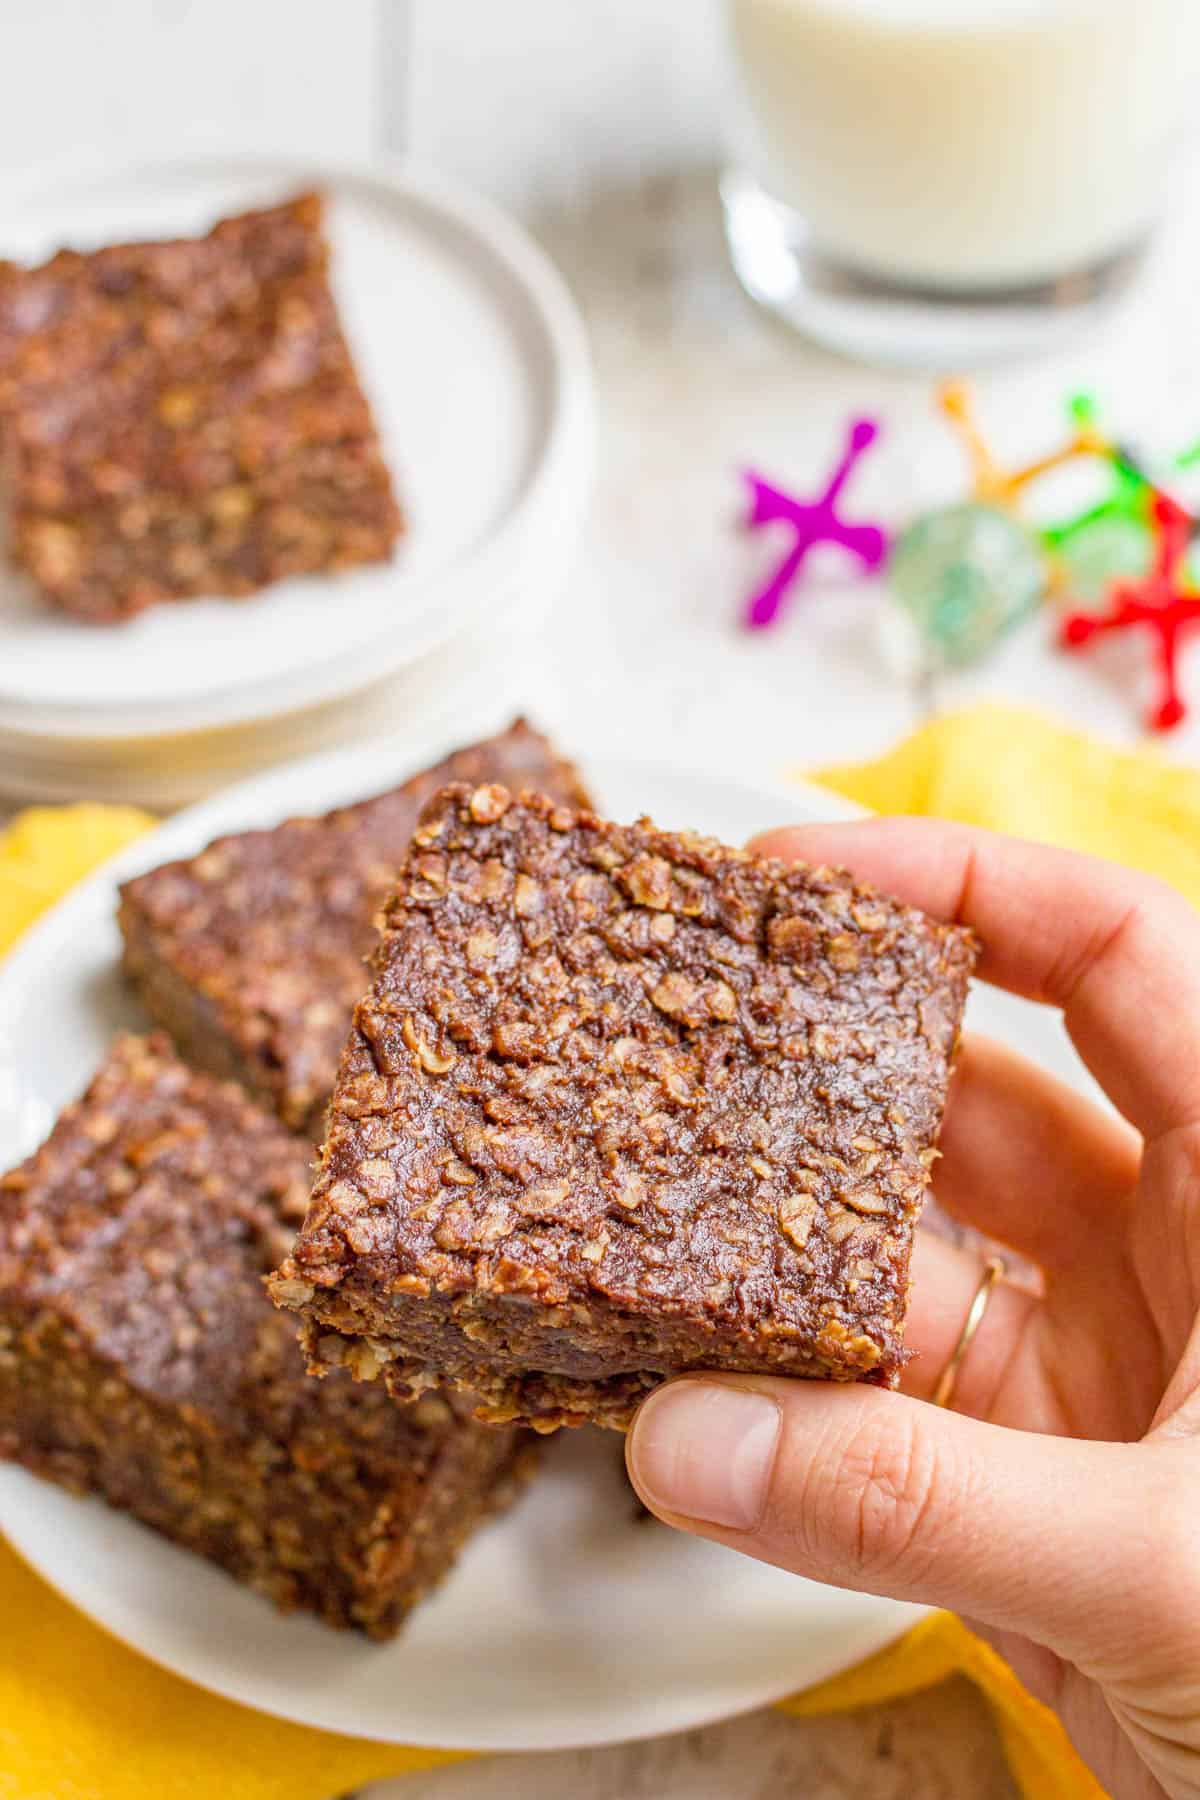
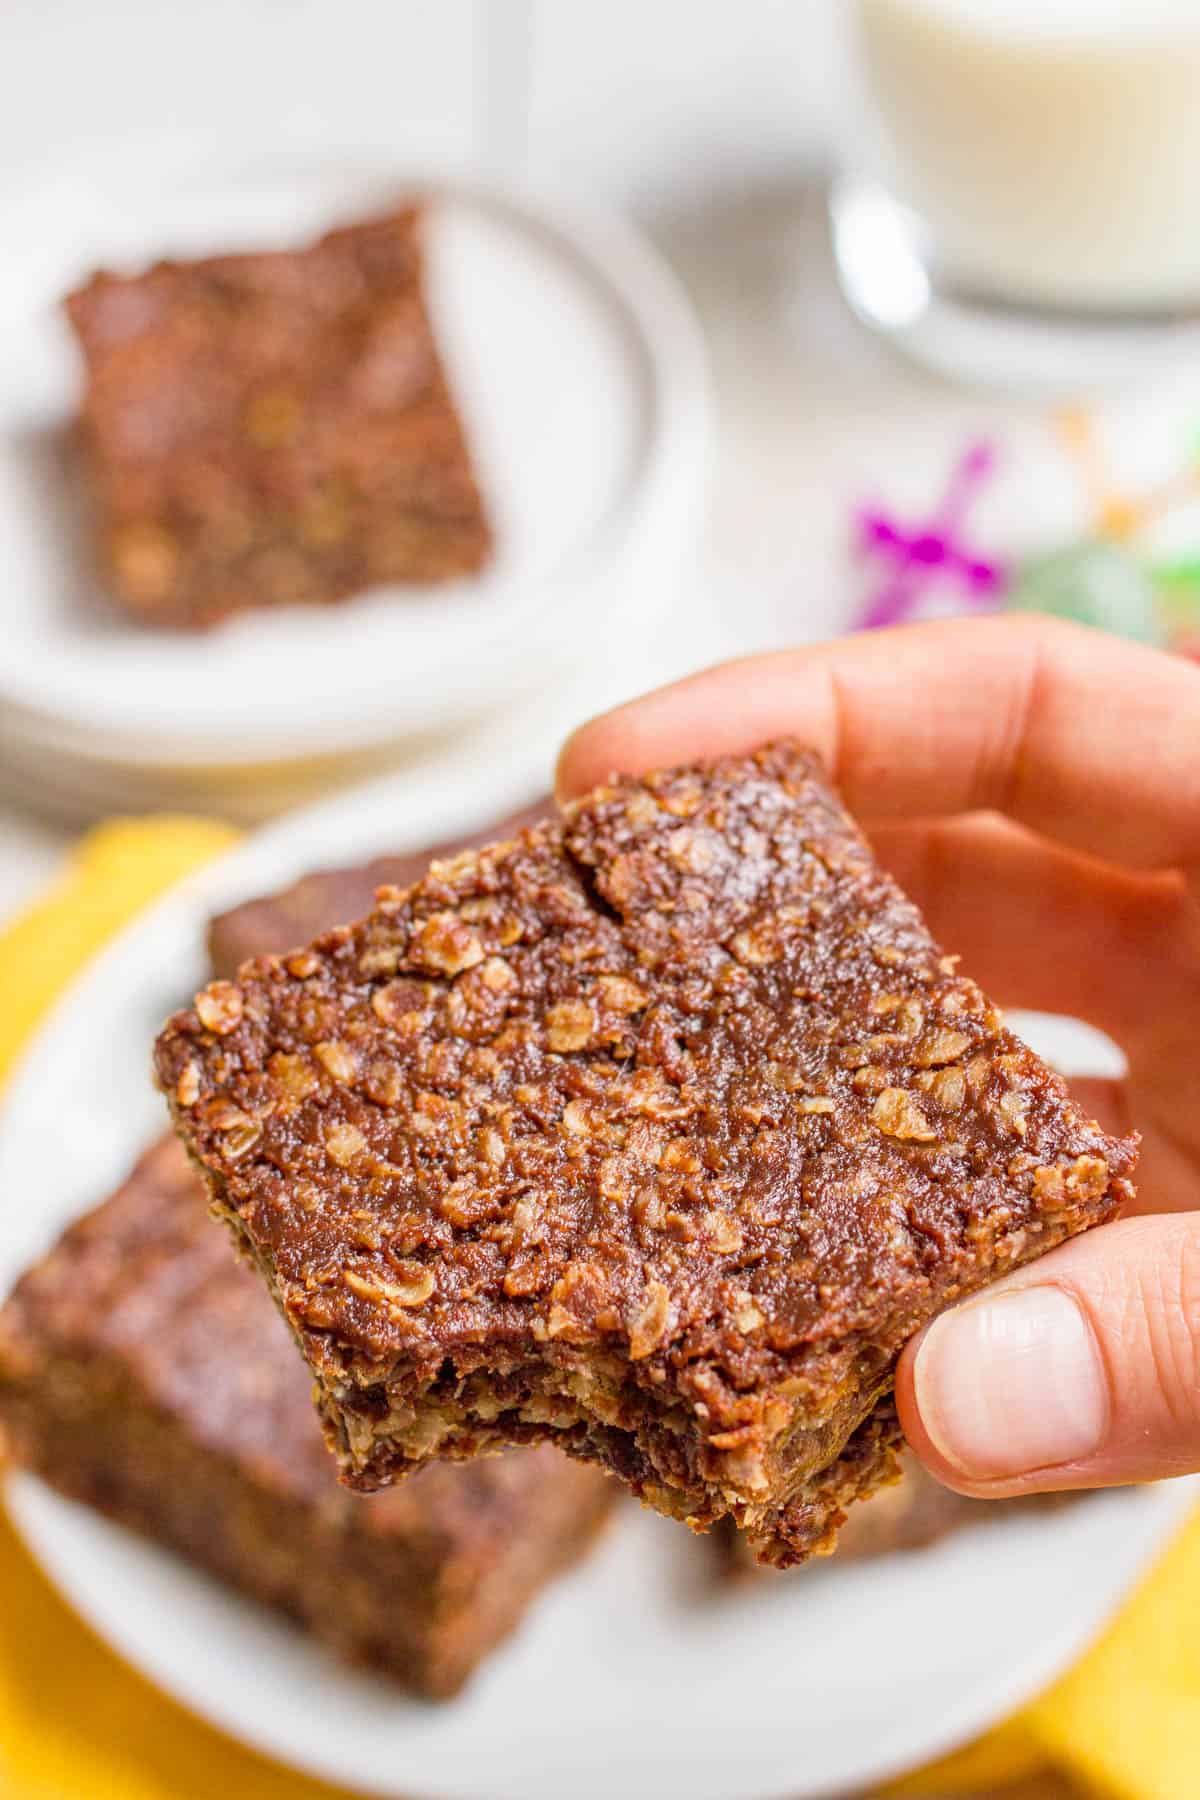
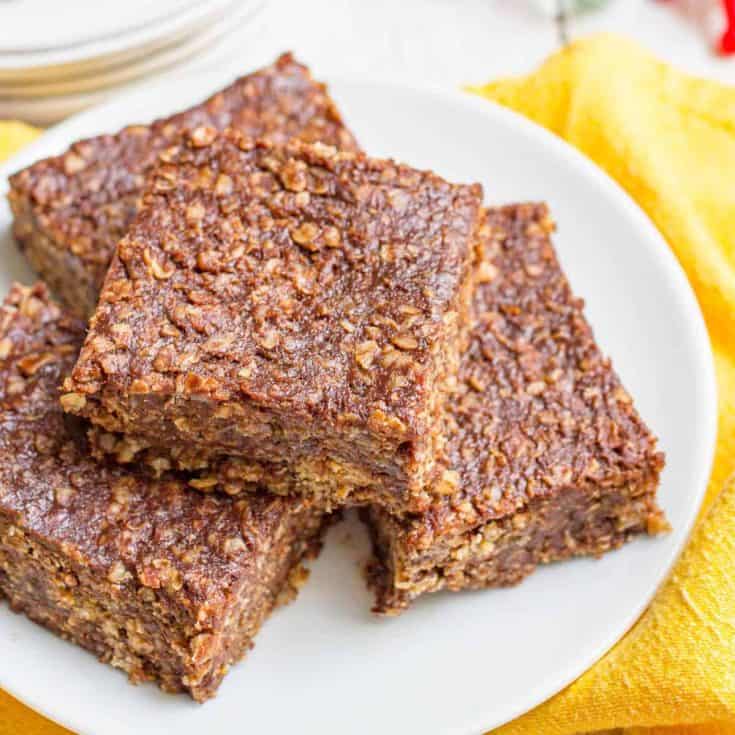
I put these in a glass pan to get a really thick bar instead of dropping them onto wax paper like you do with the regular no bake cookies. Cause it’s so satisfying to hold these thick slices and sink your teeth into them! ❤️ (It’s kinda like my peanut butter chocolate chip snack bars that are like a giant, chewy cookie!) But given my earlier disillusionment, let me be clear: These are NOT ready immediately. Yes, you can eat the mixture while it’s warm and yes, it’s delicious. (Please give it just a second to cool or you might burn your tongue.) But the serious goodness comes if you wait and let them set up in the refrigerator. It’s about an hour. 45 minutes if you must. But they are absolutely worth the wait! ❤️
So much chocolate and peanut butter flavor running through these. They taste like pure dessert but they’re really on the healthier side.
Packed with whole grains ✅ Naturally sweetened with no added sugar ✅ Protein from the peanut butter (and milk) ✅
So dig right on in! Now, I’ve got some notes, tips and substitutions coming up below. Just tryin’ to be helpful. If you want to jump on down to the recipe, simply scroll right on through the rest of the text. The recipe card is near the bottom of the page, above the comments section.
Notes on healthy no bake cookie bars:
Milk: You can use cow’s milk (skim, 2%, whole) or soy milk or another alternative milk. Whatever ya got. Oats: I almost always use old-fashioned rolled oats in my recipes, but I found they have too much of a raw oat taste here so I prefer quick-cook oats. If all you have is old fashioned oats, just pulse them briefly in a food processor or blender to break them up a bit before using them in the recipe. Peanut butter: I’ve made these with a natural peanut butter and just regular creamy peanut butter (Jif), and both ways worked great. Servings: You can get 9 very large bars or 16 smaller bars out of this recipe, depending on the size of the squares you want to cut them into.
These bars are gluten-free as is, so long as you are using certified gluten-free oats. (All oats are gluten free, but they can become contaminated in the field or during processing, so choosing certified gluten-free is important if you have an allergy or intolerance.) They can also easily be made dairy-free. Just use your milk alternative of choice (such as soy or almond milk) and be sure to use dairy-free chocolate chips. Easy! Need them to be vegan? Totally do-able! Use a milk alternative, dairy-free chocolate chips and use maple syrup or agave syrup in place of the honey. Also, peanut butter is traditional but if you want to send these cookie bars to a peanut-free school, feel free to substitute almond butter or another nut butter. Definitely lots of ways to make these work for a variety of needs.
You can also scale the recipe up or down if you’d like. You can make a half-batch in an 8x4 bread pan. Just line it with plastic wrap and spray with cooking spray so you can easily lift them out once chilled. Or, if you are feeding a crowd, you can double this recipe and use a 9x12 glass pan. Cookie bars for everyone all week long! Finally, a few storage tips for your goodies!
Storage Tips:
- These keep best stored in the fridge. You can keep them in the same 8x8 pan that you put them in to set up and just cover with plastic wrap.
- Or you can cut them into squares and store these in a plastic or glass storage container in the fridge.
- They’ll keep for up to 5-7 days in the fridge. If they last that long. Then if you want to take one on the go, remove it from the fridge and wrap in plastic wrap or put into a plastic bag or small container.
I hope you give these healthy no bake cookie bars a try for an easy summer treat or an after-school snack. And I hope you’ll send me some happy vibes this weekend as we potty train our second child. (Oh, and just for fun, I put together a silly potty training essentials post for anyone attempting this same miracle.) Have a wonderful weekend! XO, Kathryn P.S. Need some more healthy dessert recipes? Check out 5-ingredient raw date brownies, which are so popular, or these 10-minute chocolate cookie balls that are great for toddlers and up. And I love making chocolate chip zucchini brownies when I have extra zucchini. Milk: You can use cow’s milk (skim, 2%, 1%, whole) or soy milk or another alternative milk. Oats: I almost always use old-fashioned rolled oats in my recipes, but I found they have too much of a raw oat taste here so I prefer quick-cook oats. If all you have is old fashioned oats, just pulse them briefly in a food processor or blender to break them up a bit before using them in the recipe. Peanut butter: I’ve made these with a natural peanut butter and just regular creamy peanut butter (Jif), and both ways worked great. You can swap in almond butter or another nut butter if you need them to be peanut free. Servings: You can get 9 very large bars or 16 smaller bars out of this recipe, depending on the size of the squares you want to cut them into. Scale recipe: You can make a half-batch in an 8x4 bread pan. Just line it with plastic wrap and spray with cooking spray so you can easily lift the bars out once they are chilled. Or double the recipe and use a 9×12 glass pan. Storage: These are best stored in the refrigerator, in a covered container. They’ll keep for up to 5-7 days. Gluten-free: This recipe is gluten-free as is, but be sure to use certified gluten-free oats if you have an allergy or intolerance to ensure there’s no cross contamination. Dairy-free: Make these bars dairy-free by using a milk alternative (such as soy milk or almond milk) and using dairy-free chocolate chips. Vegan: Use a milk alternative, dairy-free chocolate chips and use maple syrup or agave syrup in place of the honey.