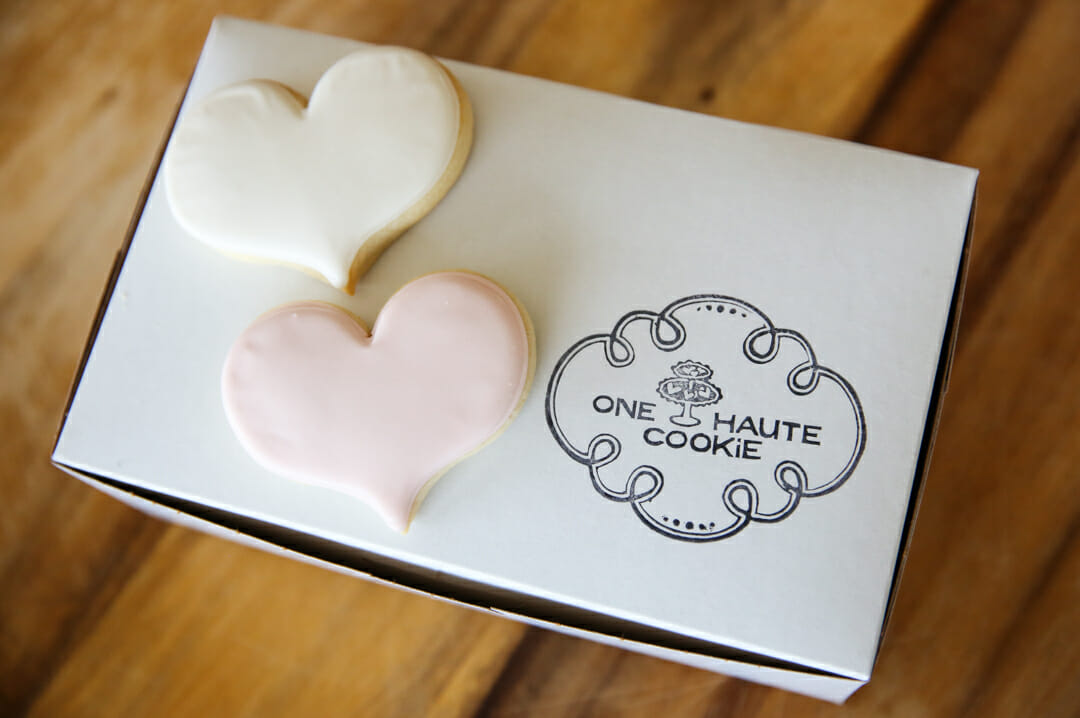
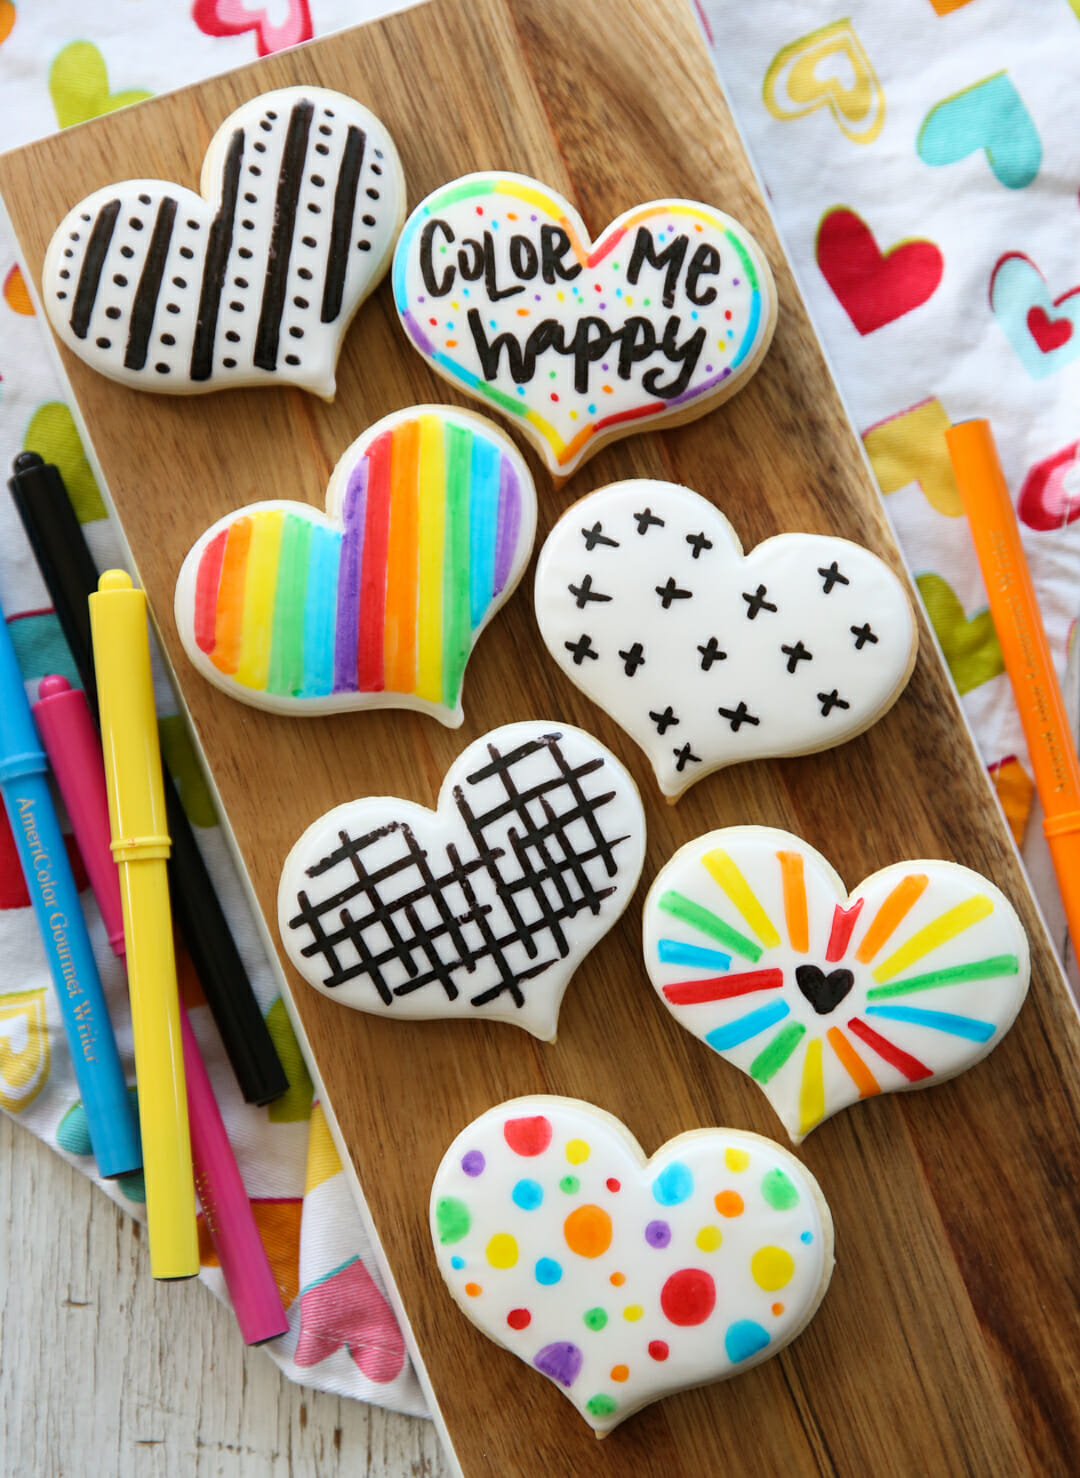
These cookies start with a plain layer of royal icing. Now you can make your own royal icing, which is the kind of icing that goes on wet and then dries into a dry, smooth, matte finish. We actually don’t have a recipe here for royal icing, but there are a million on-line. I recommend our friend Bridget of Bake at 350– she’s the master of royal icing! However, if you want to take the REALLY easy route- do what I do. Go to a local bakery and just order plain cookies with a single-color royal icing like these (from local One Haute Cookie, in the Boise, area). Make sure the icing is completely dry; it’s best to draw on these a full day after they’ve been iced.
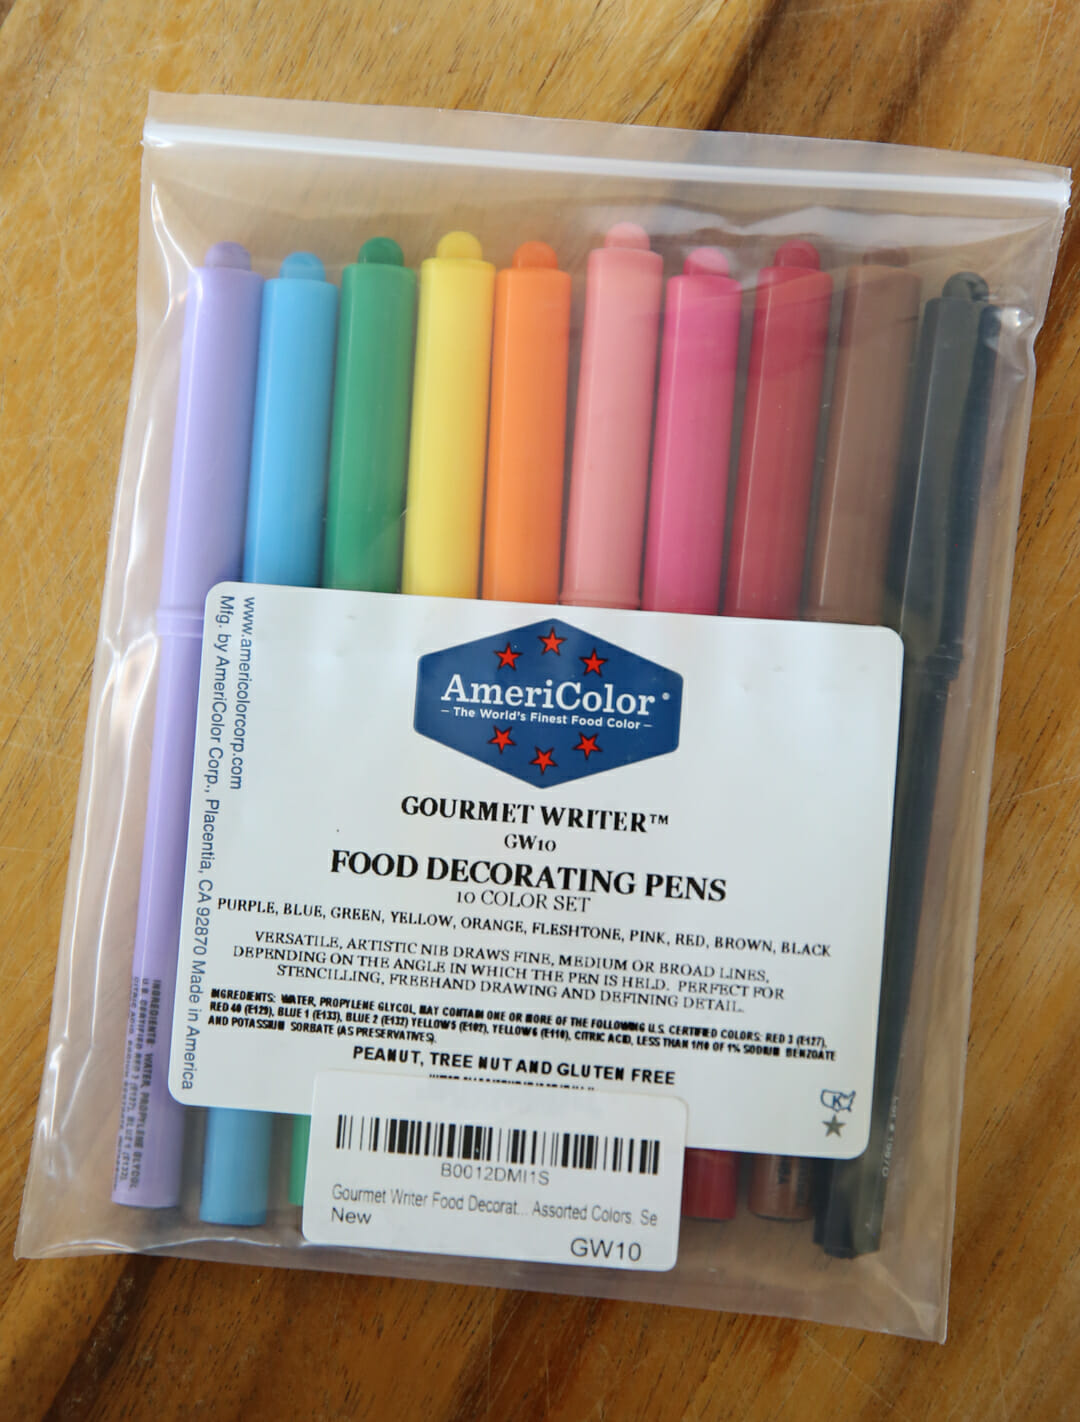
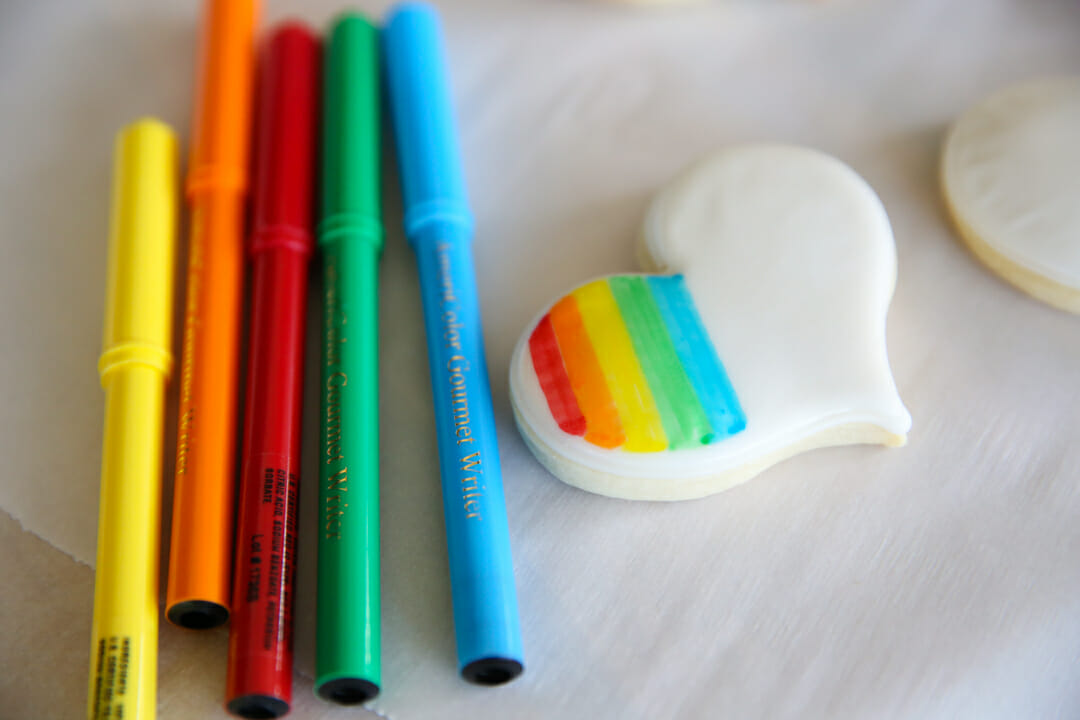
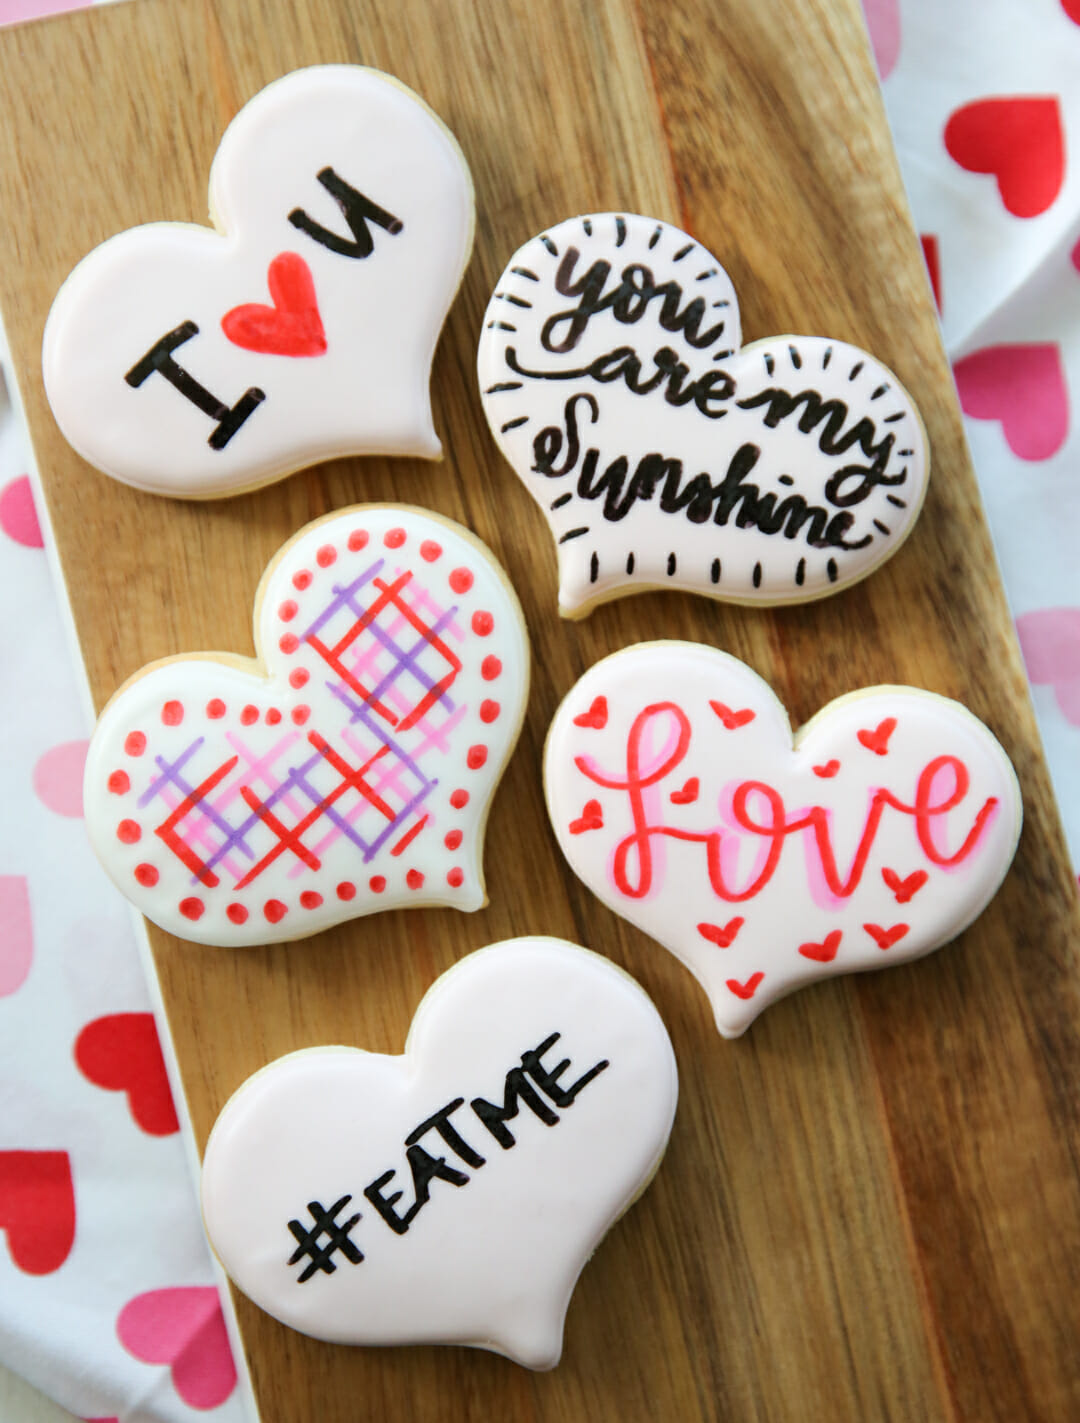
These look and feel just like regular markers, only they’re made with food coloring so you can write on things like cookies! The smooth, dry finish of royal icing is a perfect canvas.
I thought this would be the perfect tutorial for Valentine’s Day because you can letter someone’s name or write a sweet love note right on your cookie.
Think of baby showers, weddings, birthdays, and so much more.
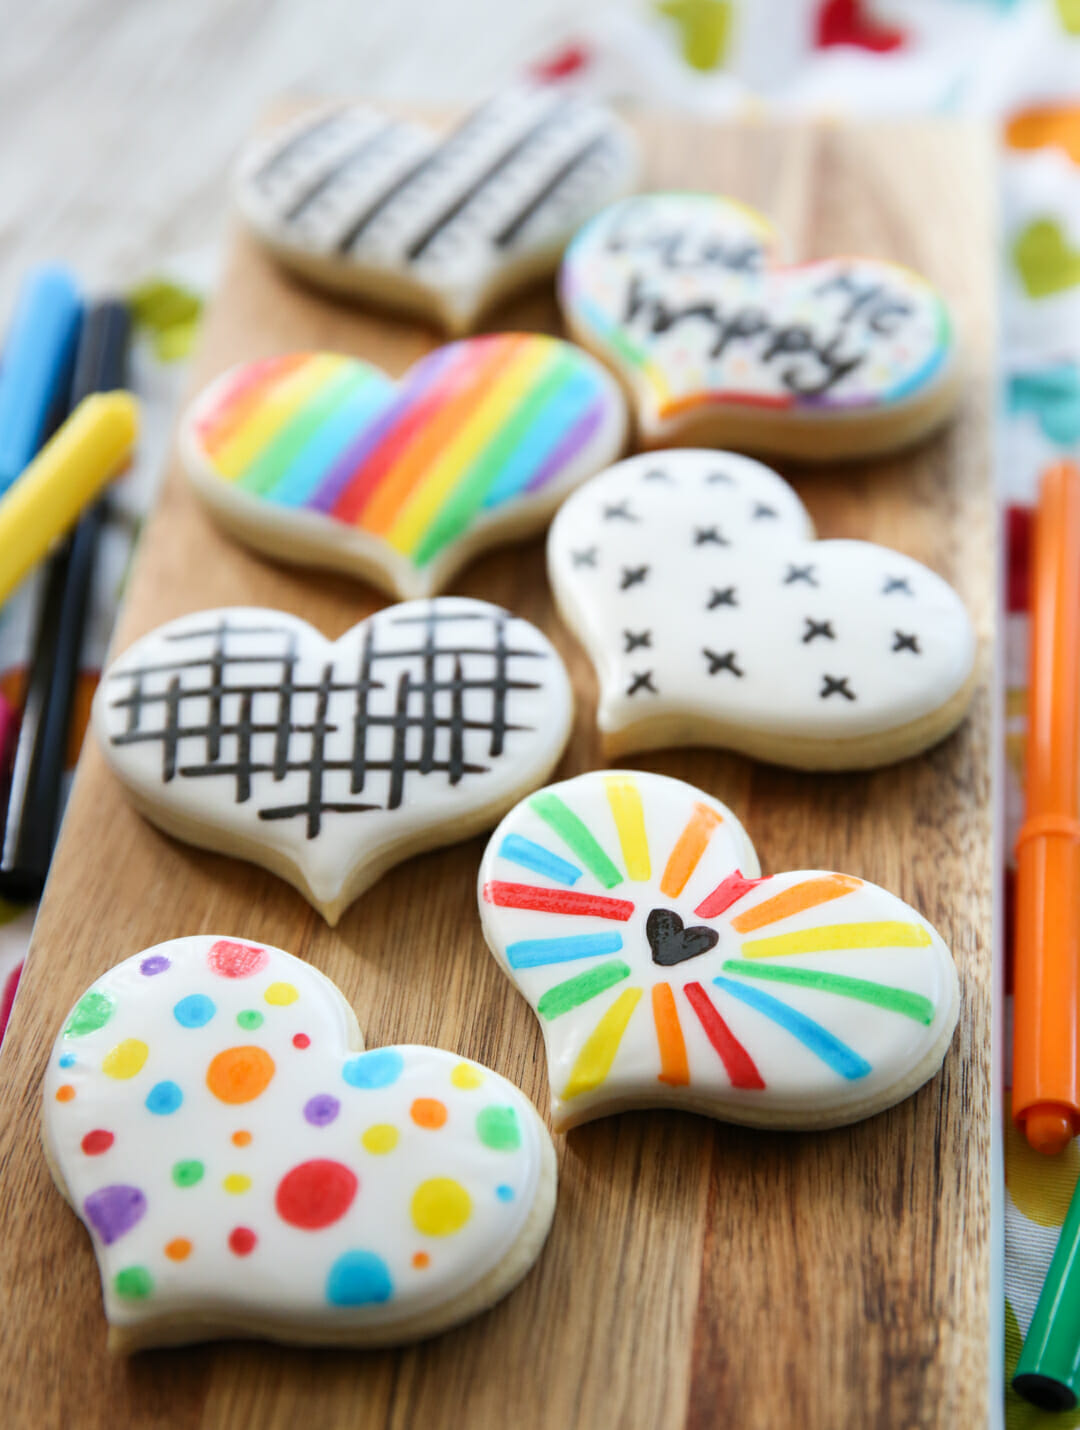
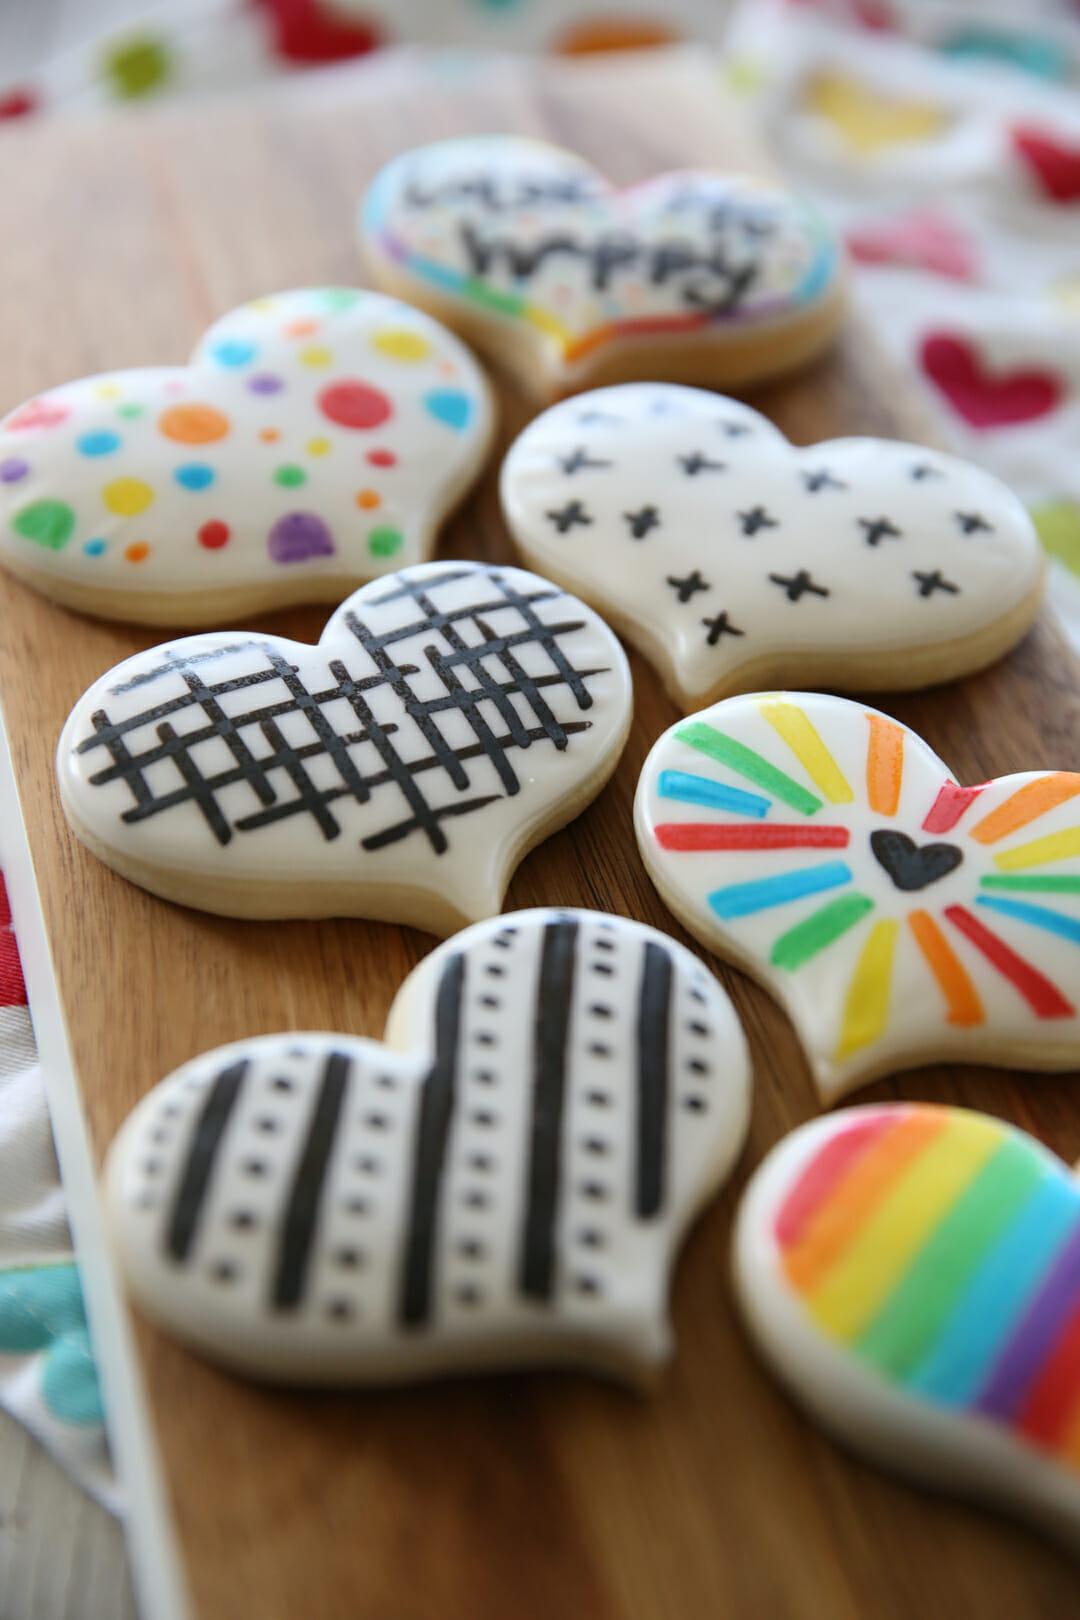
Even just investing in a plain black food-safe marker is a great idea. I LOVE the plain black and white, and look how simple the designs are. It literally took less than 30 seconds to whip those ones out.
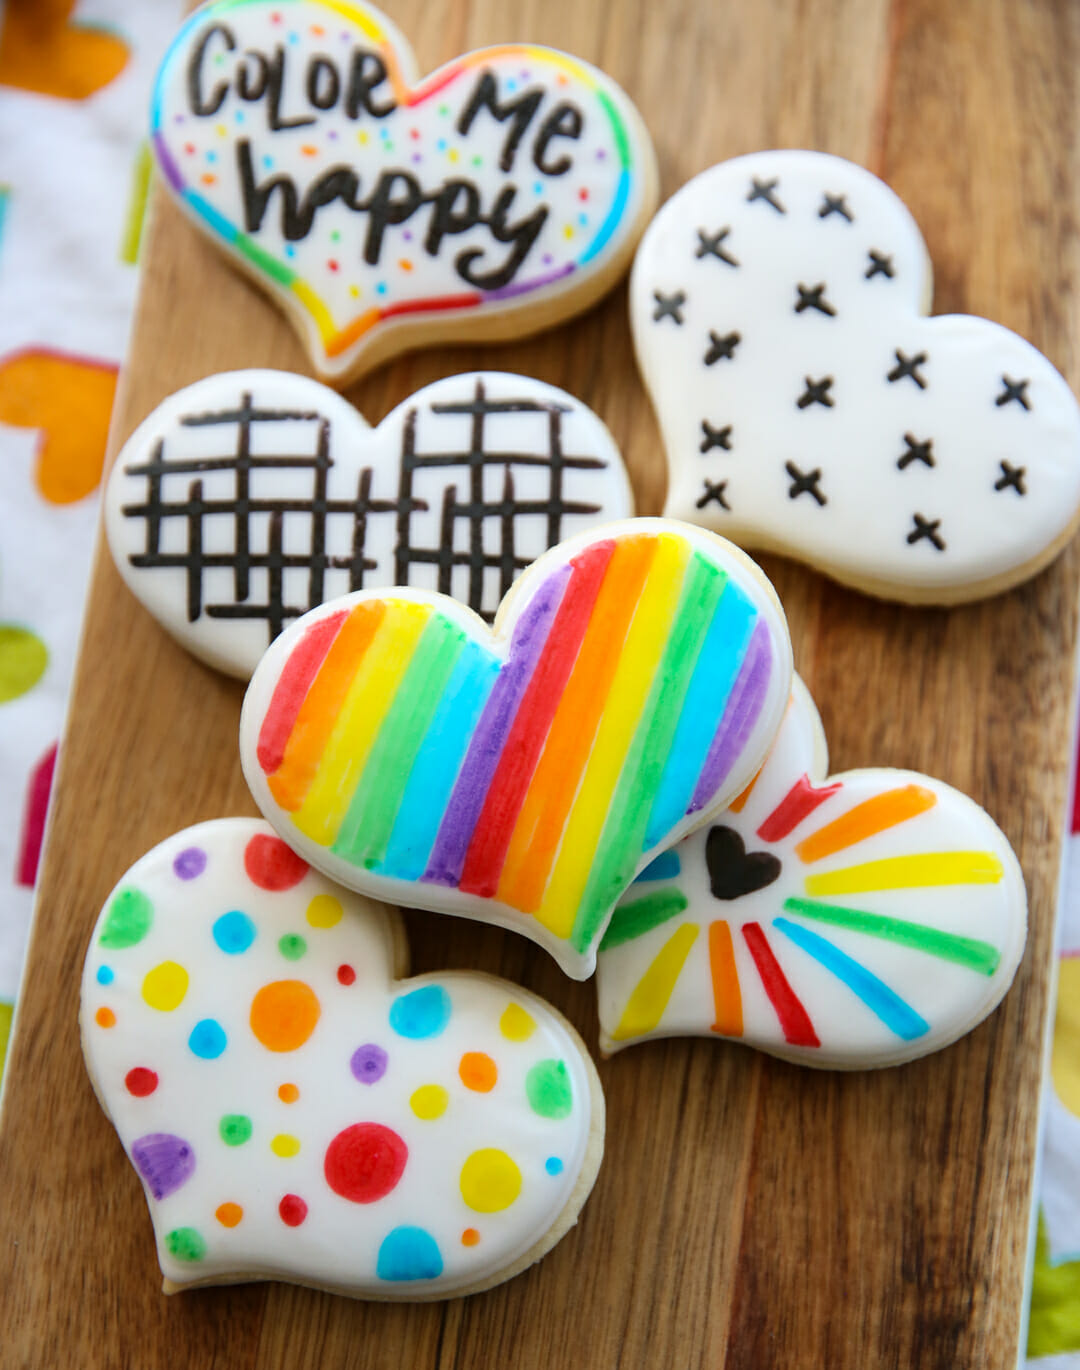
And of course I love a splash of rainbow thrown in.
There are endless opportunities here, grab some cookies and some markers and have fun!
Also speaking of things I LOVE this month, there’s a sale in our Shop! Save 15% on everything with code LOVE through the 14th! Click here to shop.
Tutorial: Cookie Decorating with Glace IcingThe Best Sugar CookiesEasy Hand-Painted Easter CookiesFrosted Sugar Cookie Bars {with Fluffy Buttercream Frosting}
Did You Make This?
I’d love to hear from you! Snap a picture on tag me on Instagram, then come back and give this recipe a rating!