But. I do like the idea of fun Easter eggs and I’m sharing a few really quick ideas that are simple enough for even me, Kate, destroyer of all crafts.
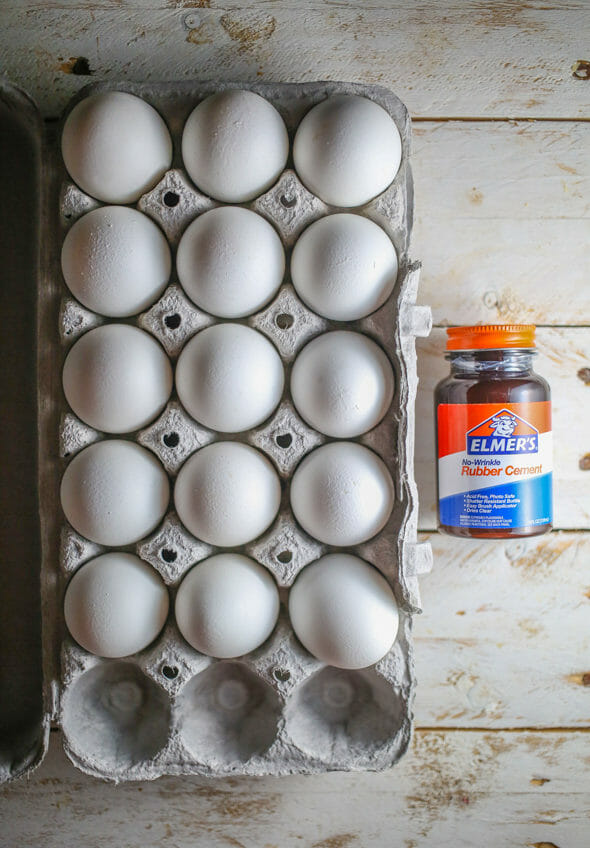
No matter what you do, you’ll need a whole bunch of hard-boiled eggs (you’re going to want to actually boil them–while I love baking them or using my pressure cooker, you can only make a few at a time in the pressure cooker and baking them sometimes leads to discoloration.) I also used rubber cement and metallic Sharpies.
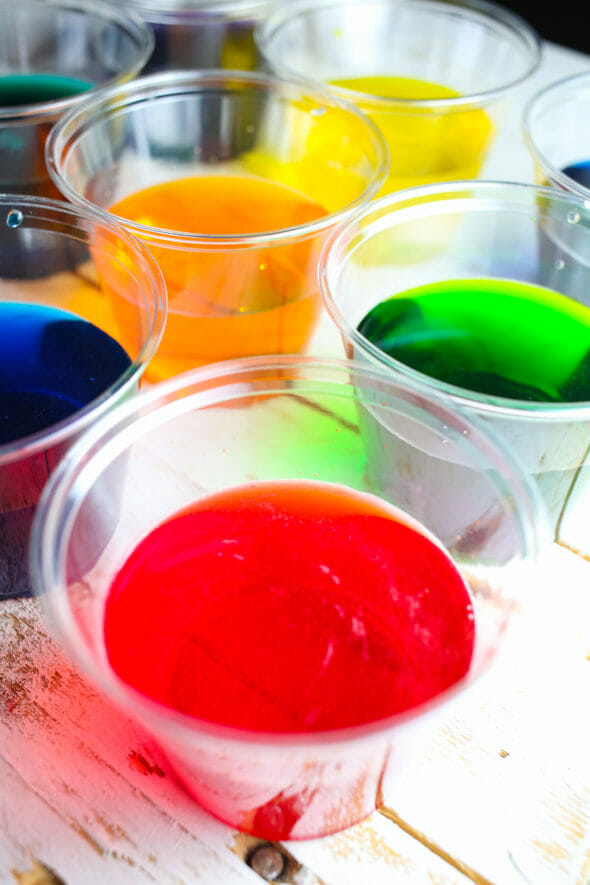
Speaking of rubber cement, did you know that a) it’s next to impossible to find these days and b) you have present your ID in order to purchase it?? I was so excited to get carded–I’m pretty sure it’s because it’s a controlled substance (so, obviously, keep an eye on the kiddos if they help you out here), but I like to think it’s because I look far too young to be purchasing glue in a jar. You’re also going to need egg dye, whether you just get the tablets or follow the directions on the food coloring box (or if you get super ambitious, make your own natural dyes…)
Now. Simplest ones first. Dye your eggs however you want and then, after they have dried, doodle on your eggs with a metallic Sharpie. I drew dots on this one–thank goodness the whole irregular, hand-drawn thing is super in right now. That’s what I was trying to do–my regular dots are actually Sheldon Cooper-esque perfection. 😉 You can also write names on the eggs, either just for fun or you could even use them as placeholders at Easter dinner. Again, I don’t have all the fancy calligraphy skills, but I do feel like I have reasonably adorable handwriting.
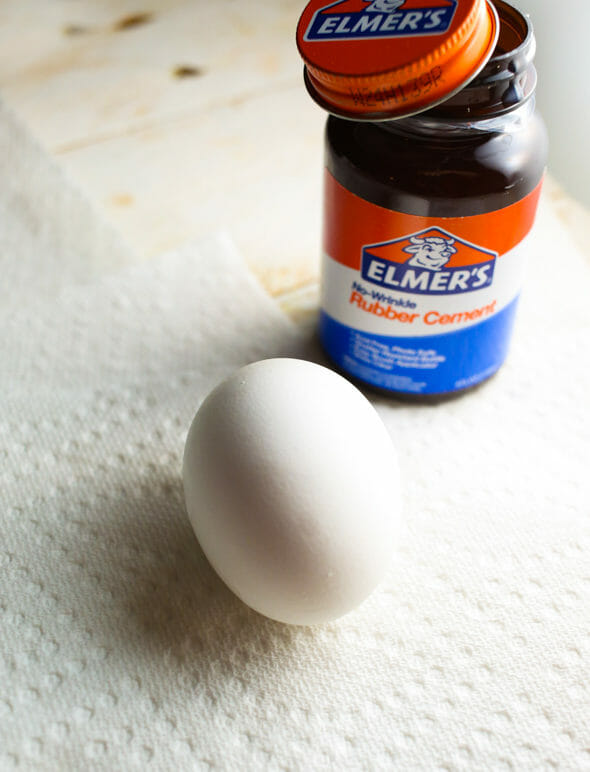
Now. To make these funky semi-psychedelic eggs (again, be careful with the glue so things don’t get too psychedelic), take your hard-boiled egg and some rubber cement.
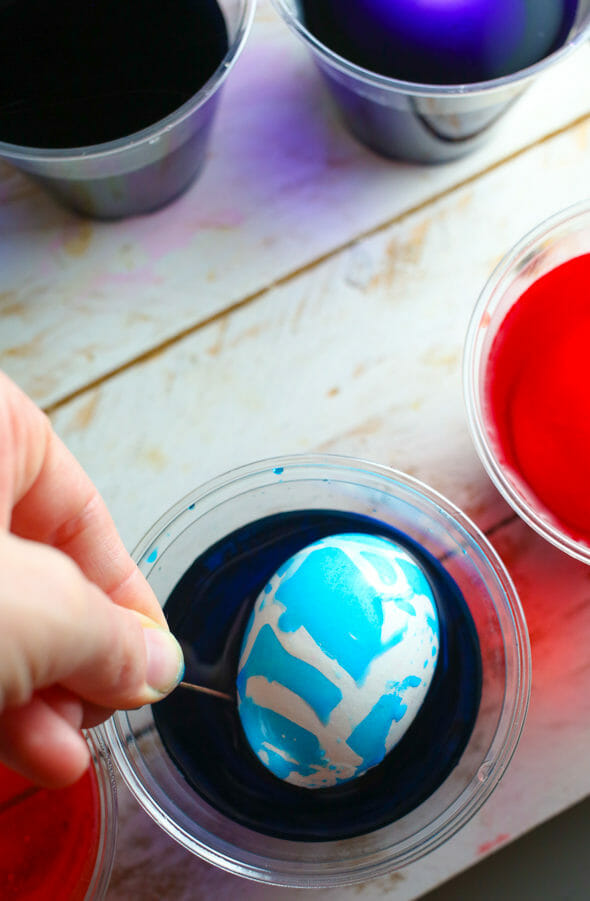
Drizzle the rubber cement over the egg. You can leave one side or end glue-less–it will just look like you planned it that way. I had much better luck, both in terms of aesthetics and in terms of getting the glue off the egg later, when it was drizzled on pretty thick instead of brushed on. Let your eggs chill out for a few minutes, until the glue is pretty dry (if you’re using cold eggs, that will help.) Choose two coordinating or complementary colors and dunk the egg in the lighter color first. Let it sit there until the desired shade is reached.
Allow the egg to dry, then peel off the glue (side note–my 5th- and 3rd-graders seem to do a lot more actual school than I did when I was their age because they knew nothing about spreading Elmer’s white glue over their hands and then peeling it off after it dried. Children truly are the future, guys.) Then pop the egg in the darker color for just a few minutes. They’re so cool!
I should note that because eggs are porous and because both Sharpies and rubber cement are a little heavy on the fumes, it’s probably not the best idea to eat either of these eggs. Save a few good ol’ fashioned eggs from the toxic chemicals for your edible eggy needs. We’ll be sharing lots of things from our archives over the next few days, so stay tuned! Happy spring!