Here I share the easiest way to make dulce de leche, and the safety steps to ensure success. It’s the perfect accompaniment for the best churros recipe ever! I have to confess, I haven’t been the biggest fan of dulce de leche. I do love sweets (which of course is no secret if you browse this web site), but even with the sweetest of desserts that I make on this blog, you may have realized that I’m a HUGE fan of that salty and sweet combo. Caramel sauce? Not exactly my cup of sauce. But salted caramel sauce? Yes, please! The same thing applies to this dulce de leche recipe. Once I tasted salted dulce de leche, I absolutely changed my mind about it. So, while it is incredibly EASY to make regular dulce de leche, I need that little extra addition of salt to make it taste even better! And it’s no secret why that is. Salt helps to balance the sweetness and adds more flavor to desserts. It’s no different with this easy dulce de leche.
Ways to make dulce de leche
From scratch – You can make it from scratch with milk and sugar. But this will take you AGES and you will need to be stirring the pot constantly on low heat to ensure even results. It’s not really worth anyone’s while to be doing this at the stove for that long. It’s certainly do-able and delicious, but I prefer the easy method. Easy stovetop method – This is the method most people know and prefer. A can of condensed milk boiling in a pot of water, with frequent water top ups. The milk and sugar are already inside the can, and the pressurized environment inside the can will cause the Maillard reaction in milk to convert it into the delicious brown, thick consistency of dulce de leche that everyone loves! Except for topping up the water every 30 minutes, this is the easiest, no fuss method of making homemade dulce de leche. Oven method – Pour the condensed milk into an oven-safe dish and bake the condensed milk in a water bath, with frequent stirring. This method requires you to make sure that the water does NOT get into the dulce de leche. I do not like this method, because I have to constantly lift the foil to check on the dulce de leche and then re-seal it. It’s just too much effort. Instant pot / pressure cooker – The can itself is pressurized, and in theory, putting the can in a pressure cooker will shorten the cook time even further. However, I have not tried this method. The idea of a pressurized can inside a pressure cooker sounds more like a recipe for disaster than a recipe for dulce de leche for me. If you’re a braver soul and have tried this with successful results, do let me know though! I’ll be sharing the easy stove top method here. And this recipe is no secret. You only need condensed milk to make this recipe, plus salt. But there are some safety tips you need to follow.
Ingredients and equipment needed
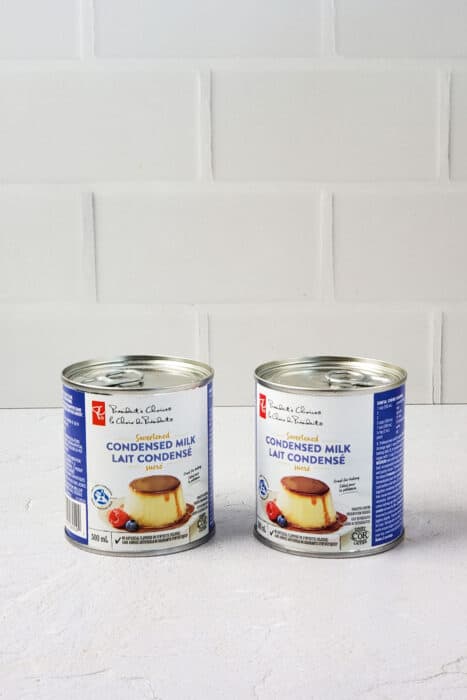
Condensed milk can – You can buy one with the open tab on top or without. Some recommend to use cans without the open tab for increased safety of the can not bursting during cooking. But I mostly have used tabbed cans and haven’t had any issues. Condensed milk contains the important ingredients – milk and sugar. Salt – To make this into salted dulce de leche, you need to add salt. My preference is sea salt, but honestly any type of salt will do. If you like to have a delicate salty crunch, you can mix in some maldon salt flakes into the room temperature dulce de leche as well. Large pot – You need to use a large, deep pot that will hold enough water so that the water level is about 1.5 inches above the cans (1 – 2 inches). The water will need to simmer continuously while the cans are FULLY submerged. Tongs – To move the cans around in the water, and to take them out when they’re done. A small pot and spatula – To heat up the dulce de leche afterwards.
How to make dulce de leche on the stovetop
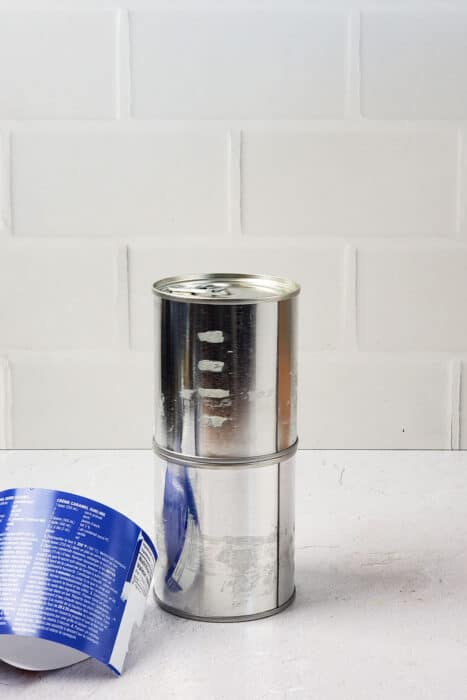
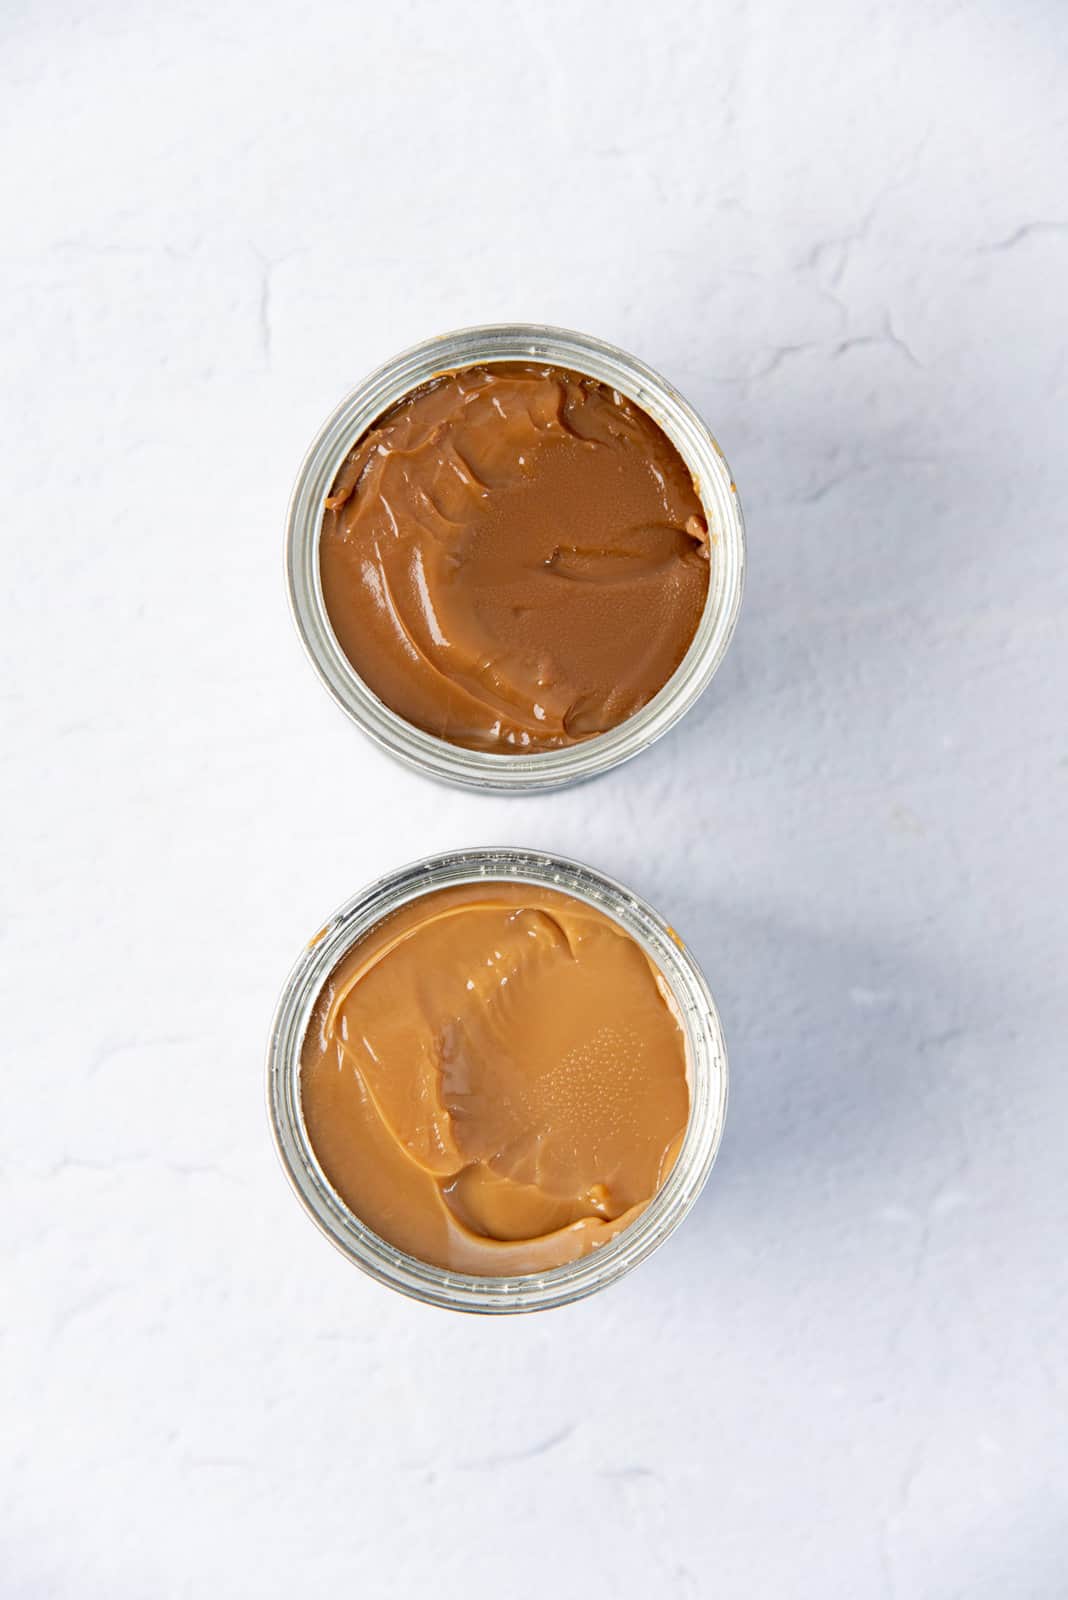
First, remove the label on the can of condensed milk. The water will break down the label and it’ll float around inside the pot, and this is just a hassle. So it’s easier to remove the label before putting it in the pot. Make sure the cans are not damaged in any way. Place the cans on their side inside the pot. The cans are shorter this way, and you can easily fill a pot with water so that it’s 1 – 2 inches above the cans. Fill the pot with water from the tap. Make sure the water level reaches well over 1 inch above the top of the cans. It should always be at least one inch above the cans, so I like to fill it until the water is about 2 inches above the cans. Close the pot and bring the water to a boil over high heat. Then lower the heat to a simmer. You don’t have to remove the lid, but you may want to keep it ajar to prevent the water from boiling over. Let the water simmer continuously for up to 3 hours. Check on it every 30 minutes to move the can around on its side, AND to top up the water if needed. It is absolutely imperative that the water level stays well above the can. You can take the can out at 2 hours for a lighter dulce de leche or 3 hours for a darker, deeply caramelized dulce de leche. You can see below the difference between dulce de leche that is cooked for 2 hours vs 3 hours! The 3 hour dulce de leche is deeper in color and the flavor will also be more complex.
After cooking
After the cans have simmered for about 3 hours, it’s time to remove the cans from the pot. The can will take a few hours to cool, so you can speed up the process by keeping the can in a cold water bath. Once it has cooled down completely, you can either open it and use it right away. But I usually transfer the can into the fridge so that I can use it the next day.
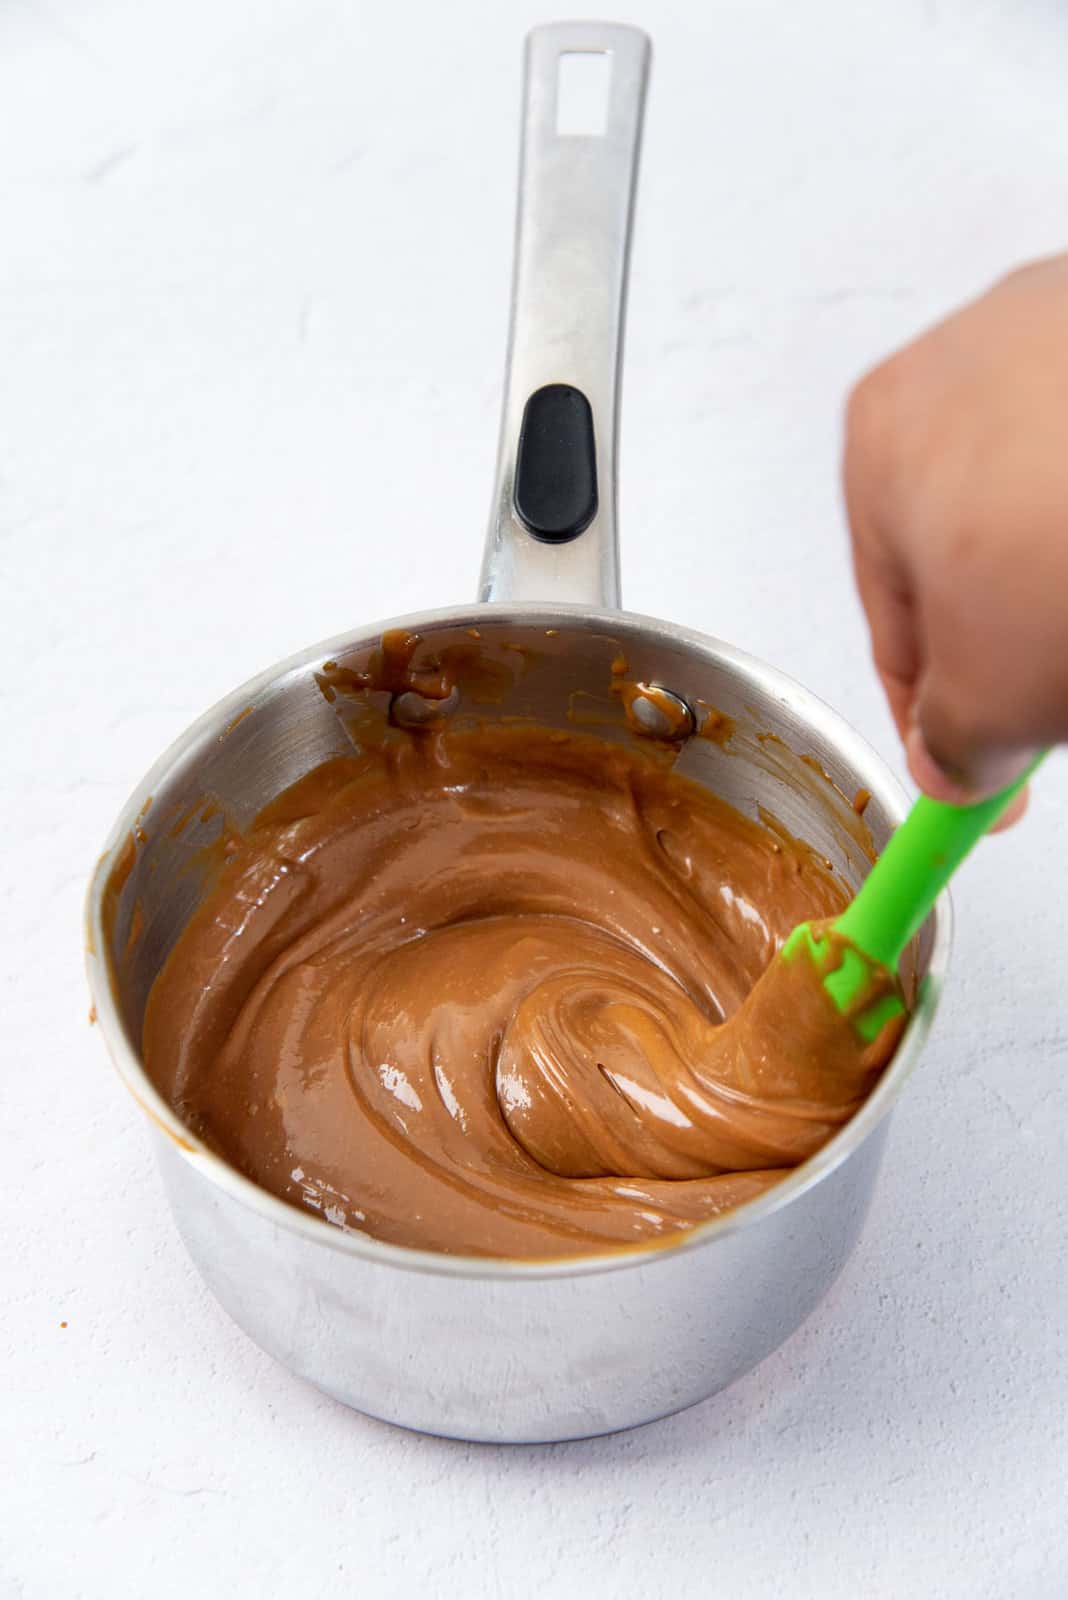
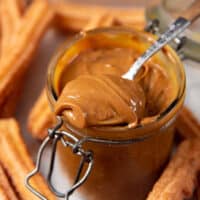
Adding salt
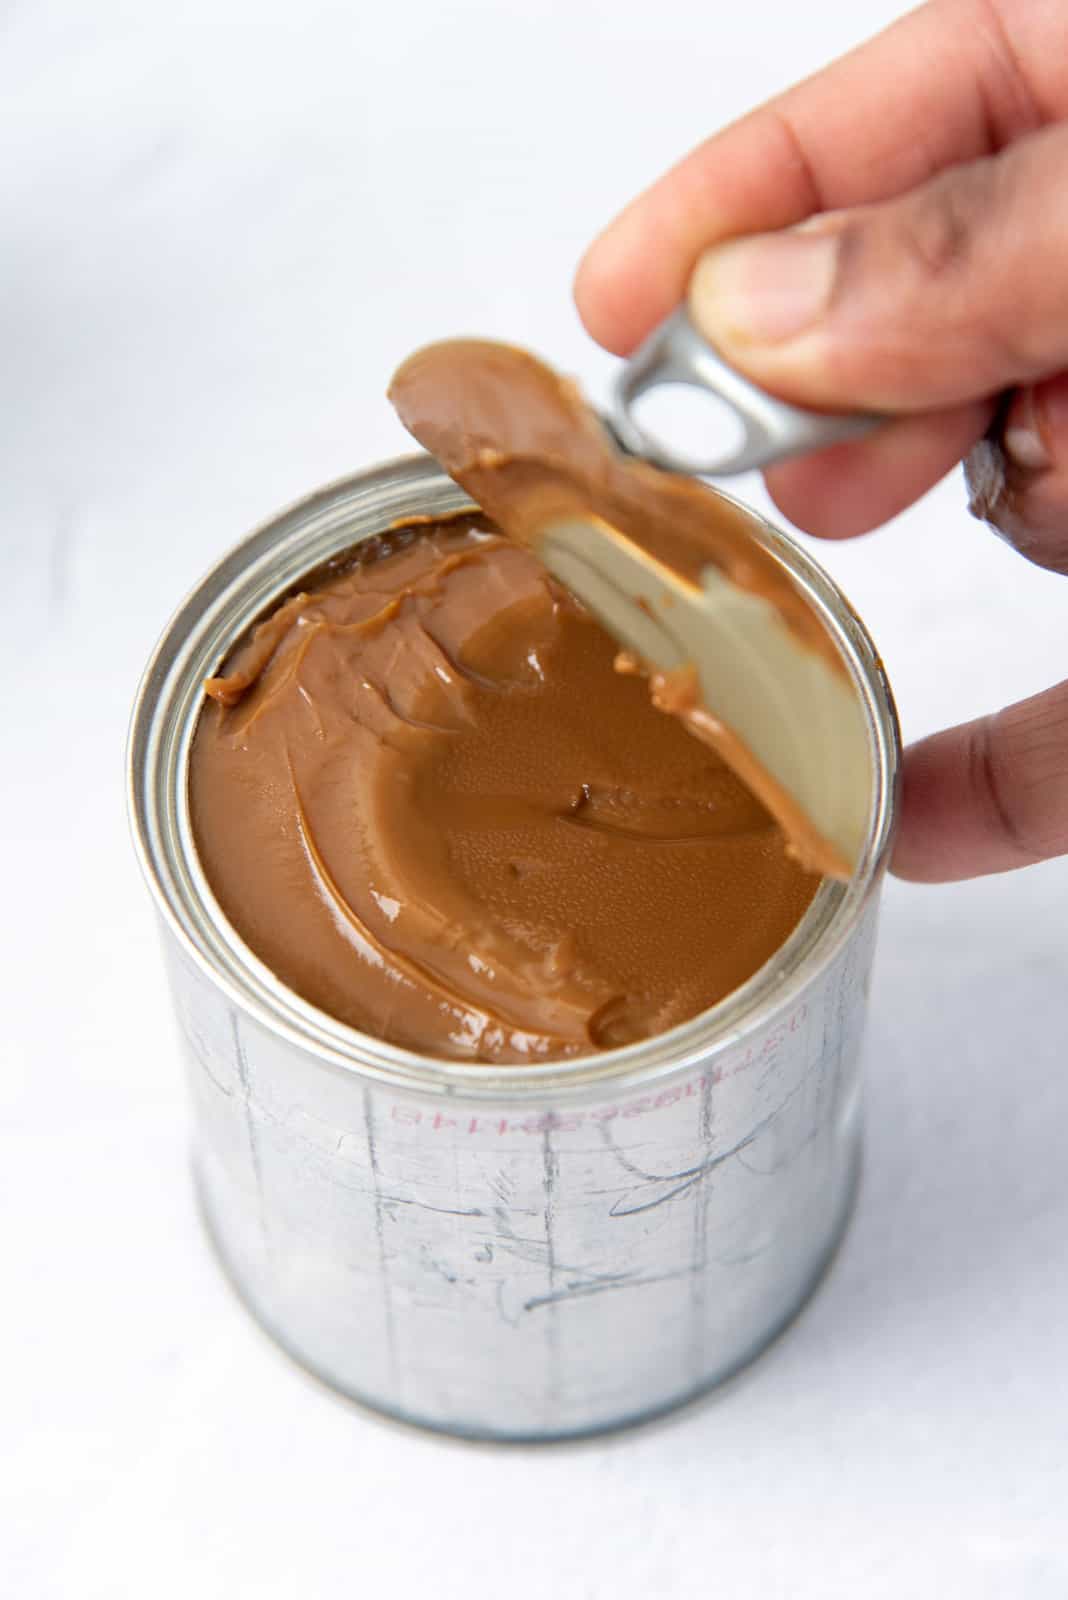
Before serving the dulce de leche, I scoop out all the dulce de leche in the can into a small pot, and add some salt. Over gentle heat, I stir the dulce de lecha until it becomes a little warm and the salt dissolves. Then you can serve it while it’s still warm OR at room temperature.
Dulce de leche and caramel differences
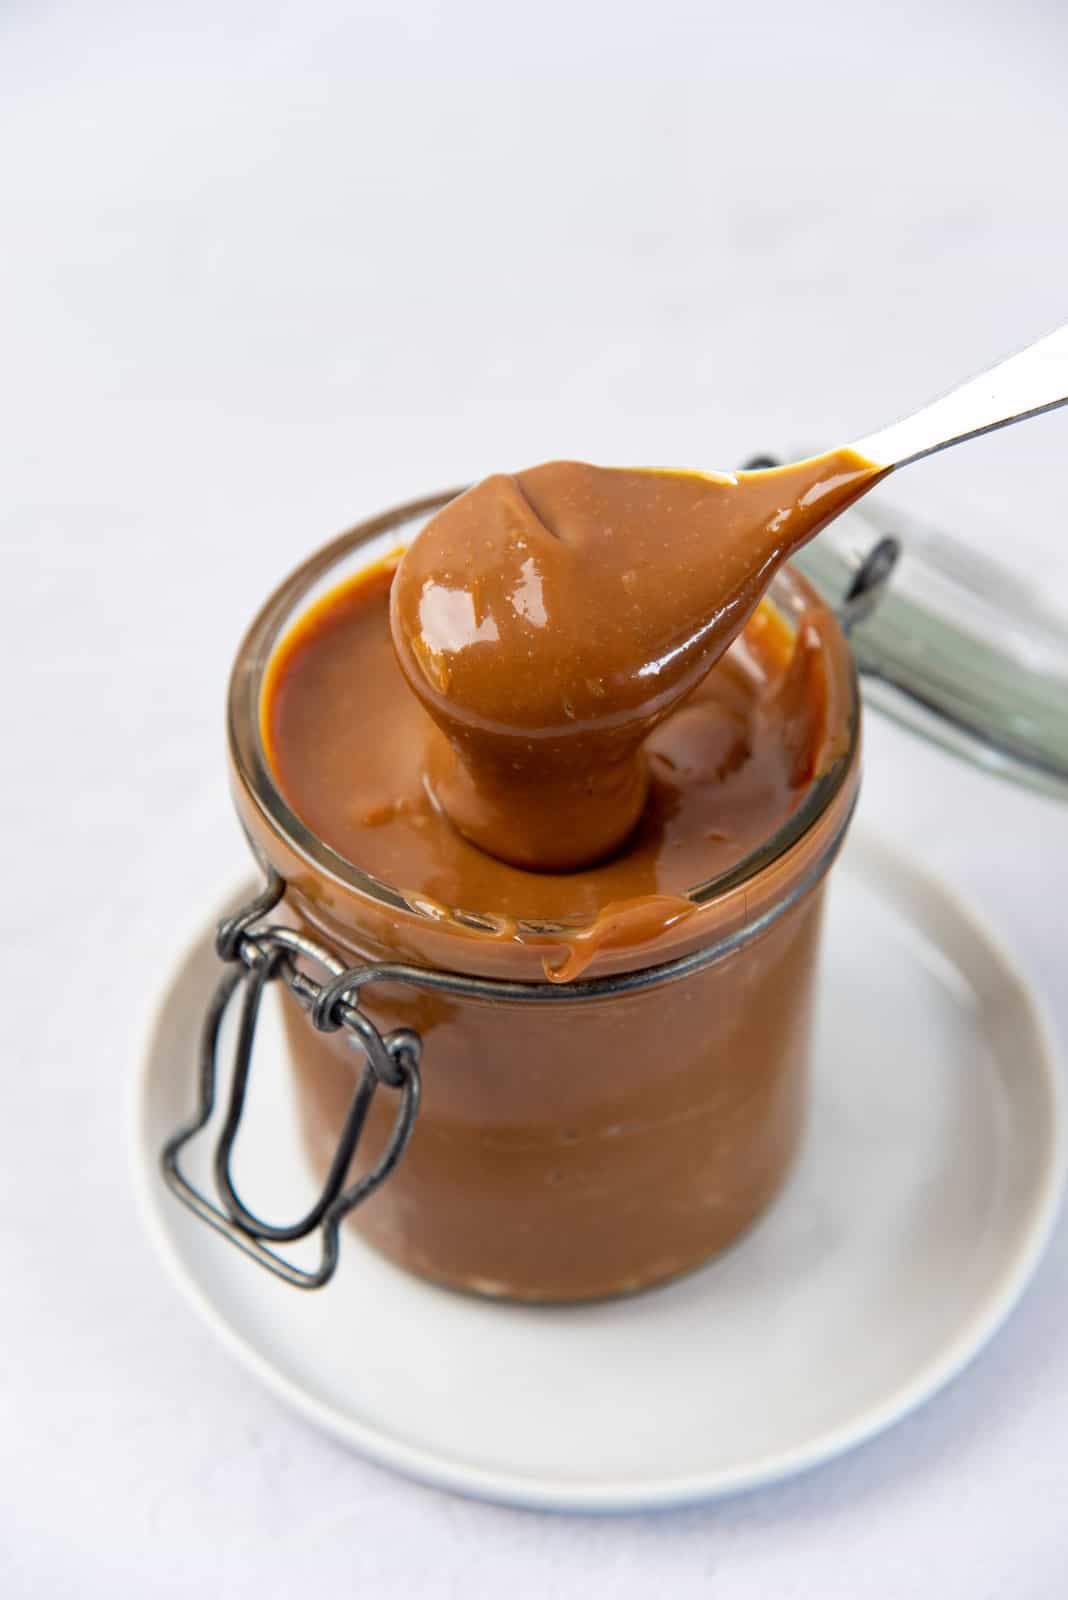
While caramel is caramelized sugar at high heat with added cream and butter, dulce de leche is not the same. Dulce de leche relies mostly on the Malliard reaction in the milk and sugar mixture to produce its delicious result. It may seem similar to caramelization, but it is indeed a different chemical process that involves the amino acids and reducing sugars in the food reacting to cause the downstream result of the browning of the food. This also makes the flavor of the food more deep and complex. If part of the water evaporates and exposes the can, this exposed part will overheat compared to the rest of the can. This can result in the can warping, and even worse, it could explode from the pressure difference as it heats unevenly. To prevent this, you absolutely must ensure it is ALWAYS submerged in water. So while this method of making dulce de leche is a no fuss, easy method, it should NEVER be left unattended for the duration of its cook time. Check on it every 30 minutes or so. The result is a sauce that has a deep caramel color, and is thick, smooth, and super creamy! But unlike caramel, it’s not as sweet, and has a more creamy taste and texture. So if you do find caramel to be too sweet, this might be a better choice for you. In Singapore, kaya jam is the closest vegan option to dulce de leche (depending on how it’s made). Traditionally kaya jam is caramelized coconut milk and sugar that results in a coconut jam. Dulce de leche is essentially like a milk jam as well.
Serving suggestions
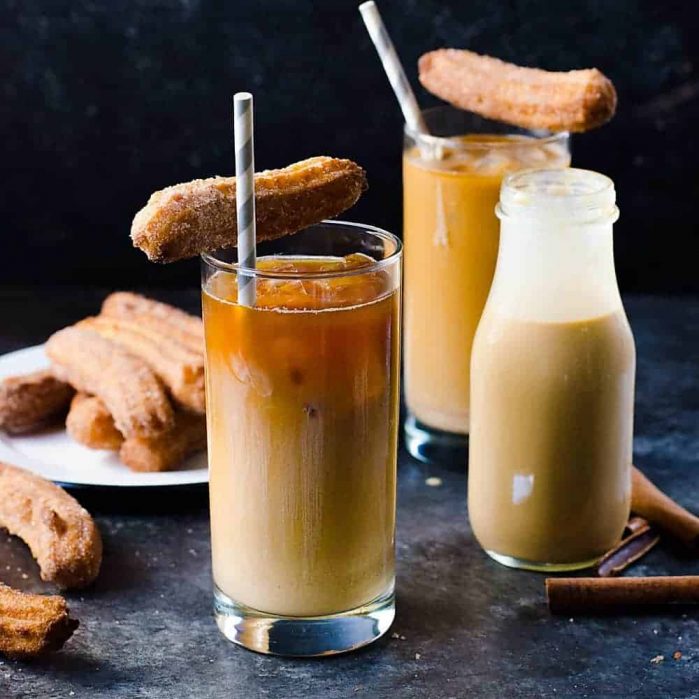
This is such a versatile sauce. It’s so good on its own, and especially drizzled over ice cream recipes such as vanilla ice cream, cereal milk ice cream, cookie dough ice cream, butterscotch ice cream etc. But you can also use it for lots more applications such as,
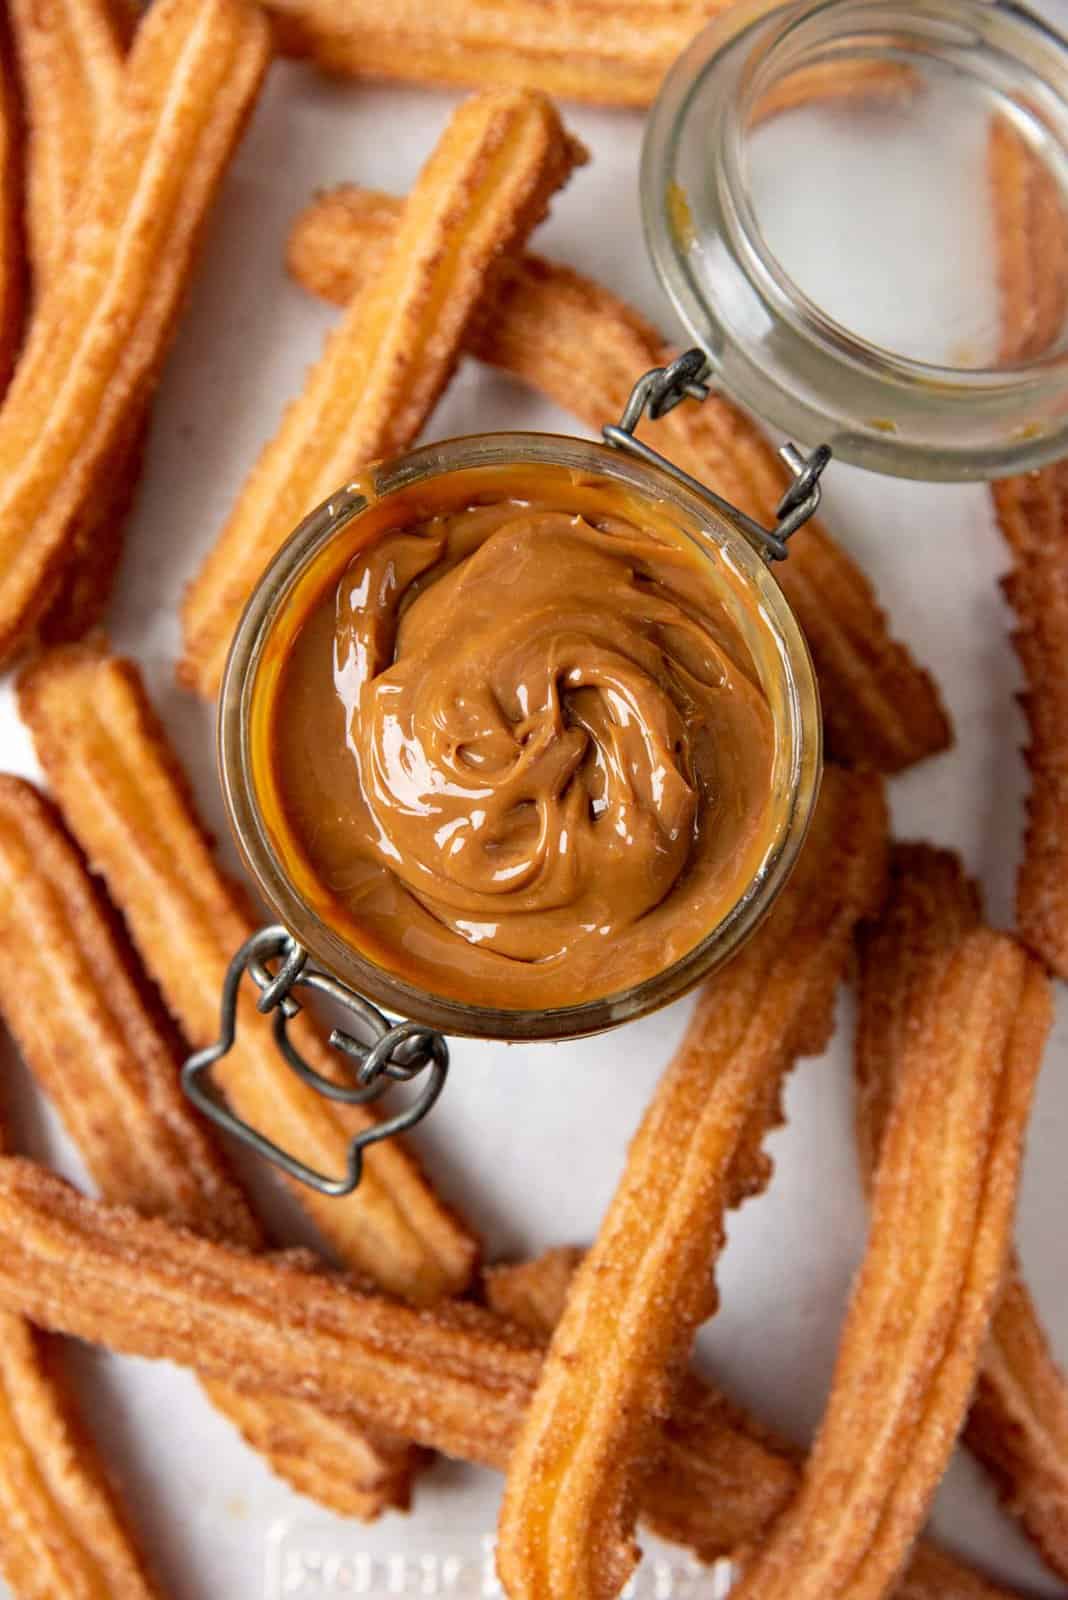
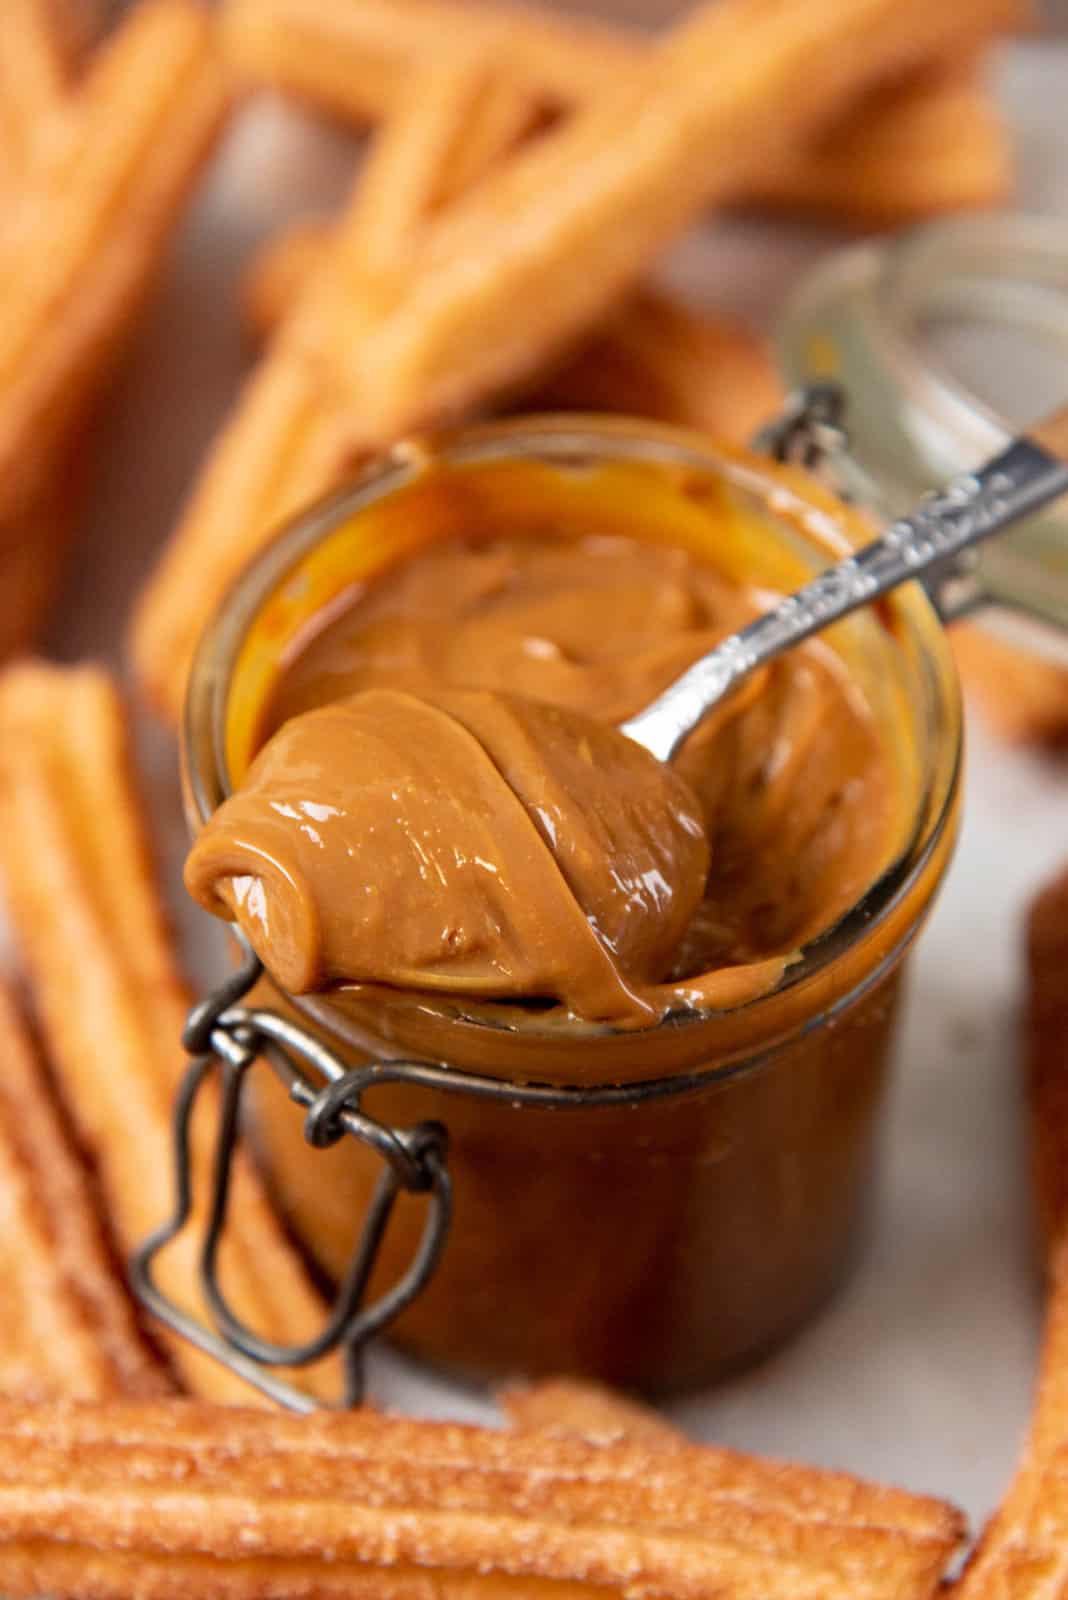
As a dipping sauce for fruits such as apple (instead of caramel). As a flavor for milkshakes or other milk-based drinks (just blend with ice cream and/or milk). As a sweetener for drinks such as coffee or tea. Make a delicious churro coffee creamer for your daily coffees. As a dip for desserts such as easy churros. Add as a topping for desserts like fudgy chocolate brownies or brown butter blondies. Mix with buttercream to make dulce de leche flavored buttercream. Spread on top of toast (like kaya jam).