Now, I’m sharing all my tips and secrets for this easy cherry pie recipe that is sure to ruin all other cherry pies for you! Why make a standard cherry pie when you can easily add so much more flavor with your own thick cherry pie filling?
What makes this the BEST cherry pie for me
The pie crust recipe is a step by step beginner-friendly recipe for an incredibly flaky all butter crust that has helped many beginner-bakers master homemade pie crust. The cherry pie filling is SO GOOD! That’s because I make a cherry and wine flavored cherry base, before adding more cherries that will thicken into a luscious, glossy whole cherry pie filling with deep red wine flavors and jammy cherry flavor! How can you say no to that? The two step cooked cherry pie filling has an extra step that is totally worth your time for that extra layers of flavor. But if you don’t have time to make that cherry pie filling, then I even share an easy cherry pie version that doesn’t require pre-cooking the filling. I share tips on how to ensure that your pie crust won’t be soggy, and will remain flaky after baking! I share substitutions to make this pie without wine, but still be just as delicious!
Ingredients for cherry pie
All butter pie crust
Flour Unsalted butter Chilled water (and vodka) Salt
Cherry pie filling
Cherries Sugar Cornstarch Salt Lemon juice Red wine
What type of cherries to use for this recipe?
I use sweet cherries for this recipe because I do prefer their flavor. But you can absolutely use tart cherries here as well. I also prefer to use fresh cherries for a fresh cherry pie because they hold their shape better while being baked. Frozen cherries get softer as they thaw out, and will break down more easily. That being said, I do provide instructions on how to substitute frozen cherries to make cherry pie filling, and the adjustments to make to the recipe in my homemade cherry pie filling recipe.
How to make cherry pie
Foolproof pie crust
My all butter, super flaky pie crust is the perfect crust for this fruit pie! I have already shared an in-depth tutorial on how to make this everyone’s favorite pie crust recipe, with every step of the process explained. I created this guide because I know from personal experience that many people don’t know how to make pie crust, or know anyone else who can make it. So why rely on anyone else when you can use this comprehensive guide on how to make pie crust and make all the amazing dessert pie recipes you’ve always wanted to make? The first step is to cut cold butter into the flour to create large flat, butter clumps (image 1). Next, add chilled water to the mixture. Add just enough to bring the dough together without overworking the dough (image 1). Chilled vodka mixed with the water will help with that! Then bring the dough clumps together to form a dough (image 2). Cut into four and stack them to create layers – this is what makes the pie extra flaky! Now, divide the dough into two, and gently shape them into discs. Cover and chill.
How to pit cherries
There are a few ways to pit cherries. A cherry pitter will make this job a lot easier, but if you don’t have a cherry pitter, you can also use a chop stick and glass beer / soda bottle instead. I talk about these different techniques in my cherry pie filling post. I use my cherry pitter, which pits 1 cherry at a time. It does take time, but it works for me. For a faster job, you could invest in a multiple cherry pitter that can pit 4 – 5 cherries at a time. Or you could get a deluxe cherry stoner, that will hold many cherries and pit them one after the other in a much faster way. This is one of the very few times I would endorse a single job tool for the kitchen.
Cherry pie filling
In this recipe, I provide TWO ways to make the cherry pie filling!
Method one
The first method is my favorite, where the cherry pie filling is pre-cooked before baking in the pie crust. Because we create a lovely jammy, cooked down cherry base with wine and cherries here, the flavor is undeniably better and more complex. The cherry pie filling is what will make or break the pie! And my cooked cherry pie filling is loved by so many because of how delicious it is. The cherry pie filling has extra cherry flavor, and a little warmth and depth of flavor from the reduced red wine. This pie filling is made by cooking down 1/3 of the cherries with a little sugar and red wine into a concentrated, syrupy, jam-like base (image 3). Then the rest of the cherries are mixed with the sugar and cornstarch (image 4). Next, these cherries are added to the red wine cherry base and cooked briefly to thicken the filling (image 5). Then the cherry filling is cooled down, and it can then be used in the pie crust. But it can also be used to top other desserts too (a scoop of vanilla ice cream, New York cheesecake, chocolate cake and chocolate brownies are a few my favorite desserts to pair with this cherry pie filling).
Method two
The second method is the easy method – but also results in a very juicy, thick cherry pie filling. Since it’s not pre-cooked, it’s easier to make, but also does not have the same complex flavors as in the cooked version. The cherry filling is still thick, and has a lovely juicy cherry flavor with notes from the orange zest! Mix the pitted cherries with cornstarch, sugar, some lemon juice, and orange zest. Add this directly into the pie crust and bake! This results in a cherry pie filling that is thick and luscious, just like the cooked version. But because it does not contain red wine, and isn’t pre-cooked, the extra depth of flavor will be compromised in exchange for time and convenience.
Assembling the pie
Preheat oven
Preheating the oven properly is crucial to get a perfect, flaky crust. Preheat the oven to 425 F and place a baking tray on the oven rack in the lower third of the oven. The metal baking tray should preheat for at least 30 minutes. This step is absolutely crucial to properly baking the bottom crust.
Rolling out the pie crust and adding the filling
Roll out 1 portion of the chilled pie dough into a circle (image 6). The dough should be about 3 mm thick. The thicker the pie crust, the more “raw” it will feel when baked. A thin pie crust bakes better and is more flaky as well. Line the pie dish with the pie crust, making sure not to stretch the dough to fit the pie dish corners. Instead, lift and gently place the dough to fit (image 7). Trim the excess, leaving a 1/2 inch overhang off the pie pan all along the edge (image 7). This will help with sealing the top crust with the bottom crust. For more tips for handling pie dough, check out this section on tips for a double crusted fruit pie. While the pie crust is chilling, roll out the second portion for the top crust. Cover and let it chill in the fridge so that it’s easier to work with. Fill the chilled bottom pie crust with the cherry pie filling (images 8 – 9) and then top it with the top pie crust. For the pie crust top, you have a few options.
Sealing the edges
If you do top your pie with a top crust, it’s important to press down the edge of the top crust to the edge of the bottom crust. You can use cold water to help seal the two crusts together, and then press them together using your fingers or a fork. Trim the excess of the top crust, to match the overhang of the bottom crust. Then roll this overhang UNDER the crust to create the final pie crust along the edge of the pie pan. This edge can be kept as a smooth ring, or crimped with a fork, or fluted with your fingers (image 11). If you do not have a top crust to seal with the bottom crust (like in the pictures), just roll the bottom crust overhang under and create a fluted or crimped edge. Chill the pie until the dough is firm again – about 30 minutes or so.
Baking the pie
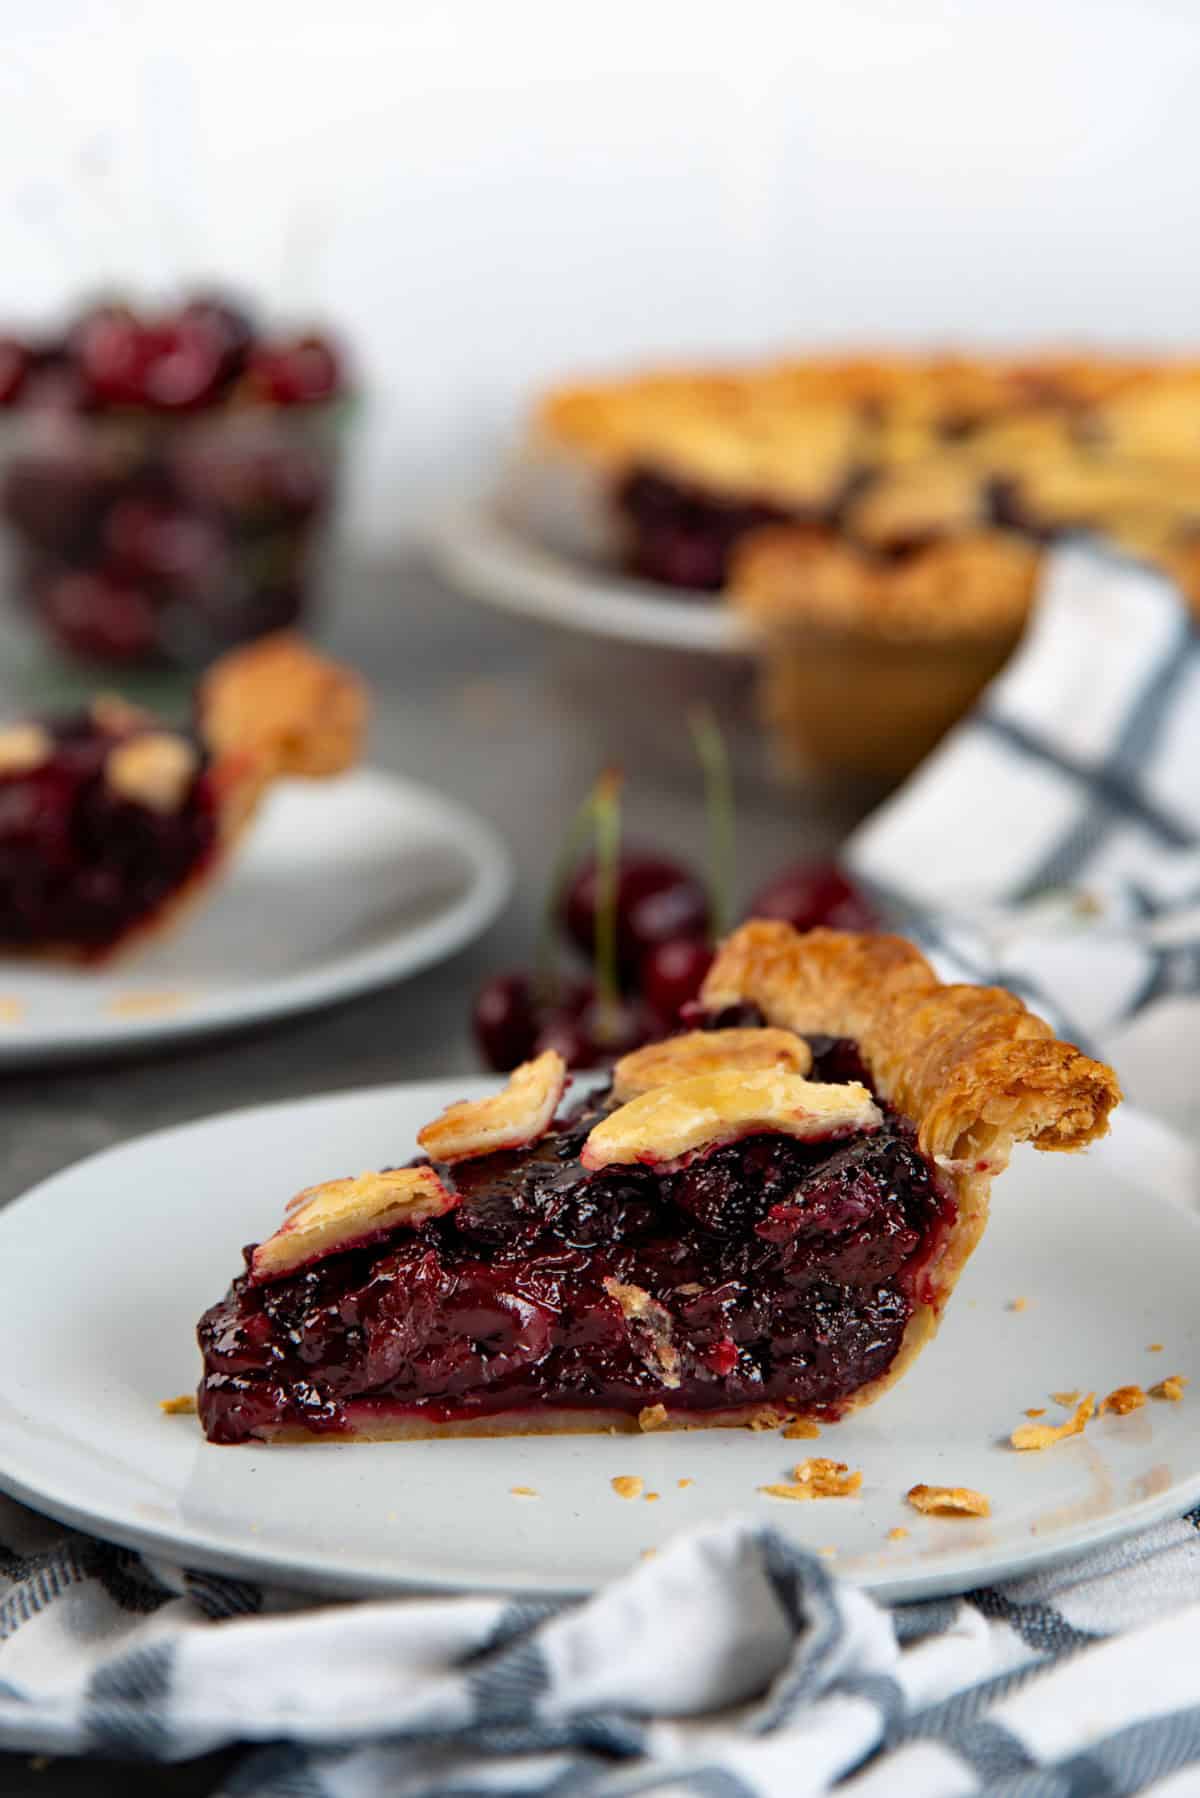
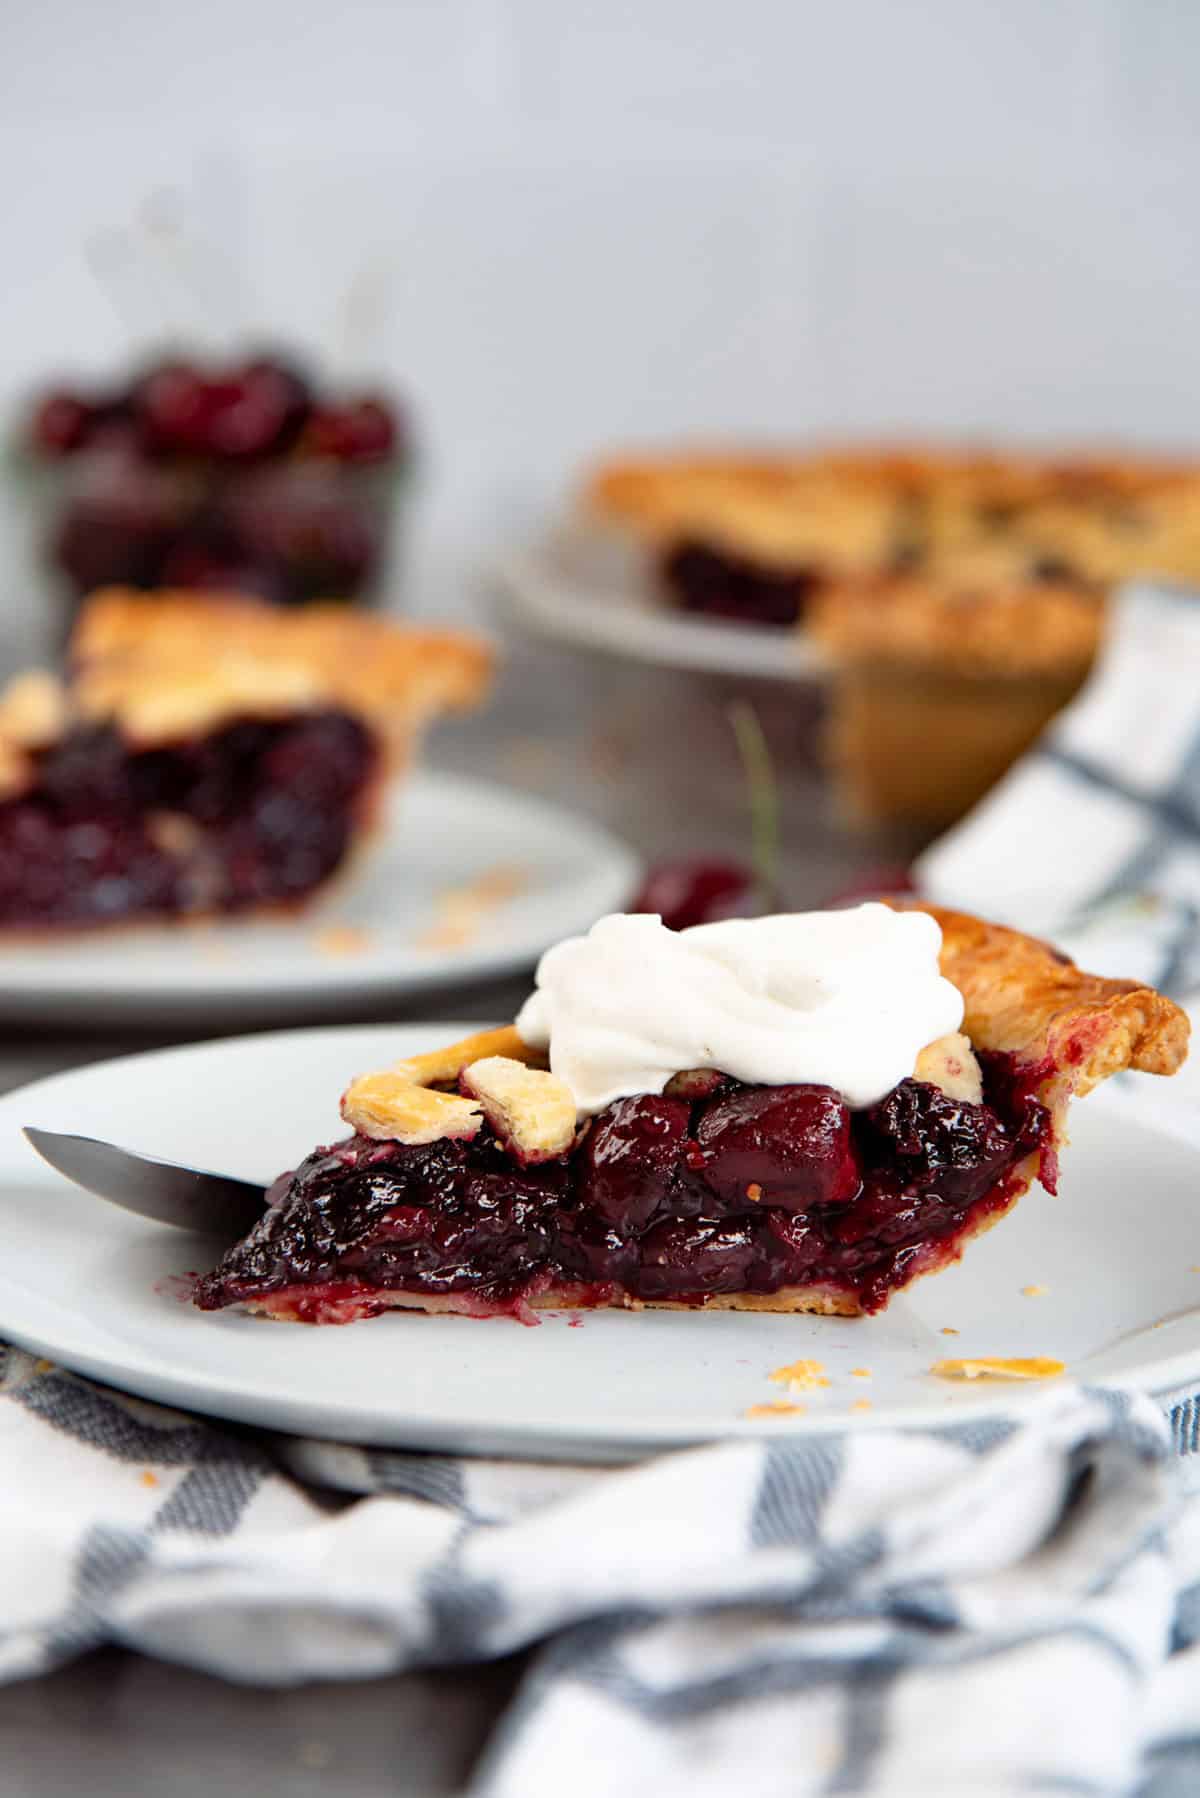
Before baking the pie in the preheated oven, make sure the baking sheet is also properly preheated. Otherwise you will get a pie crust that isn’t flaky, and may seem soggy or raw. Brush the top of the pie crust with an egg wash and bake the pie on the preheated tray. Lower the oven temperature, so that the pie can bake slowly and more evenly. This can take about 45 – 60 minutes, depending on your oven. If the top crust is browning too quickly, cover it loosely with foil. Once baked, let the pie cool down before cutting into it. This will allow the cornstarch to thicken and set properly which will hold the filling together better when cut into slices. Serve as is, or with whipped cream or ice cream!
My best recipe tips for success!
Use fresh cherries for the filling if you can for the best texture. Make sure the butter and the liquid for the pie crust are chilled! Chilled butter is key for flaky pie crusts, as the butter pockets will evaporate and create flaky layers. Keep the pie crust chilled at all times. If it does get soft or sticky, return it to the fridge to chill again. When rolling out the pie crust, if the crust starts to shrink – DO NOT press harder to roll it out. Instead, cover it and transfer it to the fridge on a baking tray. Let the dough rest for at least 20 minutes before trying to roll it out again. The gluten strands have been over-worked, and if you try to force the issue, the pie crust will be tough, not flaky, and will shrink as it bakes. If you’re using the pre-cooked cherry pie filling, then make sure it’s at room temperature or chilled when filling the pie crust. If you’re not confident with making a double crust pie crust, you can easily do an open pie, OR cut out shapes and decorate the top of the pie as well (like I’ve done in the pictures here). Do not skip the preheating step. The heat from the baking tray will help brown the crust from the bottom when it’s in direct contact with it. However, if the baking tray is NOT preheated, the bottom of the pie will not bake properly! Let the pie cool down before cutting slices with a sharp knife. The filling will be more stable when it has been cooled down to room temperature. If you plan on freezing the pie, then I recommend using Instant ClearJel instead of cornstarch, because this starch will be able to handle freezing temperatures and thawing much better.
Storage and make-ahead tips
Fridge
The pie filling (cooked version), and the pie dough can be made 1 – 2 days ahead of time and kept in the fridge. You can also line your pie pan with the dough and keep this in the fridge for about 1 – 2 days. But make sure the whole pan is covered well with plastic wrap, because any exposed areas will dry out and become crumbly. Pie leftovers can also be kept in the fridge for up to 5 days (assuming the pie filling was made a day ahead). Just make sure the slices are stored in an airtight container.
Freezer
Pie dough can be wrapped very well with plastic wrap and foil and stored in the freezer for about 1 month. However, let it thaw out in the fridge before rolling it out. You can also freeze a filled cherry pie! Both before baking or after baking. However, make sure you use the cooked filling, to prevent any excess moisture from making the crust soggy. Wrap the pie with plastic wrap really well (2 layers) and then foil, to prevent freezer burns or drying out. You can bake the pie from frozen, but you may need to add at least an extra 15 minutes to the bake time. I prefer to let it thaw out in the fridge for 12 – 24 hours before baking in the oven. A frozen baked pie can be thawed in the fridge before eating. To make things easier, I like to cut the pie into slices and then store in the freezer, so I can take out a slice or two at a time.
More pie recipes you’ll love
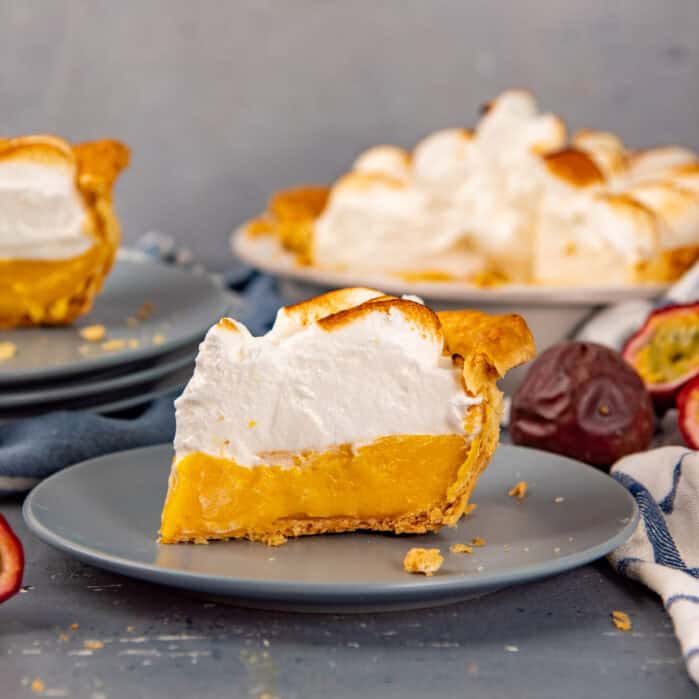
Butterscotch apple pie Strawberry rhubarb pie Banana cream pie Pumpkin pie Crustless pumpkin pie Lemon meringue pie Passion fruit pie Mixed berry pie S’mores brownie pie No bake chocolate pudding pie
Commonly asked questions