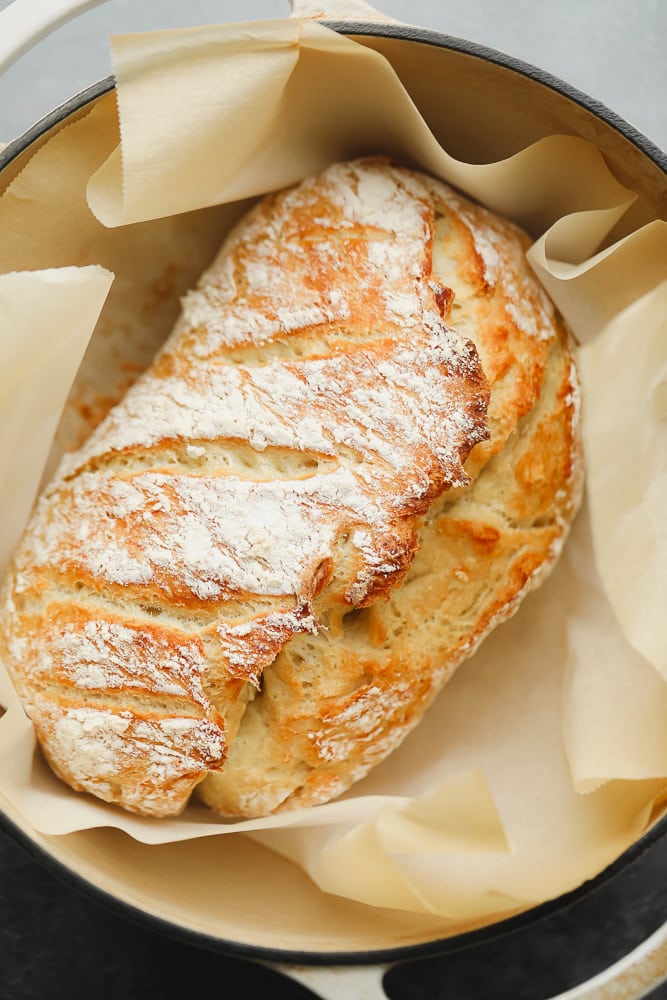
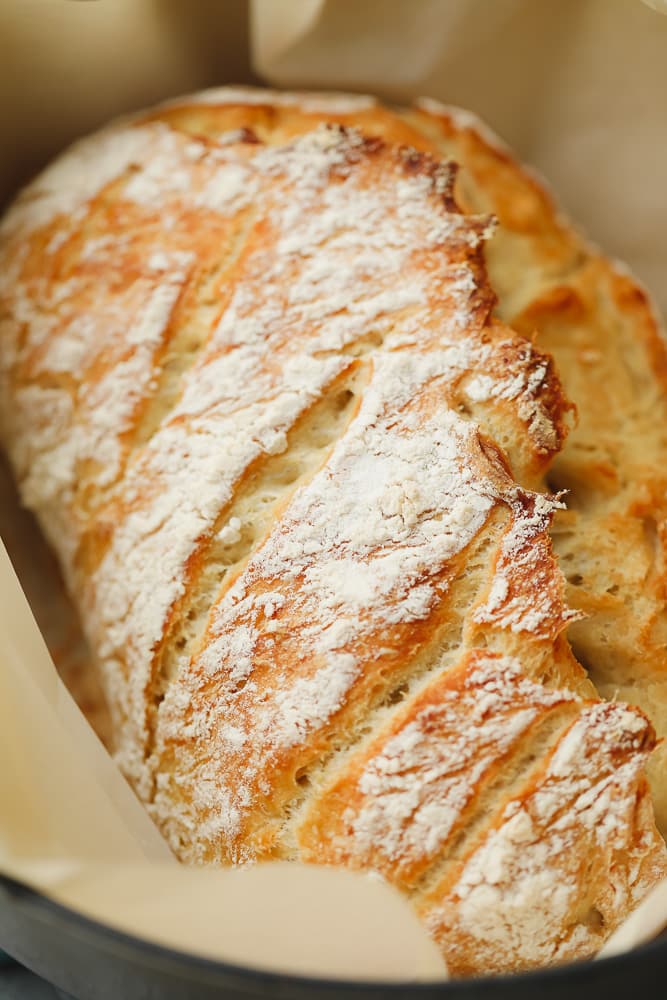
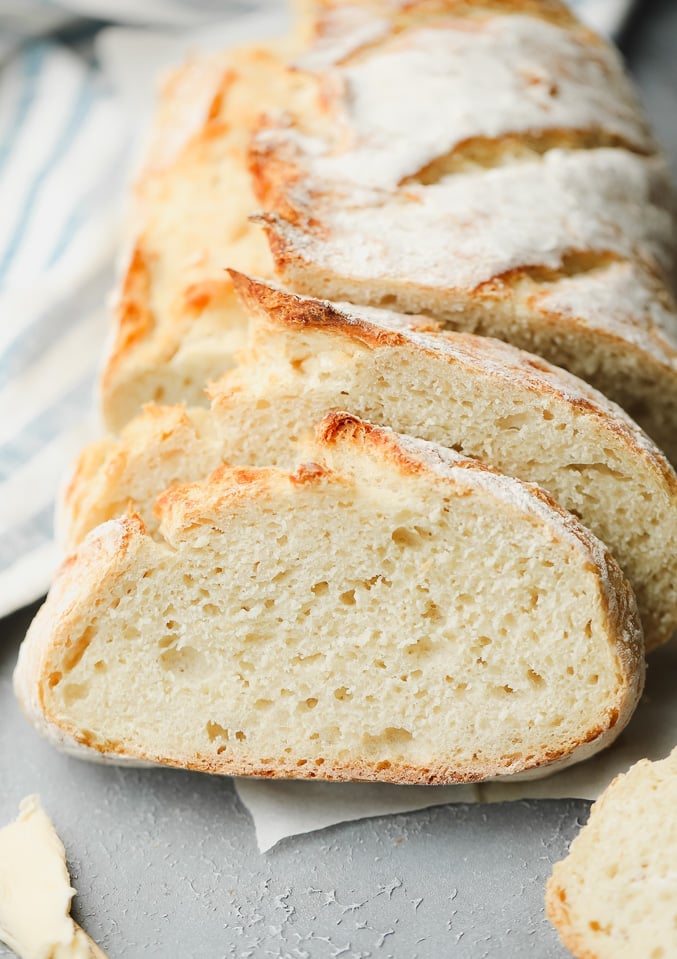
Did you know that you can make artisan bread that’s fluffy on the inside and crispy and crunchy on the outside in the comfort of your own home WITHOUT getting your hands messy? Well, you can and it’s so easy! This no knead Dutch Oven Bread recipe is foolproof, heavenly, and will make your home smell amazing! It’s made with a simple 4-ingredient dough and after one 2 hour rise (yep, the dough only goes through ONE rise!), it’s ready to be popped into the dutch oven. Baking bread in a dutch oven is the best way to make an artisan loaf that’s super soft inside and crunchy and golden brown on the outside. Tear off a big chunk to dip in Butternut Squash Soup or a hearty Vegan Stew, or just slather some with Vegan Butter! You can make this for dinner tonight!
What size dutch oven do I need?
I love my dutch oven for food like chili, soups, biscuit pot pie and more. I highly recommend getting one if you don’t own one already! Some brands are super expensive, but I’ve had my trusty Lodge Enameled Cast Iron Dutch Oven for years, and it’s never let me down. 6 quart is the best size, but this bread will likely work in one a bit smaller, a 4.5 quart size. But I wouldn’t go any smaller than that. If you have a larger one, that’s fine as well.
Ingredients needed (with substitutions)
All purpose flour – A simple all purpose flour will still give you perfectly fluffy and soft bread. You can use bread flour if you want or a 1:1 mix of whole wheat and all purpose flour instead. Sorry, I’ve never tried it gluten free! But go make this Gluten Free Artisan Bread from The Loopy Whisk instead.Salt – For flavor.Instant yeast – Unlike active dry yeast, instant yeast doesn’t need to be proofed before it’s used. Make sure it’s fresh and not expired so your bread can fluff up. You can use regular active yeast if needed, but the bread will need to rise a bit longer.Warm water – Test the temperature of the water with your wrist. If it feels a bit too hot for your wrist, it’s perfect to use for the yeast. If you have a thermometer, the water should measure 100ºF. Any hotter than 110ºF and it will kill the yeast.
How to make dutch oven no knead bread
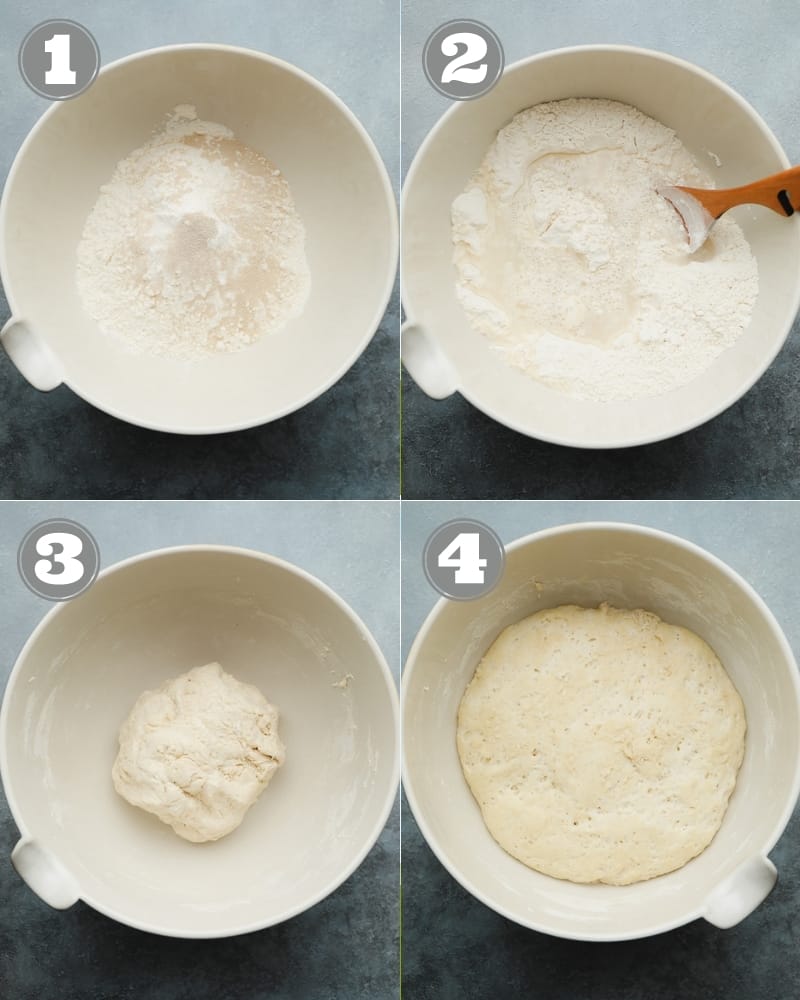
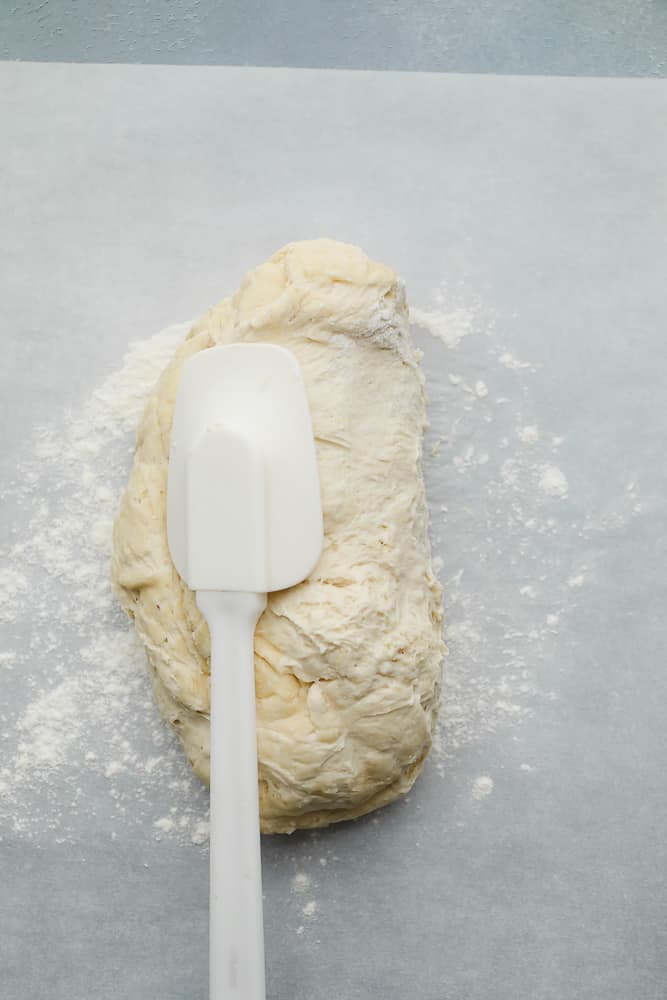
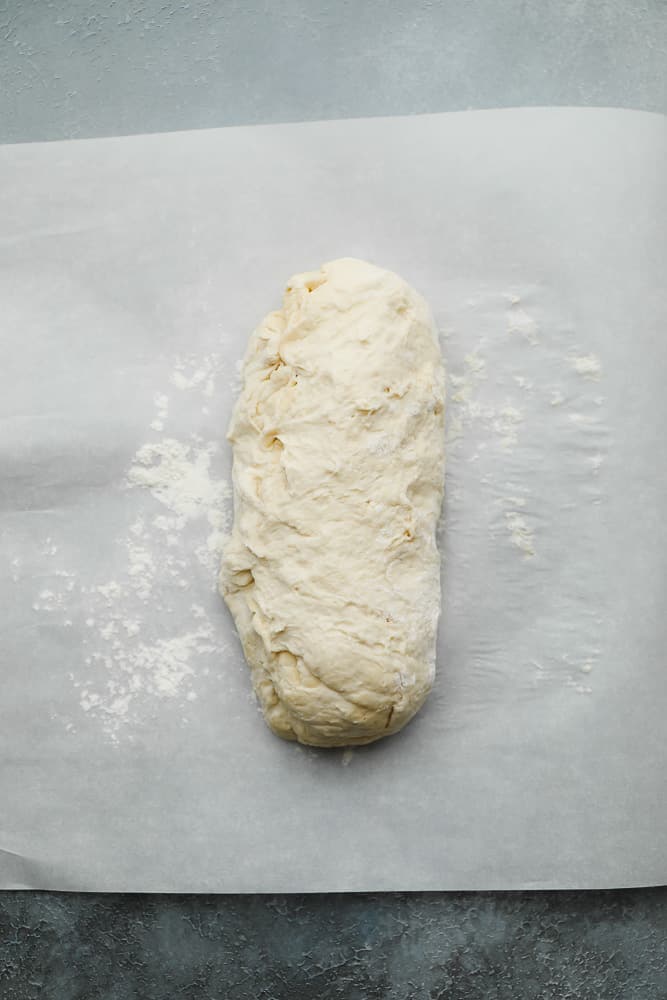
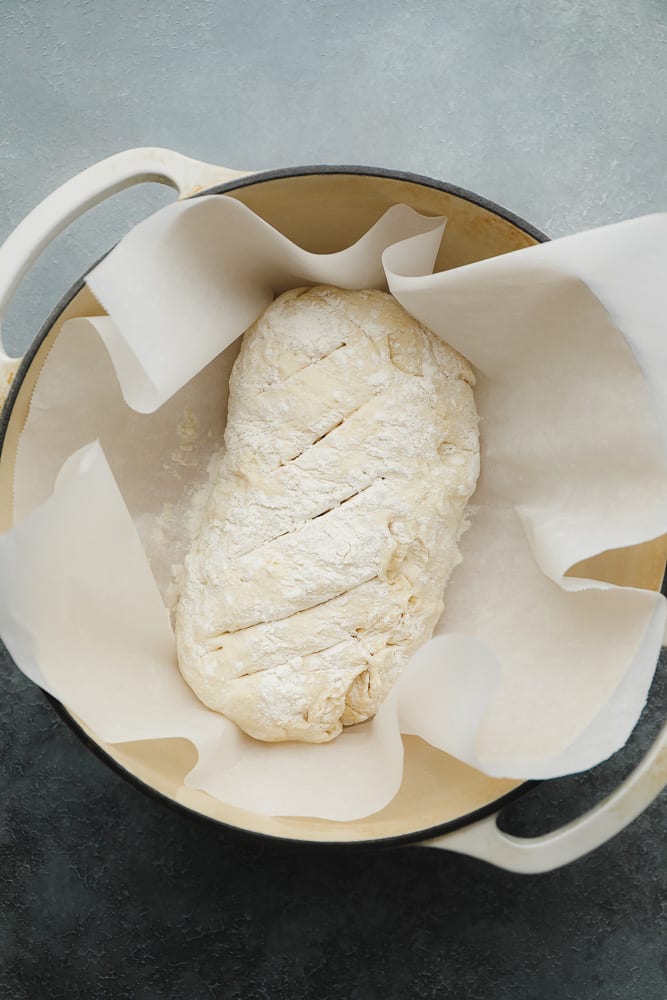
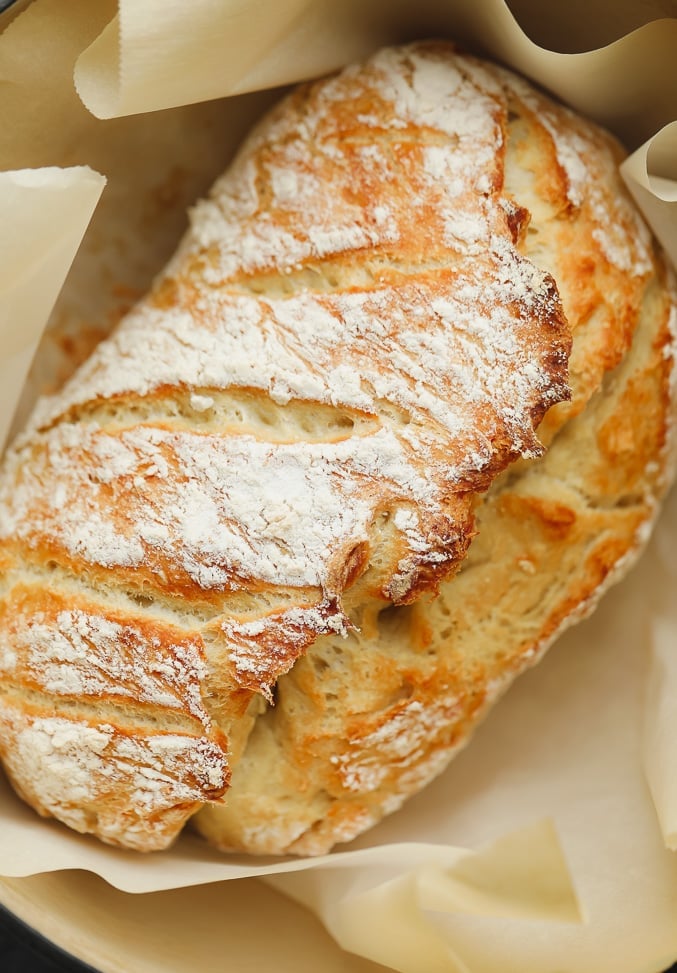
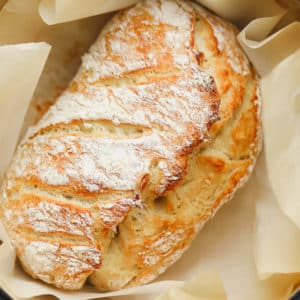
Find the complete recipe with measurements below. No knead bread dough is probably the easiest you’ll ever make. It comes together by hand in just one bowl: Place a square of parchment paper on the counter and sprinkle it with flour. Transfer the dough from the bowl to the paper. Sprinkle the dough with a little flour and use a spatula to gently fold the dough on top of itself about 4 to 6 times. Flour your hands and gently shape the dough into a loaf shape in the middle of the paper. Or simply use the spatula to avoid touching it with your hands. It doesn’t need to be perfect! I also like to cut several lines in the bread with a sharp, serrated knife. Carefully remove the hot dutch oven from the preheated oven and take off the lid. Use the parchment paper as handles to move the bread dough from the counter to the dutch oven. Place the lid back on and bake. Remove the lid from the dutch oven in the last 10 or 15 minutes of the bake time. You’ll know the bread is ready when the crust is golden brown. Let the dutch oven bread cool for at least 30 minutes before you slice into it. Enjoy!
Tips and variations
Letting the dough rise – If your house is warm, the bread should be fine to rise right on the kitchen counter. On colder days, I like to preheat my oven to 200ºF and then quickly turn it off and place the bowl inside with the door cracked for about 15 minutes. Afterward, I close the oven door and continue to let it rise for the whole 2 hours.Shaping the dough – While this is a true no knead bread recipe, it’s still important to shape the dough with a spatula a few times so the bread can have a great structure and be easier to handle. Try not to hand it too much or it will lose those wonderful fluffy air pockets.Preheating the dutch oven – Don’t skip this step! The dutch oven needs to be HOT when the dough goes in to help the crust get nice and crispy. Pop it in the preheating oven about half an hour before the bread is finished rising.Gluten free – I haven’t tested this recipe with gluten free flour, therefore I’m unsure if it would work. Almond or oat flour will not work for this recipe.
Frequently asked questions
Serving suggestions
There are endless ways to enjoy this easy homemade bread:
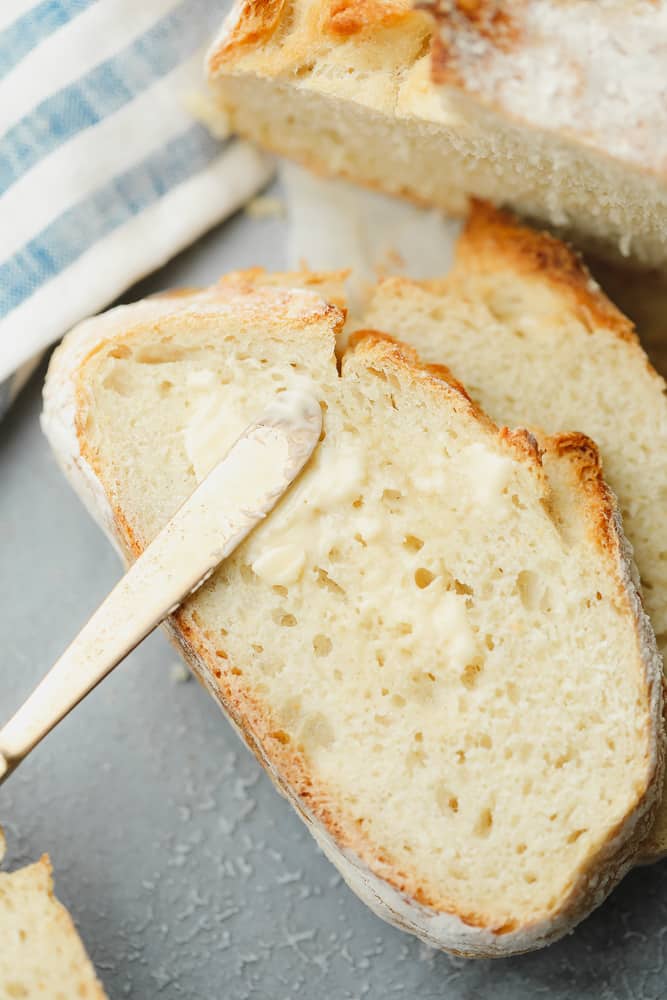
Spread some vegan butter on each slice.Dip it into some olive oil and balsamic vinegar.Use the slices for avocado toast.Serve it on the side of a comforting soup, like Vegan Potato Soup and Vegan Broccoli Cheese Soup.Spread some vegan ricotta on the bread and top it with roasted cherry tomatoes.Use it to make sandwiches or grilled cheese!Spread some garlic butter on top to serve next to Vegan Lasagna or Eggplant Parmesan.
This artisan bread also makes wonderful Vegan French Toast!
More easy yeast recipes
Pizza DoughVegan Dinner RollsVegan Cinnamon RollsVegan NaanVegan Hot Cross Buns