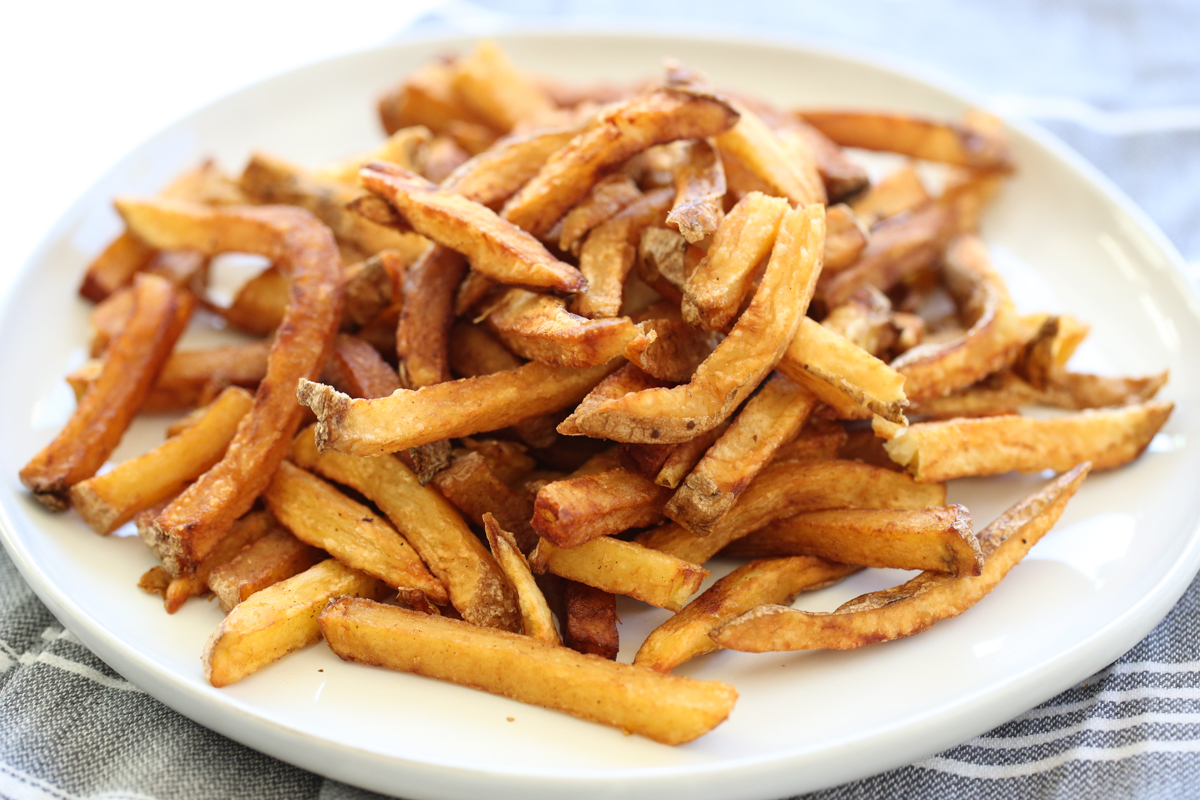
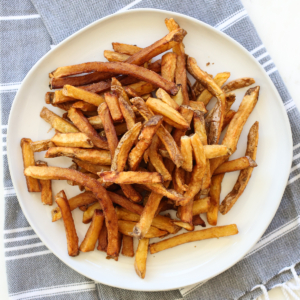
I have so many happy memories associated with food like this–stopping at a roadside diner after swimming all day with friends or family, lots of long summer days and breezy summer nights. Sure, Oven-Baked Fries or Sweet Potato Fries are super-tasty, but every once in awhile, you just need the real thing. And by “the real thing,” I’m not talking Wendy’s–not to diss the perky redhead or anything, but I had Wendy’s fries for the first time in a long time not too long ago an they were not worth the calories.
Recipe, Equipment, and Ingredient Notes
I do have a couple of tips/precautions, especially if you’re not using a deep fryer (which I don’t; I really don’t fry enough to make it worth it to me).
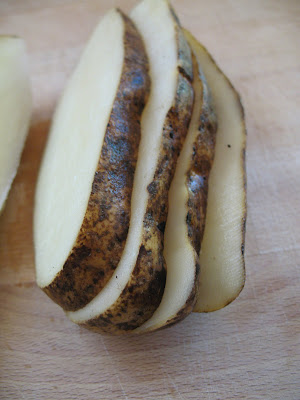
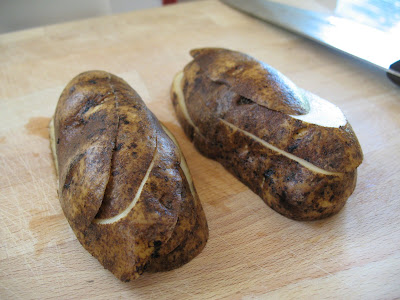
Potatoes – You’re only using a few ingredients, so make sure your potatoes are as fresh as possible; this isn’t the time for those semi-soft sprouters in the bottom of the vegetable drawer. Russet potatoes make great, crispy fries because of their low moisture and high starch content. Double Fry – The secret to crispy fries is a double dry. The first fry begins the cooking process and the second fry brings them to crispy perfection. Helping Hands – This is a great date-night activity because it helps to have an extra set of hands. It is not a great activity to involve your kids in (at least the frying part). If you do it with small kids around, make sure they can’t get to you while you’re cooking the fries. Oil Splashes – Definitely wear closed-toe shoes; long sleeves aren’t a bad idea, either. Set Yourself Up for Success – Have all your equipment ready before you start frying Frying Oil – Only use canola or peanut oil; they have the highest smoke point of all the oils. Canola oil is better for your heart, so that’s what I use. Candy Thermometer – Using a thermometer to track your oil temperature will ensure that you don’t scorch your oil (or your fries!). Candy thermometers read high enough temperatures to properly monitor frying oil and they usually have a clip on the side so you can clip them right onto the pot. The thermometer will stay there throughout the entire frying process. Be Cautious – This sounds like a no-brainer, but don’t touch anything straight out of the oil. When you’re working fast and it looks like you’re about to lose one of your precious little beauties, it might be tempting to grab the sucker before it falls on your (tennis shoe-clad, of course) foot. Just let it go. Don’t Be Scared, Just Be Careful – This is seriously such a fun thing to do, and as long as you follow the instructions and keep an eye on the temperature of the oil, you’ll be just fine. If you feel better about it, keep a fire extinguisher handy.
Instructions
Serving Suggestions
Now…some of you may not be familiar with Utah-style fry sauce, but this is pretty much a must for hand-cut homemade fries. I know it’s not everybody’s thing, but if you’re not familiar with it, I think you should give it a shot and see what you think; my feelings won’t be hurt if you hate it. Wanna know how to make it? Here’s how: Fry Sauce 1/4 cup ketchup1/4 cup mayonnaise (NOT Miracle Whip! Tried it once in a pinch and it was beyond horrible!)2-3 teaspoons chopped dill pickle Combine and serve with homemade fries or onion rings. If you’re feeling fancy, try out this Grown-Up Dipping Sauce, which is basically fancy fry sauce. If you’re serving your fries with something like Smash Burgers, go ahead and toss some sauce on those buns, too!
Can I make these ahead of time? Homemade fries are best made fresh. If you’re really strapped for time, you could cut your fries earlier in the day and keep them in the fridge, completely submerged in water, until you’re getting ready to fry. If making fry sauce, you can definitely do that up to several days ahead of time. I’m making multiple batches to serve a large group. How do I keep all of the fries warm until they are all ready to serve? If serving a crowd, making burgers simultaneously, or making multiple batches of fries, you can keep the finished fries warm in your oven for a bit until ready to serve. Turn your oven on to its lowest setting (usually 120-200 degrees F) and place a baking sheet in there. After your fries are salted, transfer them to the baking sheet in the oven and close the door. Continue until all batches of fries are done and serve as soon as possible.
Did You Make This?
I’d love to hear from you! Snap a picture and tag me on Instagram, then come back and give this recipe a rating!