You can also make this crème brûlée recipe in a sous vide, for guaranteed and foolproof results! There’s not much to say about creme brulee, it’s one of the most well known French dessert recipes and a favorite for a lot of people. It’s a decadent and impressive dessert to serve at any party. And it’s so easy to make, although it feels like it should be more complicated… But it isn’t!
What is classic creme brulee?
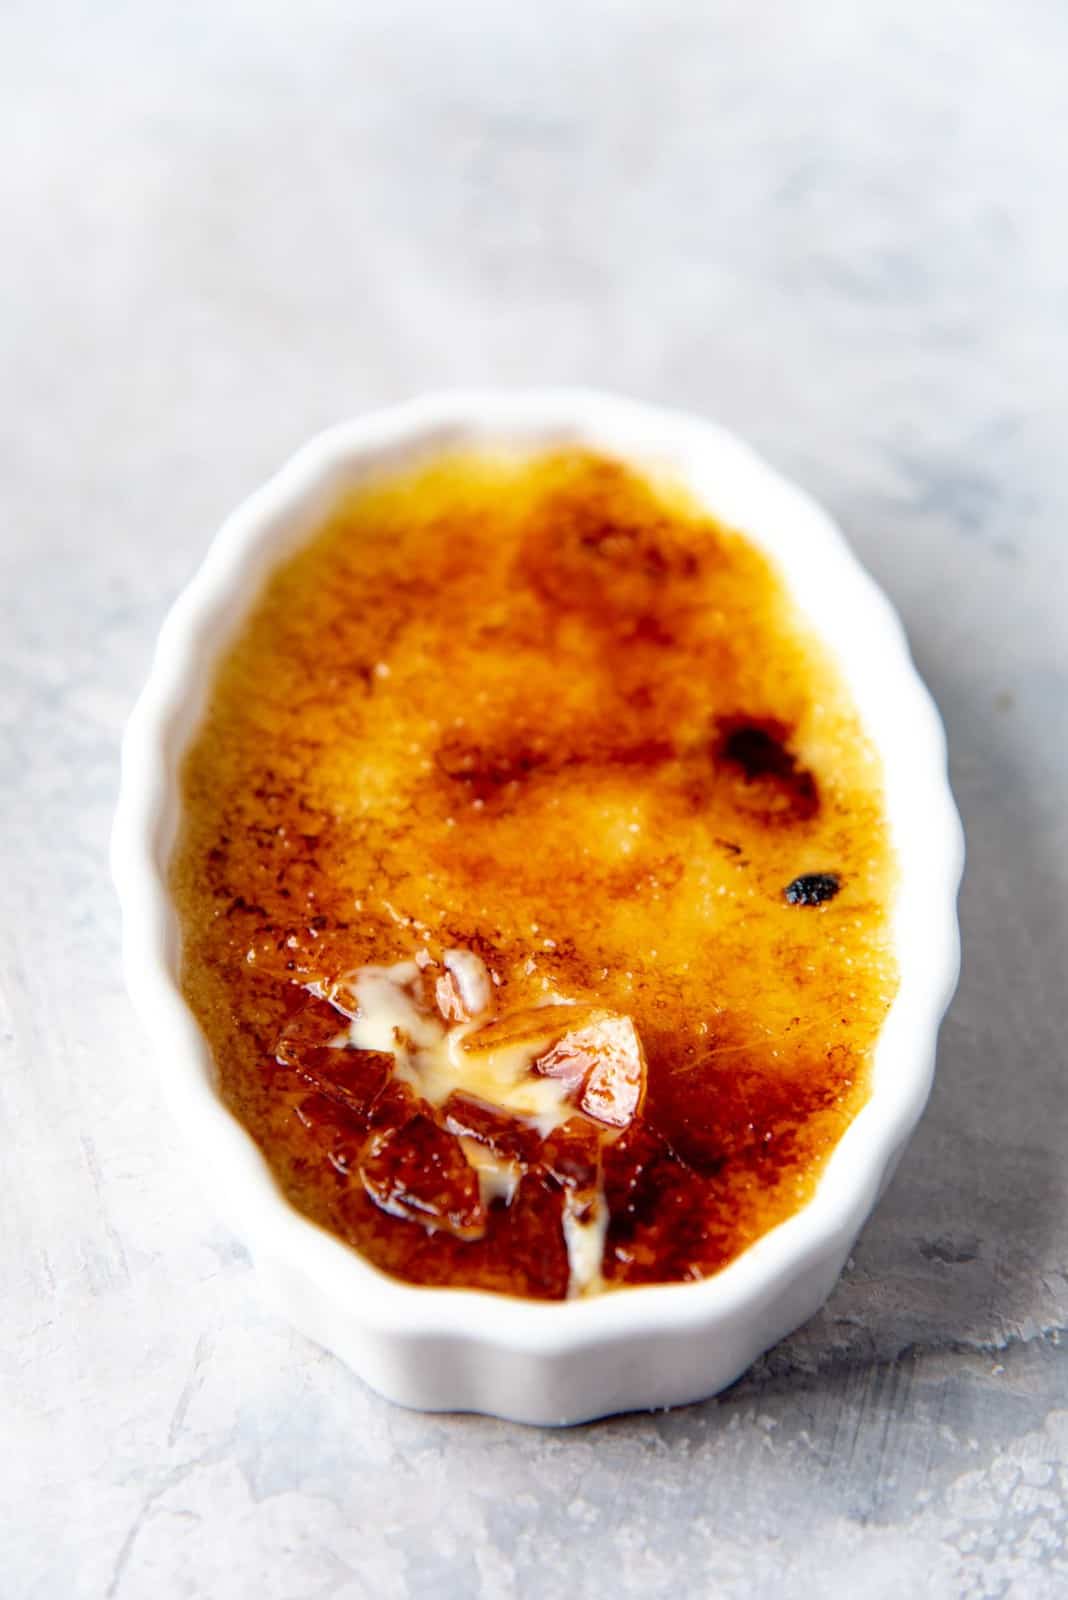
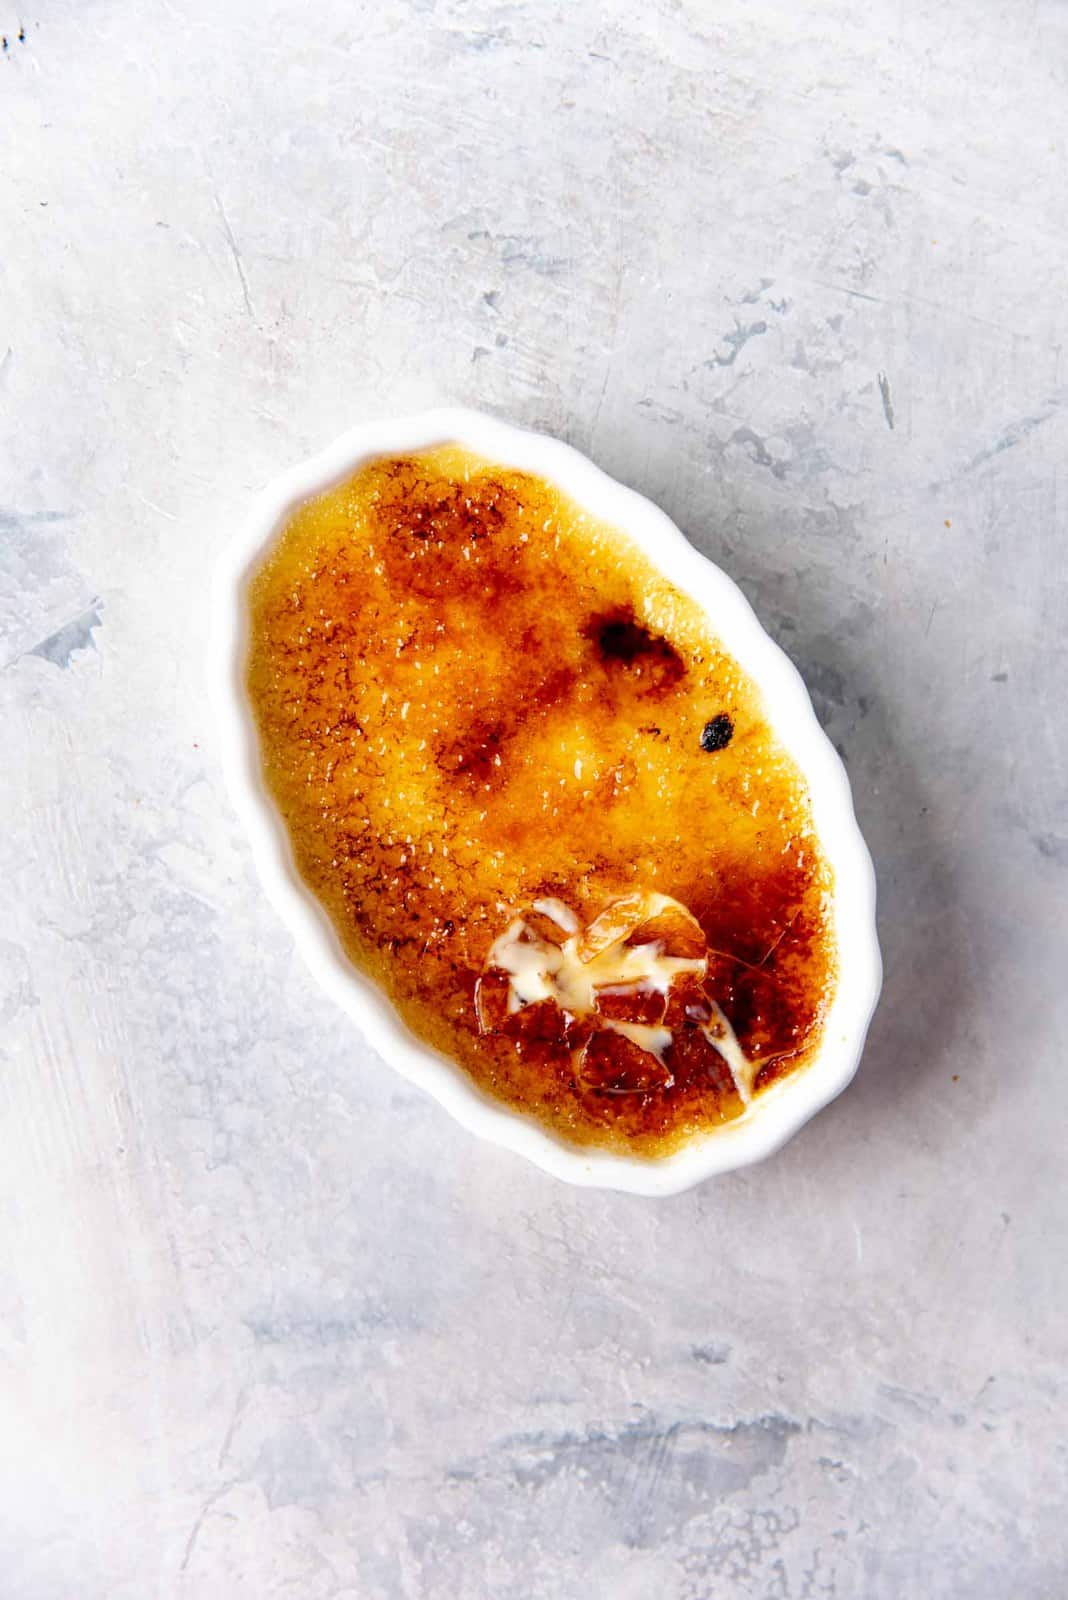
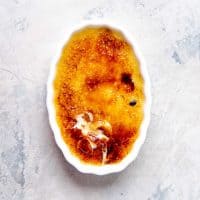
Creme brulee translates to “burnt cream”. The cream itself isn’t really “burnt” though. Instead, this creamy custard dessert is topped with a thin, crackly layer of burnt caramel. The most satisfying thing when eating creme brulee without a doubt is that initial crack when you hit the caramel surface with the back of your spoon, and expose that deliciously smooth, creamy custard underneath. Creme brulee is a French dessert, and the classic version uses good quality vanilla to flavor the custard. Since vanilla is the main flavor, it’s important to use the good stuff (or the best stuff you have access to).
Why you’ll love this creme brulee recipe
It’s a super simple recipe. They are individual-sized desserts, so perfect for dinner parties. You can make this ahead of time (but caramelize the sugar just before serving). Incredibly creamy and impressive dessert! I’ll be sharing TWO ways of caramelizing the sugar – WITH or WITHOUT a blow torch.
How to make Creme Brulee
Making creme brulee is easy. Usually the method involves mixing warmed cream with egg yolks, sugar and vanilla. Most recipes call for the cream to be heated up to a simmer. But is this necessary? Some people feel that heating the cream will “pre-cook” the eggs, keeping it more stable during the process of baking. Honestly, I haven’t found this to be true. I have made creme brulee with heated cream and chilled cream and haven’t found a difference in the final baked creme brulee. Especially since they will be baked in a water bath, which helps regulate and temper the custard temperature. You do not need to heat to a boil either. Older recipes often call for the cream to be boiled, so that it can be pasteurized. However this is not something we need to be worried about today, as cream is already pasteurized. If you’re using vanilla beans, heat is important to allow the beans to infuse the flavor into the cream. Sugar will dissolve in warm cream faster than in cold cream. Also a warmer creme brulee mix will cook faster (a difference of just a few minutes, but still).
Prep the ingredients
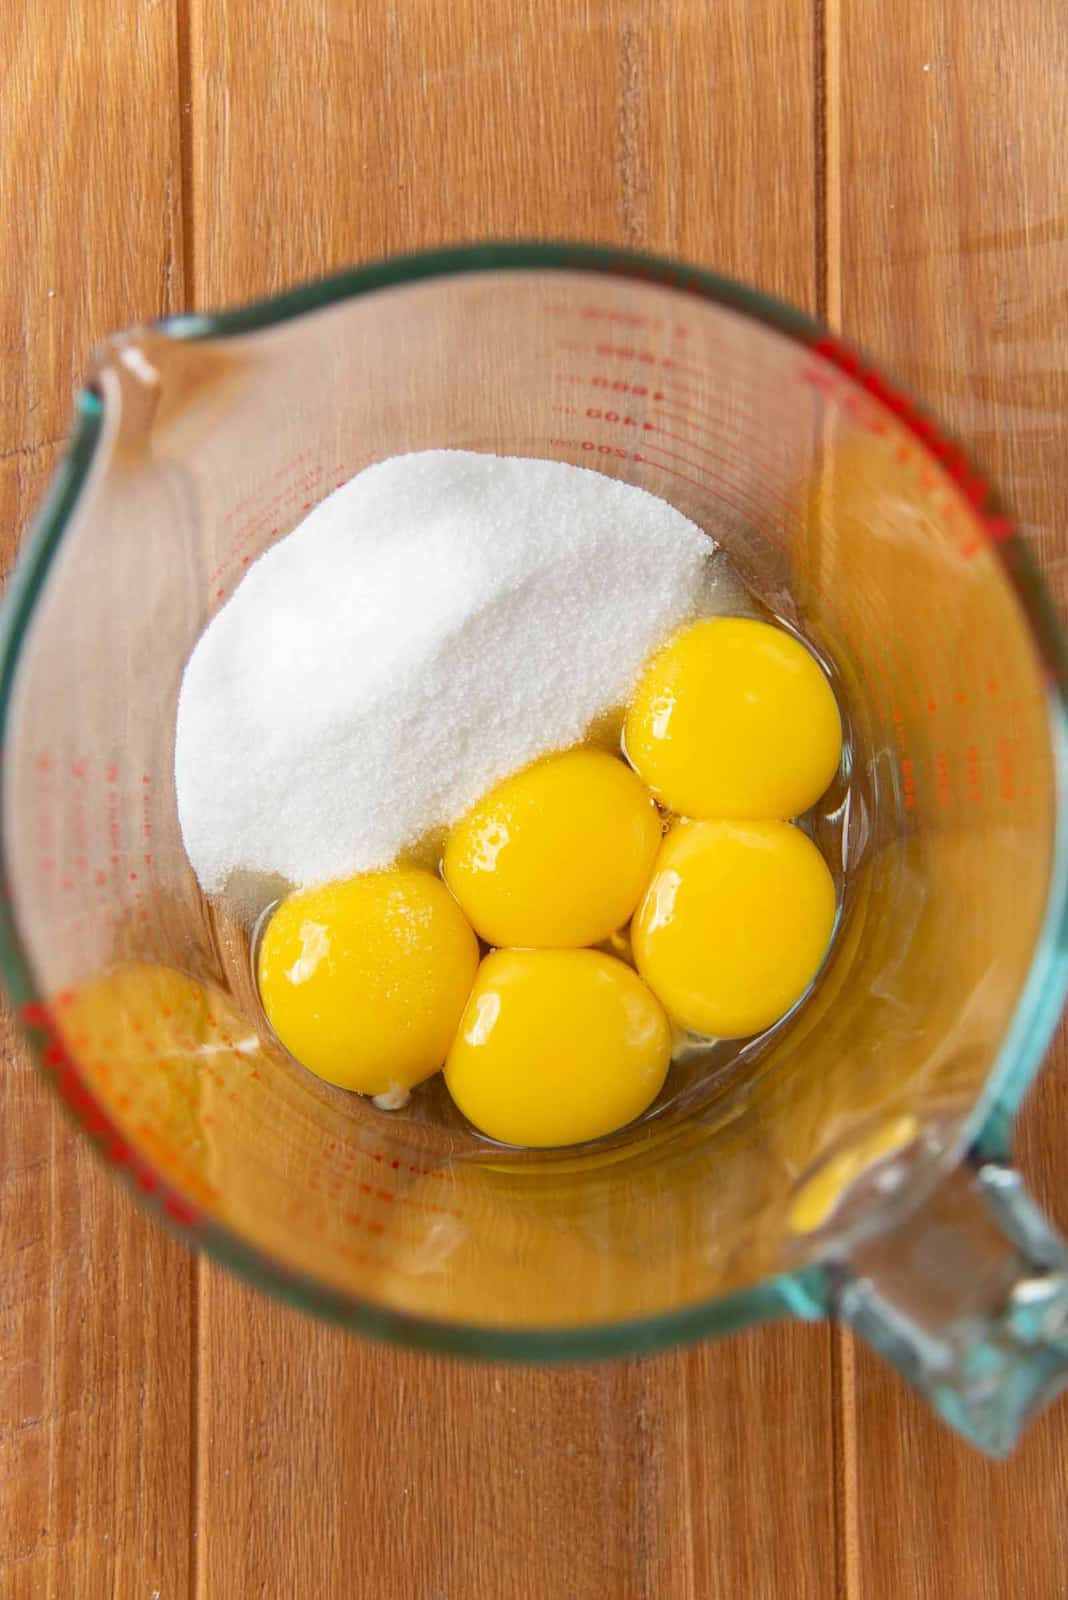
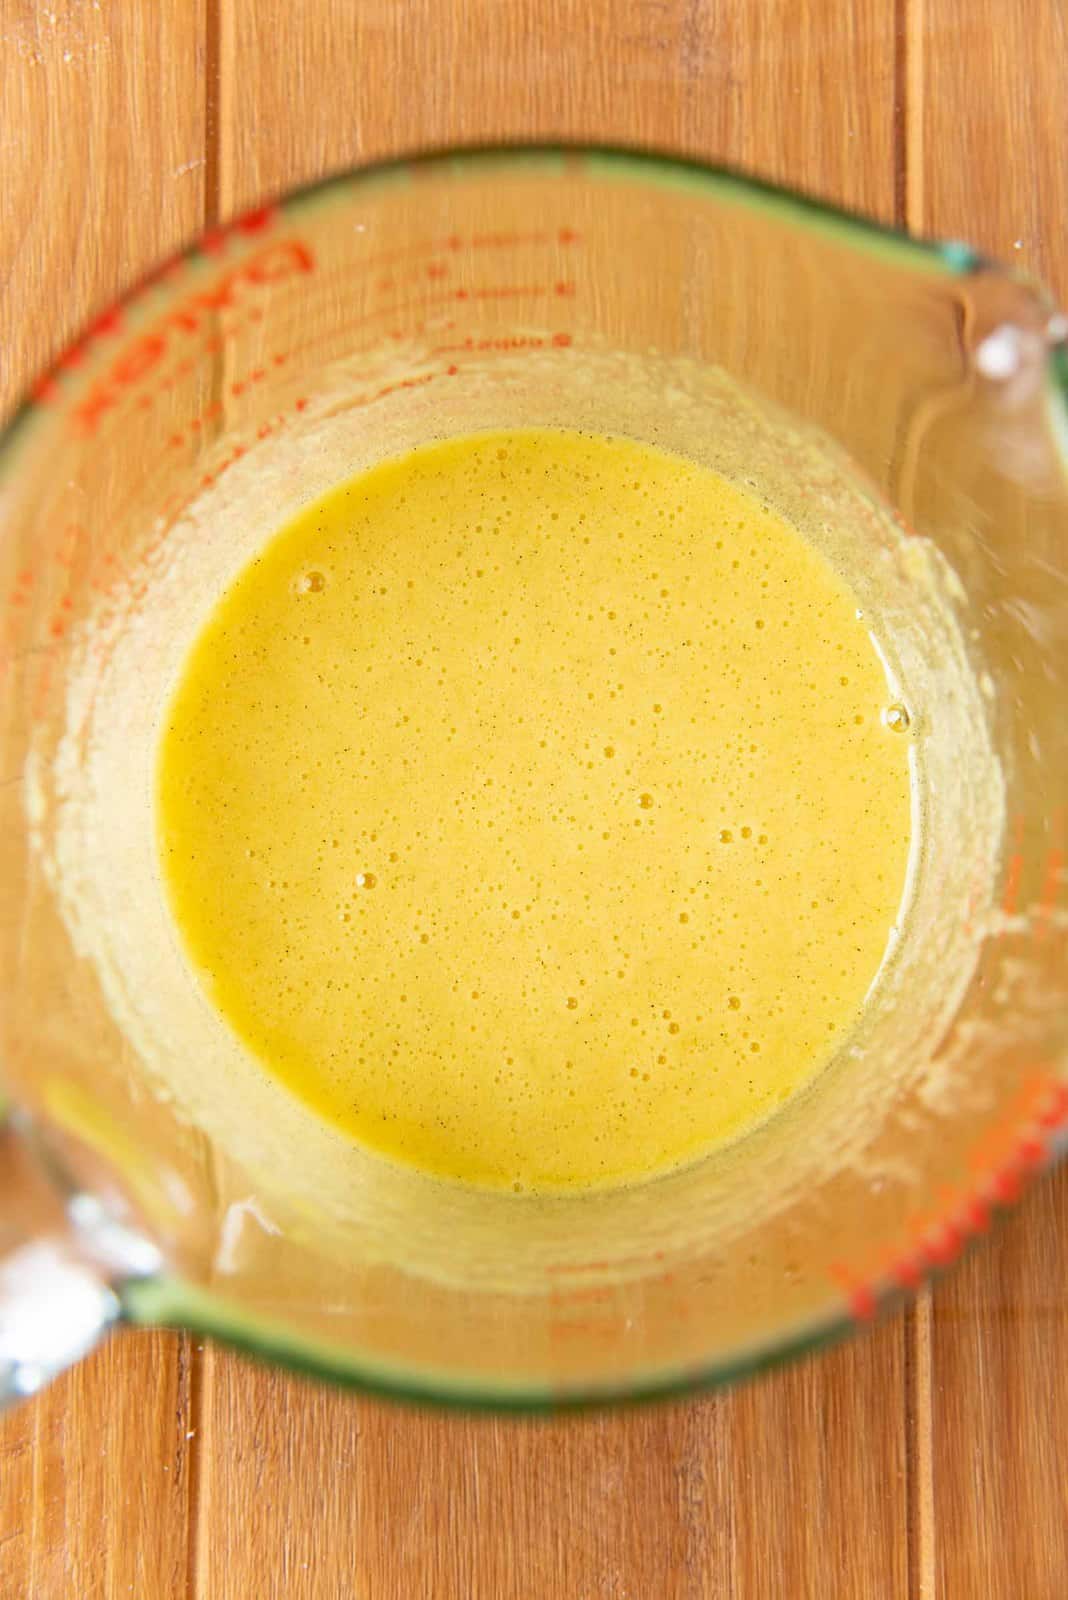
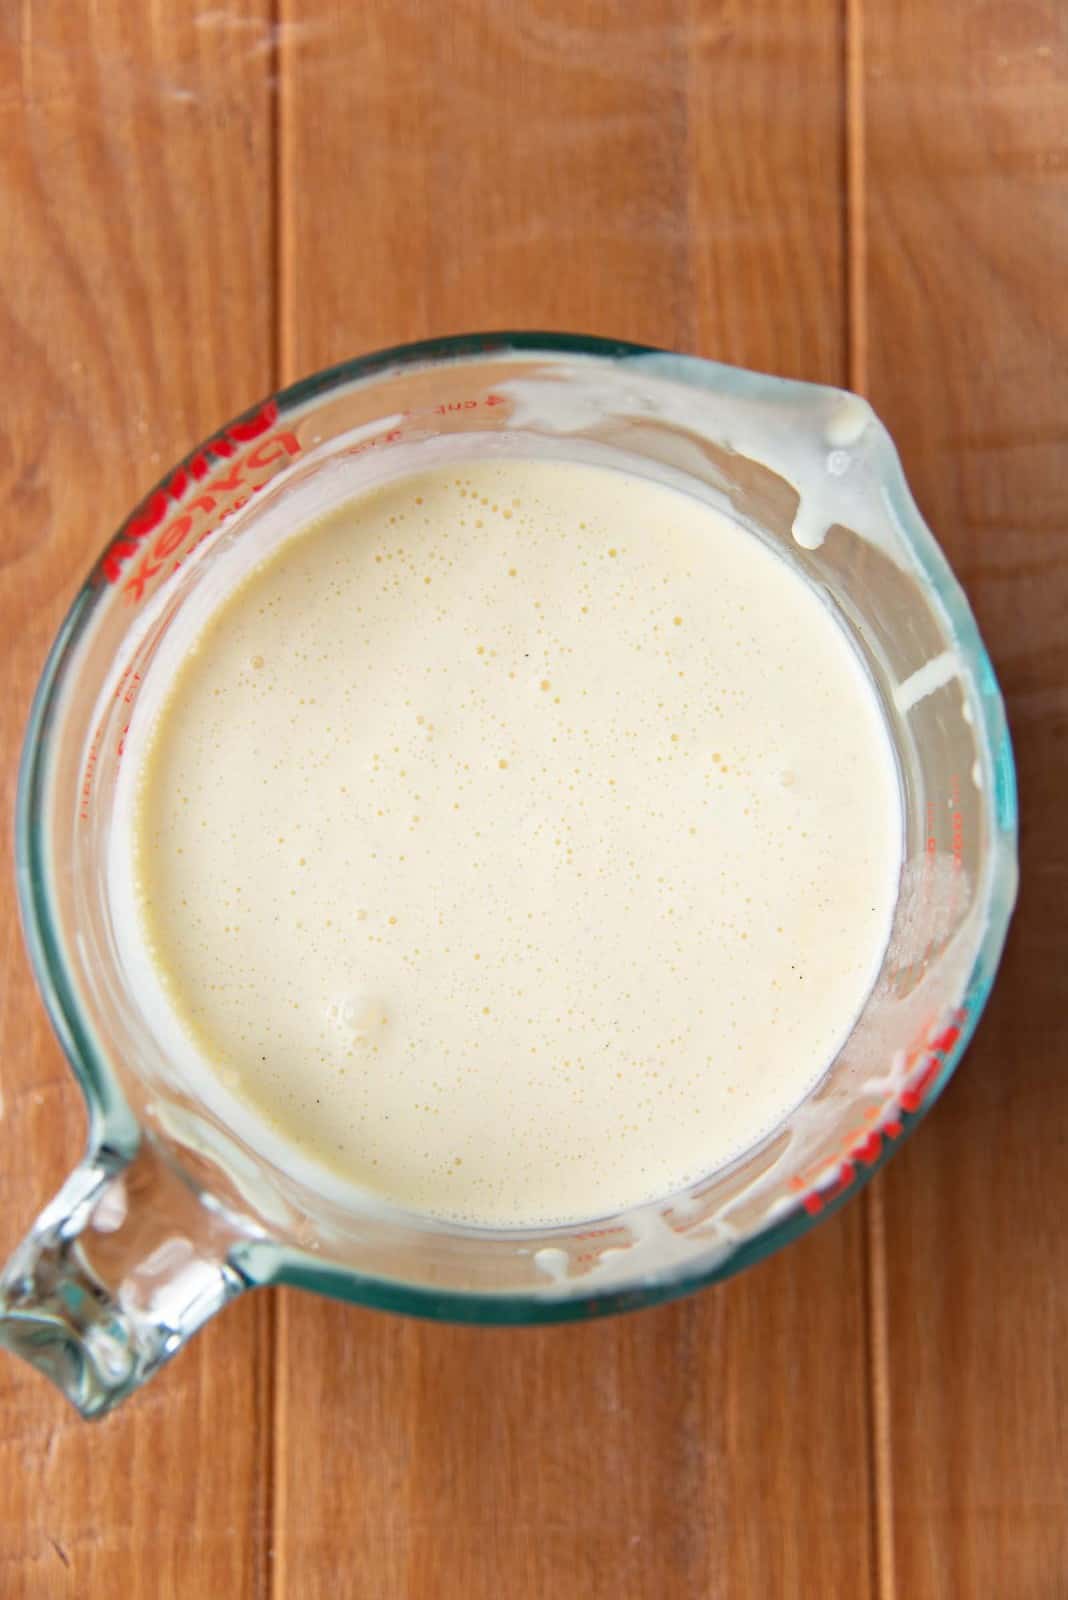
Measure out the cream with measuring cups and place it in a saucepan. If you’re using fresh vanilla beans, split the vanilla bean lengthwise and scrape out the caviar with the blunt side of a knife or a spoon. Add the caviar to the cream along with the rest of the vanilla bean. Heat the cream over medium high heat and bring the cream to an almost simmer. If you’re using vanilla beans, then let the cream sit for about 5 minutes to infuse. Remove the vanilla bean pod. While the cream is being heated, separate the eggs into yolks and egg whites. Place the egg yolks in a bowl and add the sugar and vanilla extract (or bean paste). Whisk the egg yolks, vanilla and sugar together until you have a smooth mix. It’s important that you add sugar to the yolks and mix it for just a few minutes before adding it to the cream. This is because the sugar will start to cook the yolks as soon as they are mixed, and can change the consistency of the yolks.
Tempering the eggs
Since egg yolks can “scramble” at high temperatures, it’s important to mix the hot cream with the egg mixture the correct way. Cream is added a little at a time to the egg mixture while whisking it constantly. This “tempering” will slowly heat up the egg yolks and the whisking prevents the yolks from coagulating. I like to fold a thick paper towel or cloth napkin and place it on my counter. You can also use a non-stick mat instead. Then I place the bowl with the yolks and sugar (whisked) on top of this napkin. This prevents the bowl from slipping. If your bowl is still slipping, then dampen the cloth napkin/paper towel, which should help keep the bowl in place. Whisk the egg yolk mix with one hand and add the cream a little at a time, whisking the cream into the egg. When about half of the cream has been whisked in, the eggs should be tempered. Then you can add the rest of the cream and whisk to combine. I also like to add about 1 tbsp of bourbon whiskey at this point. But that’s just a personal preference of course. 😀
Portioning the custard
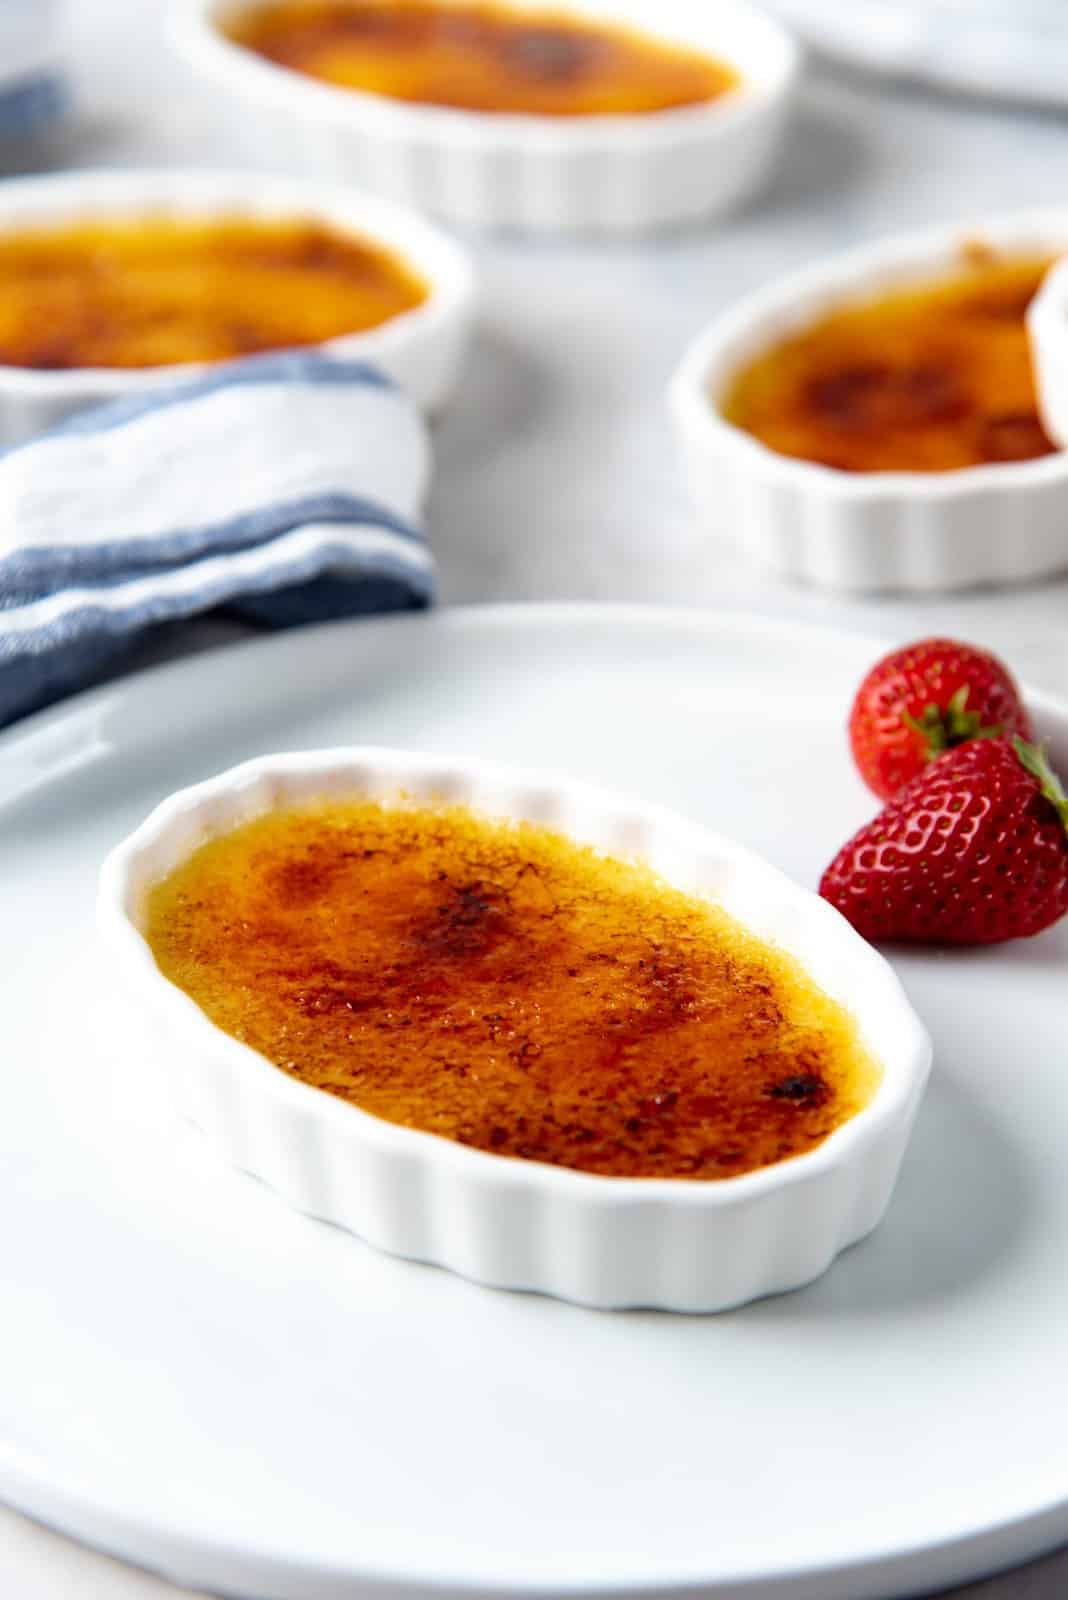
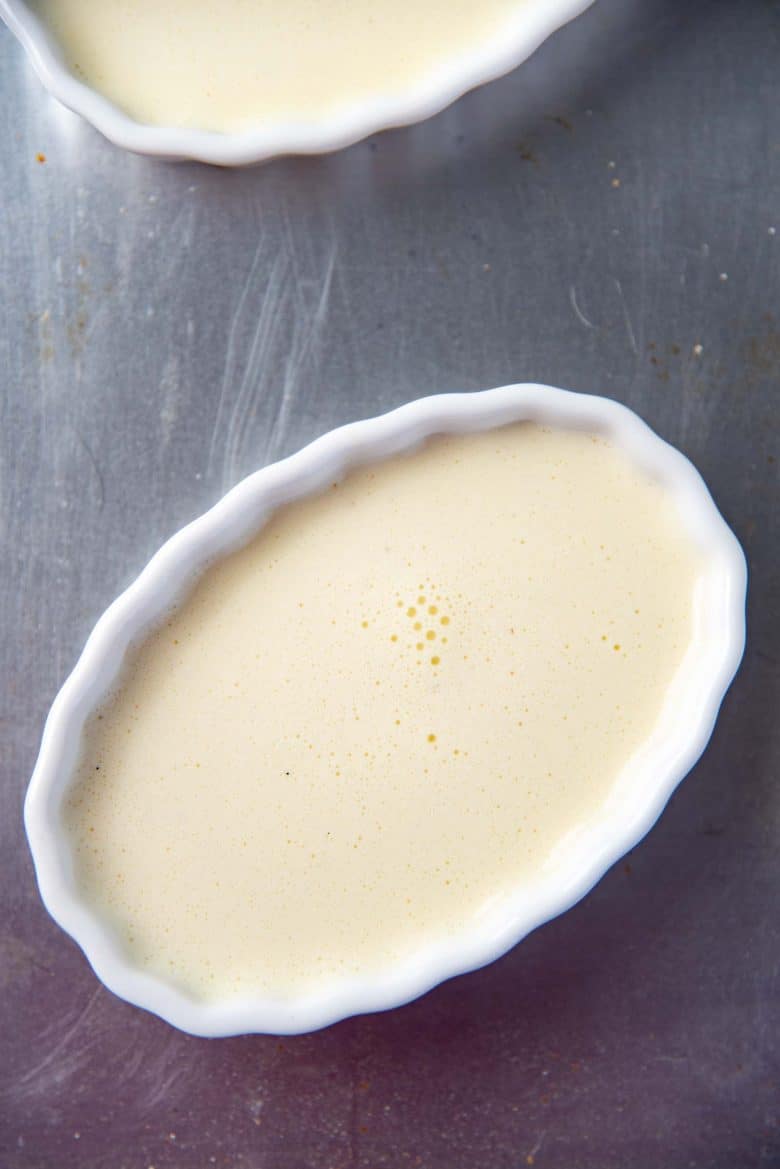
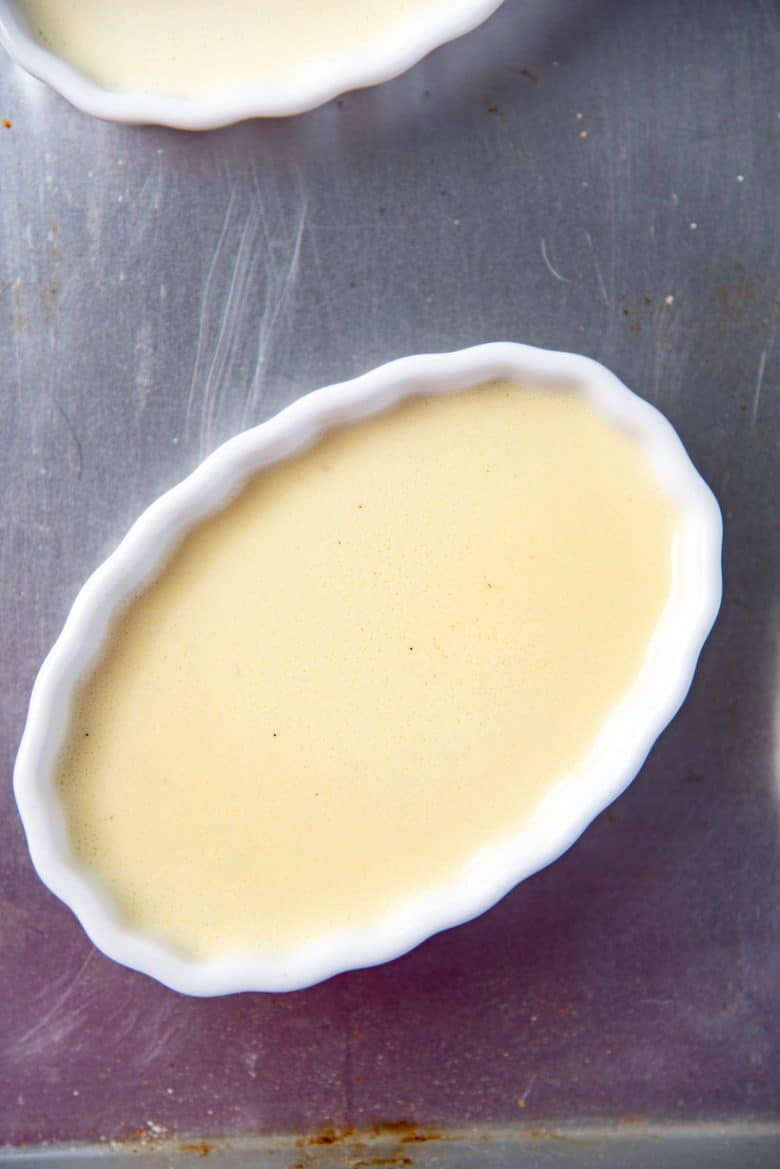
The next step is to portion the cream mixture into the individual baking dishes. Once you’ve poured them into the dishes, you might sometimes notice some bubbles on the surface. You can get rid of these bubbles with a toothpick, or by using a blow torch flame. Creme brulee is an individual-sized dessert. They simply don’t work if made as a big dessert. At most, a portion should only serve two, ideally one. As long as you have oven-safe dessert dishes (individual-sized baking dishes), you can use these to make creme brulee. Equally portion out the creme brulee into your individual dishes. Having identical dishes, and filling them with equal amounts of the custard will ensure that they bake evenly, at the same time. Classic creme brulee dishes are oven-safe shallow dishes. The custard layer will be thinner in these dishes, and therefore will cook faster in the oven as well. And since the custard surface area is larger, there will be more of the crunchy caramel on top, with a shallow custard layer underneath. Because of this, I prefer to add LESS SUGAR to my custard. The dishes below are the ones I used in the recipe here, but I’ve given instructions for ramekins as well below. Oven-safe ramekins are great for creme brulee as well. Creme brulee made in these dishes will have a smaller surface area for the caramel on top, with a thicker layer of custard underneath. So for these, I prefer to slightly increase the sugar amount in the custard. These will also take longer to cook in the oven because of the thickness of the custard in the dish.
Baking the custards
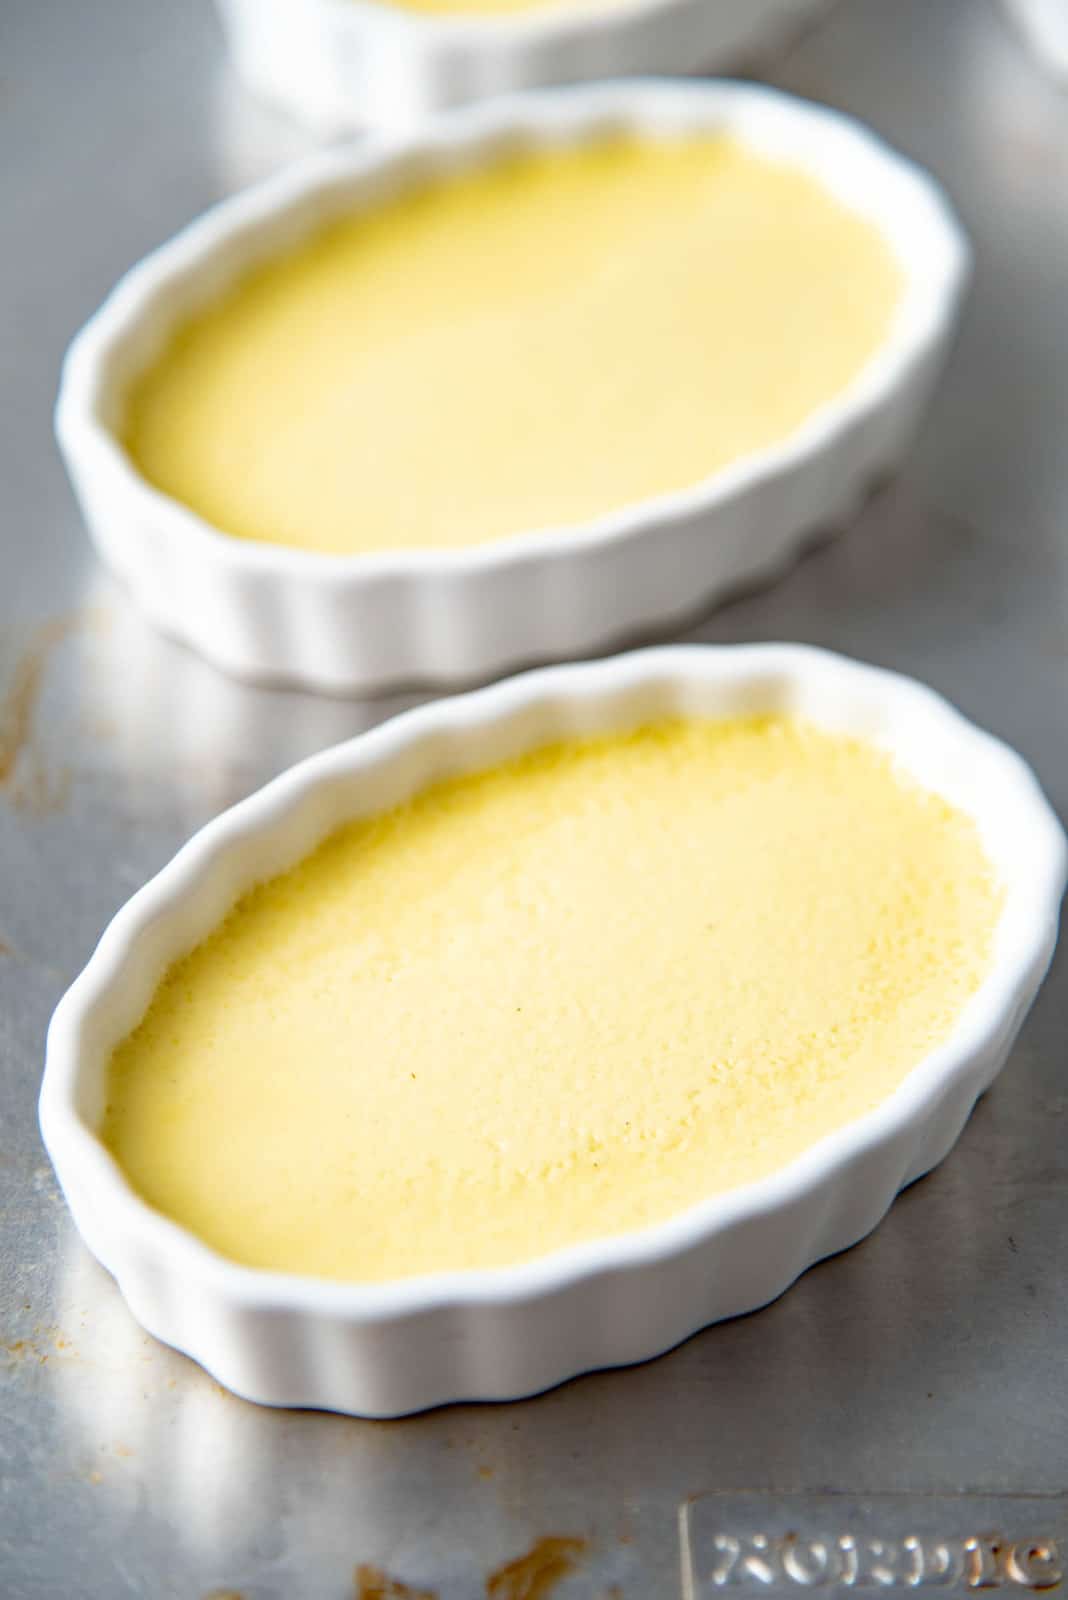
These MUST be baked in a water bath. Since eggs are sensitive to heat, high heat will cook the custard too quickly, and you’ll run the risk of overcooking the custard. This will leave you with a very curdled looking, lumpy custard. The opposite of silky smooth and creamy. The water bath will help regulate the temperature, and heat the custard gently. So place the custards on a half sheet pan (for shallow dishes) or roasting pan (for deeper dishes like ramekins), and then add hot water until it reaches halfway up the sides of the dishes. The bake time will also differ depending on the dish you are using. Flat, shallow dishes can take as little a 20 – 25 minutes, whereas ramekins can take over 30 minutes. Once the custard bases are baked (with a very slight jiggle in the middle), let them cool down to room temperature. Then you can transfer the dishes into the fridge to chill (preferably overnight).
Serving the creme brulee
You should ONLY caramelize the sugar on the surface just before serving. If left for too long, the caramel layer can become soft and melt on the surface of the custard (resulting in soggy caramel!). Here are two ways to create the caramelized surface for your creme bruee.
Blow torch method
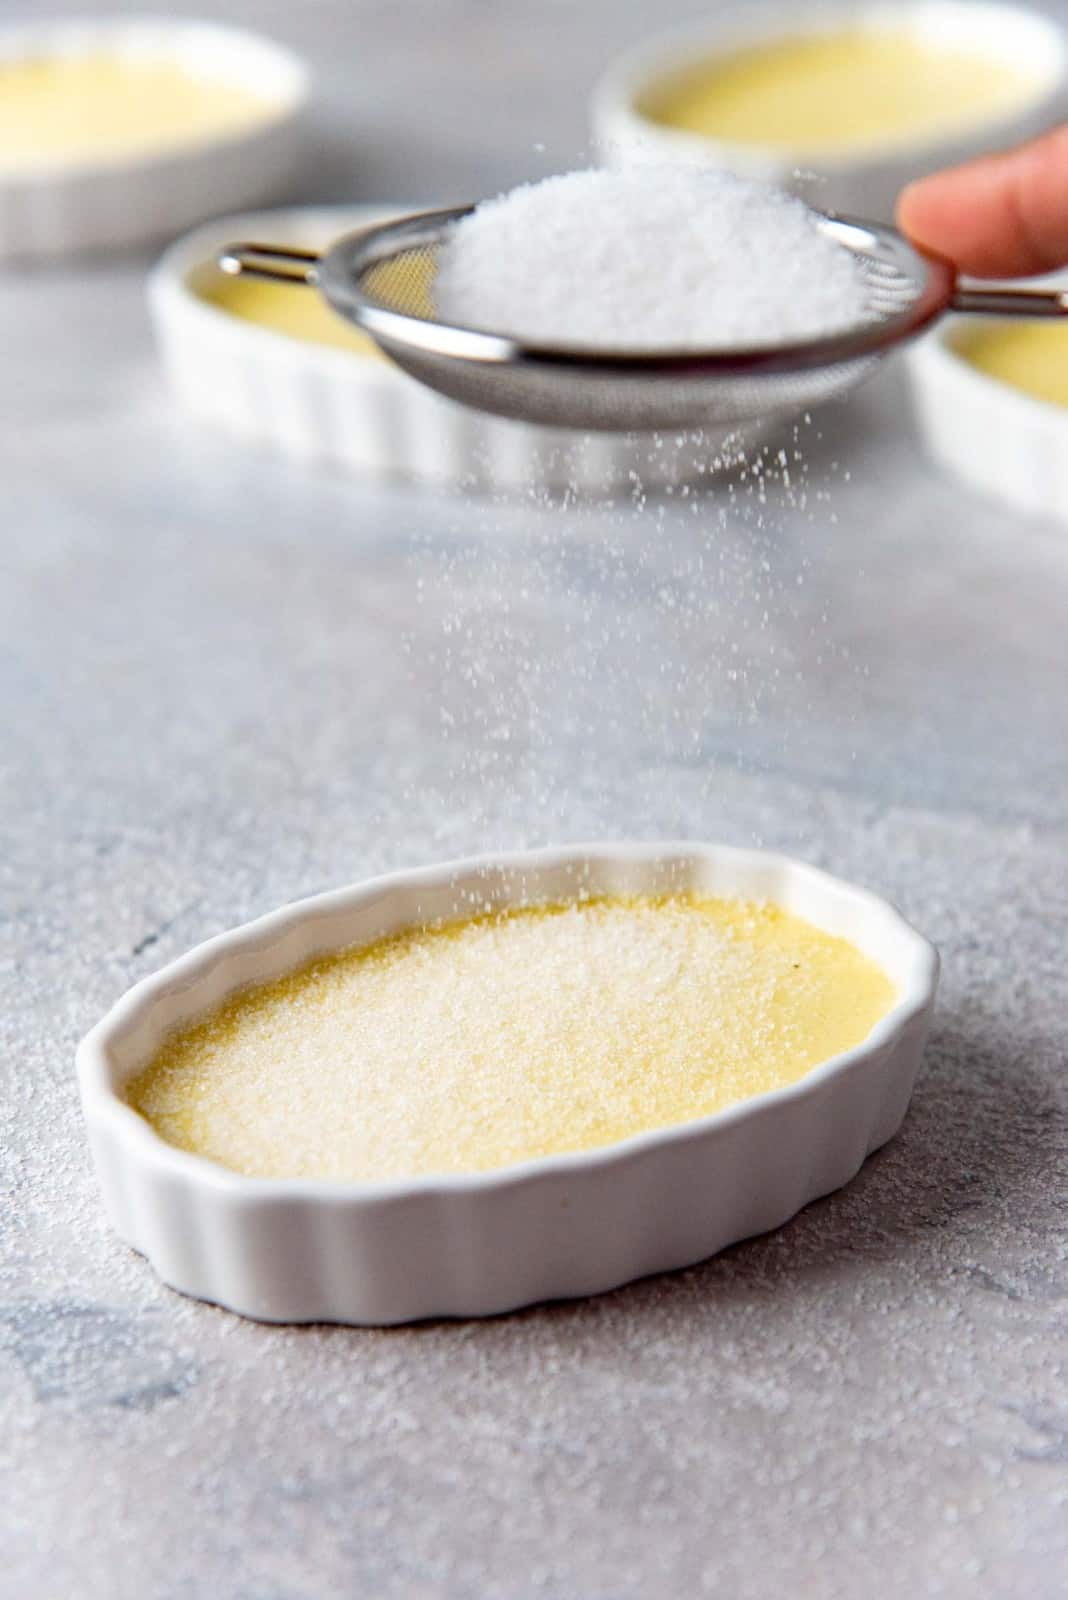
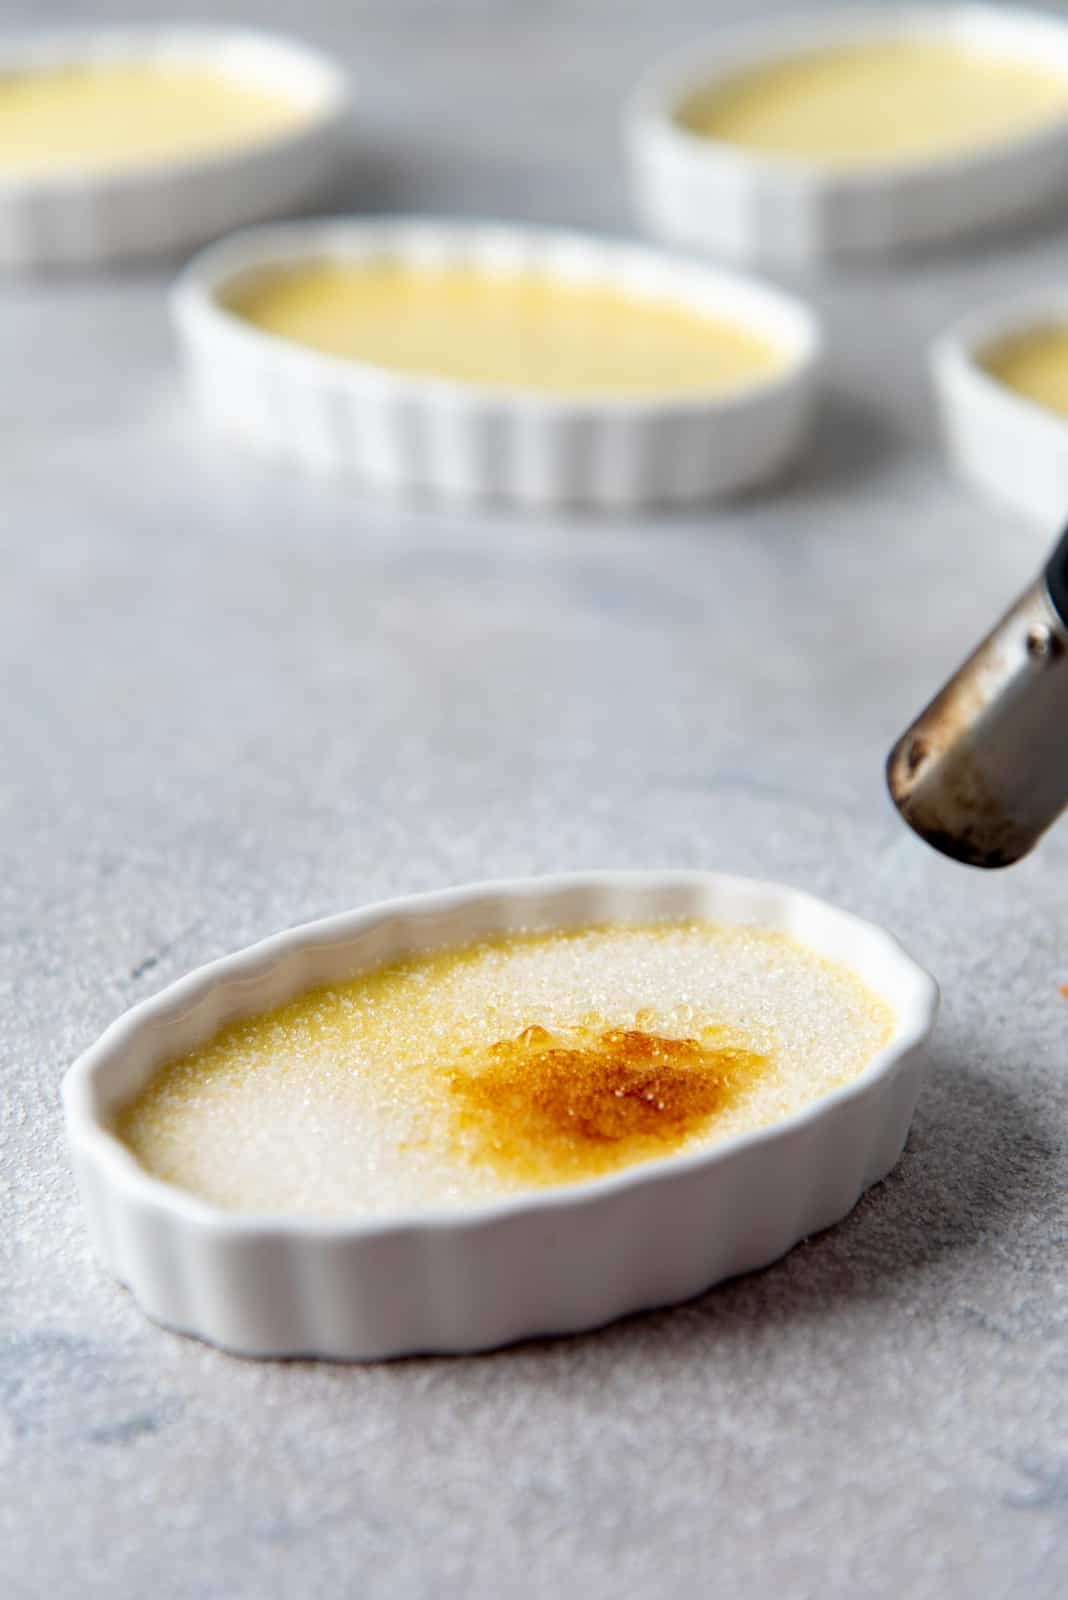
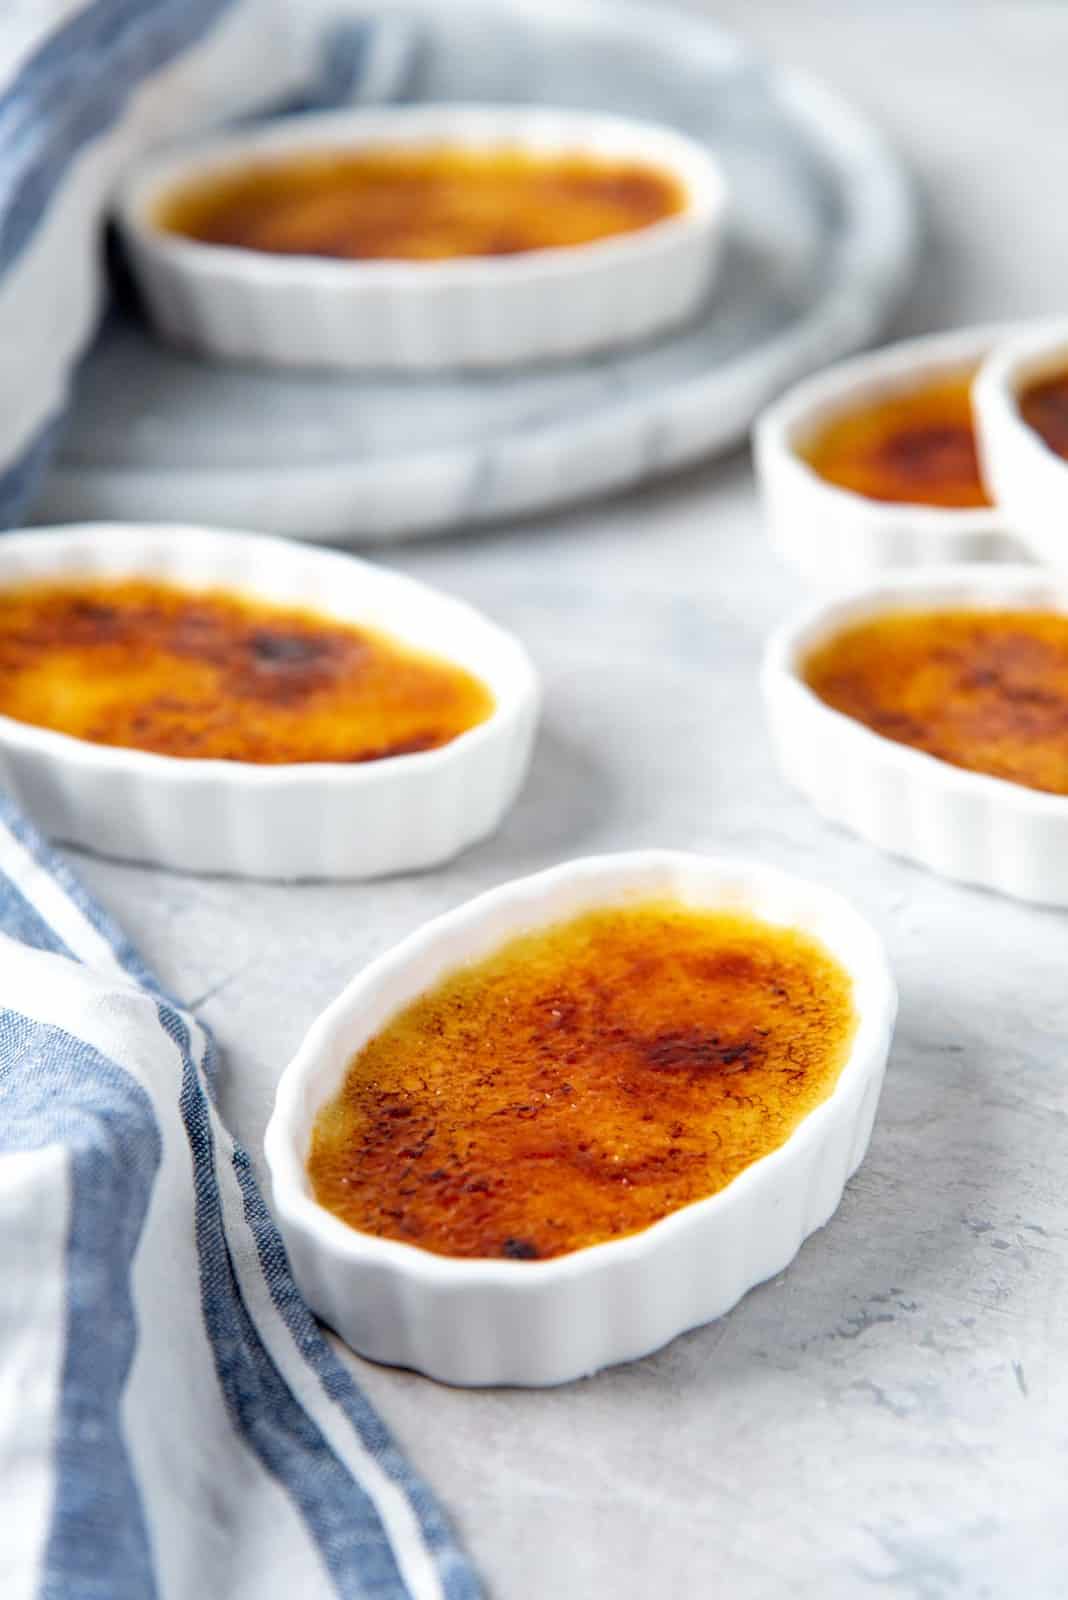
Just before serving, sprinkle the surface of the chilled creme brulee with white sugar or raw sugar. Make sure the sugar layer is not too thick, and is even. You can achieve the thinnest layer of sugar by “dusting” some sugar on top and then shake/rotate the dish to move the sugar over the surface and let it stick to the creamy custard. Then tip over the excess sugar. However, I prefer to just sprinkle the sugar on top. With a blow torch, caramelize the sugar on top until it turns a gorgeous amber color. It’s completely OK if you burn bits of the sugar – after all it’s supposed to be “burnt cream”. The sugar will bubble up as it caramelizes and that’s OK too. Once the surface is caramelized, let the sugar settle and cool down. Then it’s ready to be served! If the sugar layer is too thick, you risk having to heat the sugar too long to caramelize it, and then end up heating the custard underneath. This will result in a creme brulee that is warm, and maybe even a little scrambled. Some recipes call for the creme brulee dishes to be caramelized under a grill/broiler. I personally don’t like this, because it can heat up the creme brulee too.
How to create a caramel layer without a blow torch or broiler?
Easy! Make the caramel separately. Take a small non-stick pan, and add about 1 – 2 tsp of sugar per portion of creme brulee. Heat the pan over medium heat and gently shake the pan to distribute the sugar evenly to melt. Use a silicone spatula to occasionally mix the sugar to let it evenly caramelize in the pan. When the sugar turns a golden/light amber in color, remove the pan from the heat. The caramel will continue to cook. Pour a little of the caramel on the custard, and immediately swirl to coat the surface with a thin layer of caramel. Then let it sit so that the caramel can set. You’ll end up with a gorgeous, crackly caramel layer on top. The only difference with this method is that you won’t have the uneven burnt spots, and it will also be shinier than the blow torch method. But it’ll taste just as delicious! So go ahead and try making creme brulee at home. It’s so easy and incredibly delicious! This creamy, decadent dessert is also super addictive, so make a double batch for later! 🙂
If you liked this recipe you may also like,
Sri Lankan Watalappan (Coconut cardamom custard) Classic Creme Caramel Vanilla Pastry Cream Chocolate Pastry Cream Vanilla Pudding Chocolate Pudding Banana Pudding